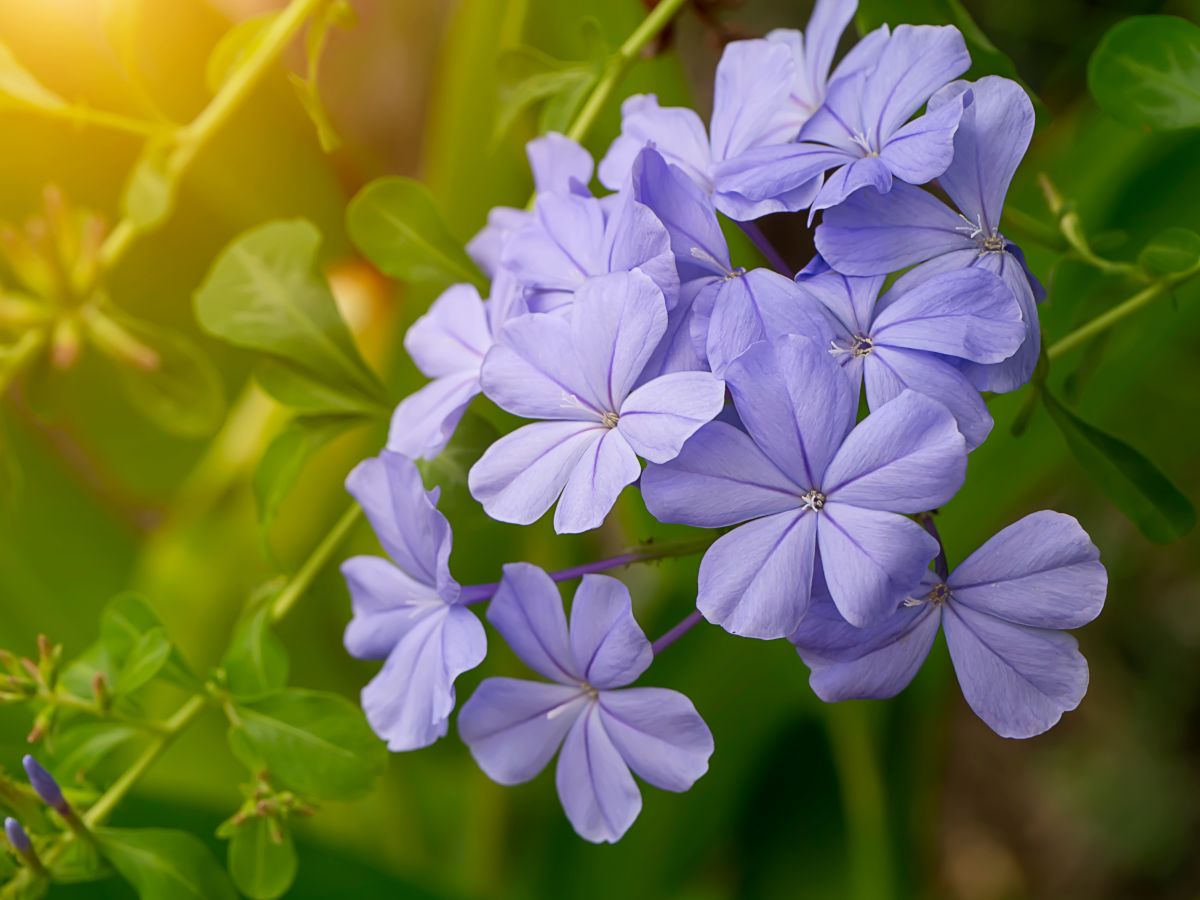
Propagating plumbago – multiply these blue wonders!
0
There are several ways to propagate plumbago. Seeds, stem and root cuttings, and division all work.
Plumbago propagation facts
Success rate – high for seeds, lower for cuttings Difficulty – easy Time – 3 to 12 weeks Yield – depends on technique
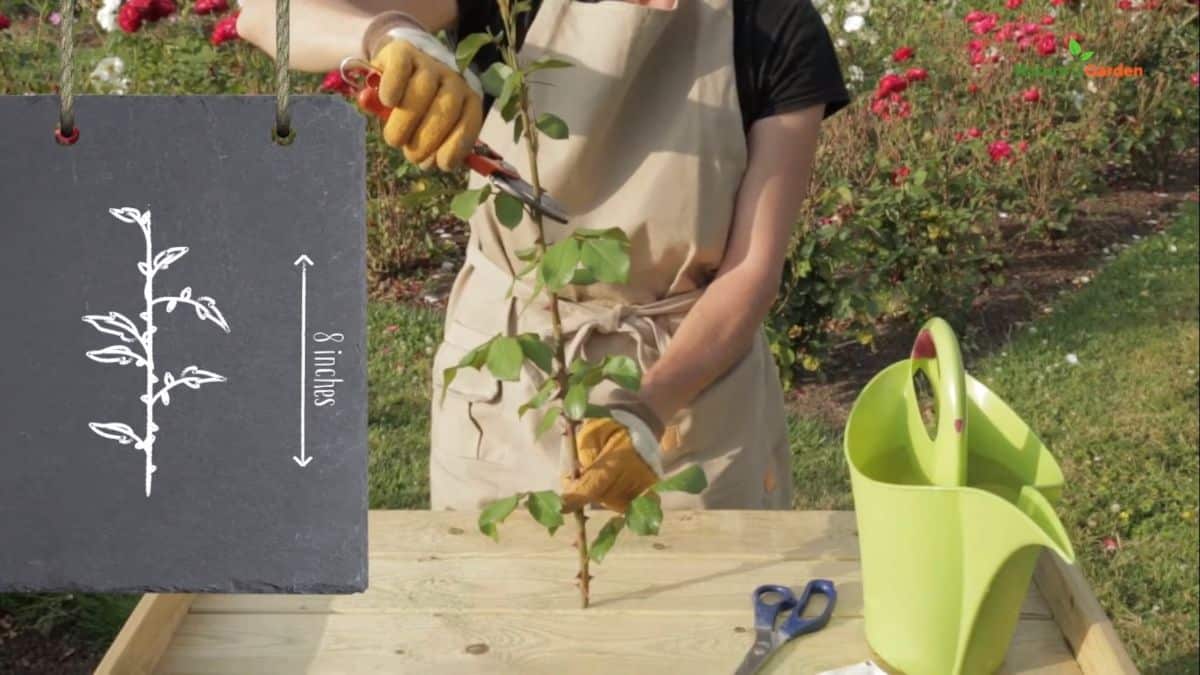
Plumbago propagation through cuttings
Cuttings are a great way to multiply your plumbago.
The advantage of cuttings is that you get the exact same type of plant as the mother plant. There’s no change in genetic material, the new plant is an exact clone. Perfect to keep that beautiful blooming!
There are two ways to propagate your plumbago: stem cuttings and root cuttings.
Water the pots to ensure there is enough moisture.
Take a stick and make holes at a depth of ¼th inch in each pot.
Sow only one seed per pot.
Cover the holes fully with soil. That way, there’s no risk of exposing the seed either to light nor to air.
Again by using your fingers, press the soil down firmly to shut the holes.
Where to place potted seeds
Place the pots in a spot indoors that’s near an east-facing window. There shouldn’t be any direct sunlight but should still have enough light coming in.
A propagation dome is useful to keep moisture in the pots. A clear pouch held in place with a rubber band works just as well.
Maintain constant moisture and temperature. Best is over 65-70°F (around 20°). Use a heating mat or keep indoors if necessary.
Don’t let the surface stay soggy. You can even let it dry out before watering again. A light drizzle or misting bottle is best.
Keep soil and seeds from molding with grated wood charcoal. A thin layer is enough, as you’d sprinkle flour on a table before baking bread.
Germination should occur after about three weeks.
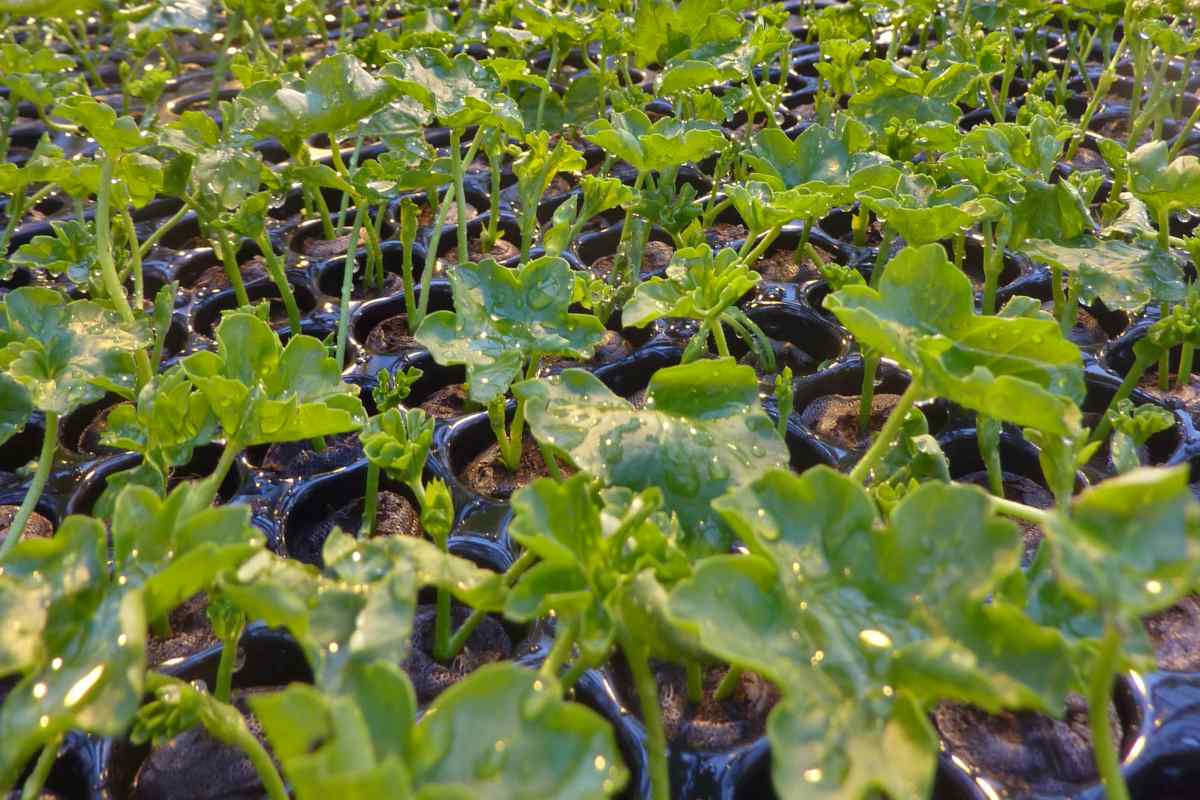
Plumbago seedling care
Once the seedlings emerge, remove the clear plastic cover that locked moisture in and water twice daily in small amounts.
When more pairs of leaves appear, you can start hardening them out over the summer.
For the first summer season, keep them under shade and protect them from wind.
Protect from frost and freezing during winter.
They’ll have grown enough for transplanting outdoors in the following spring or autumn. Avoid summer since they would quickly dry out.
Clump division for plumbago
In autumn, plumbago flowers have withered and temperatures have gone down. This is the ideal time to split plumbago roots.
Choosing and preparing the plumbago plant for division
As we’ll be using roots here, this entails digging out the plant.
Choose a plumbago plant that is 2-3 years old. Roots are normally mature enough at this age.
The night before the day you plan to divide the roots, water the plant you would like to split to a 4-inch (10 cm) depth.
The goal is to hydrate the roots and, as well, soften the soil.
Prepare the growing bed
Take care that clump division is stressful for the plant. Do your best to prepare the pot or place where you would like to plant the divided roots.
Exposure and soil requirements should be the same as those of the plant you are dividing. This is important to minimize transplant shock.
Dividing plumbago
Around the plumbago plant, keep at least 3 inches (6-8 cm) intact around the cluster of stems to preserve the closest roots.
A sharp spade or shovel is a good tool to use for digging around the plant.
Carefully lift the plant along with the roots. Transfer to a place under a shade to proceed to the splitting process. Again, working in shade helps control transplant damage.
Each division should contain 3-5 stems with roots that are well-proportioned. If the center of the plant is as hard as wood and/or leaves are thinly spread out, reject it. It’s probable that it won’t survive.
Once you’ve separated the clumps, replant the divided roots in the planting bed with a distance of 3 feet one clump from the next.
Add 2 inches (5 cm) of mulch to lock moisture in around the roots.
Layering plumbago
As with most plants for which cuttings take root, it’s possible to try and layer plumbago.
For this shrub that falls over and easily trails, layering is an easy option to set up.
Season for layering is, ideally, Fall. Spring is possible but it’s harder to keep the soil moist during summer.
How to layer plumbago
Bend down a branch to the ground without breaking it.
As an alternative, you might also just try to place a pot on a piece of nearby furniture or a ledge. Then, all you need to do is cross over it with a branch.
Using a metal hoop, like an upside-down “U”, hold the branch against the soil as tightly as you can without pinching or breaking it.
Make sure at least one or two leaf nodes are in contact with the soil.
Cover the nodes and stems with at least 2 inches (5cm) of potting soil. No need to pull or cut the leaves out, just bury them along.
 Only about 2 out of 3 usually make it, the other either die off or never really make roots.
 Prepare 4-inch pots filled in with healthy soil.
 As with most plants for which cuttings take root, it’s possible to try and layer plumbago.
 Make sure the potting soil stays moist but not soggy.