Damage and wounding cannot be avoided when transplanting a favorite tree, shrub or plant. But there are definitely ways to reduce inflicted harm! Focus on protecting roots and branches before, during and after transplantation.
Read also:
Learn how to reduce damage to your plant before, during and after transplanting it. We’ll focus on roots first (more critical) and on branches second.
Reducing root damage during a transplant
During transplantation, the root system is what suffers most.
Protecting roots when digging a plant out
First of all, when digging plants out, handle the roots and plant delicately.
- Garden with another person for this crucial step.
- Use a sharp spade to mark the circumference all around to form a complete circle.
- Avoid tugging in a jerky fashion.
- Don’t twist the plant around.
- Follow-up with pruners to make straight cuts out of torn roots with sterilized pruners or loppers.

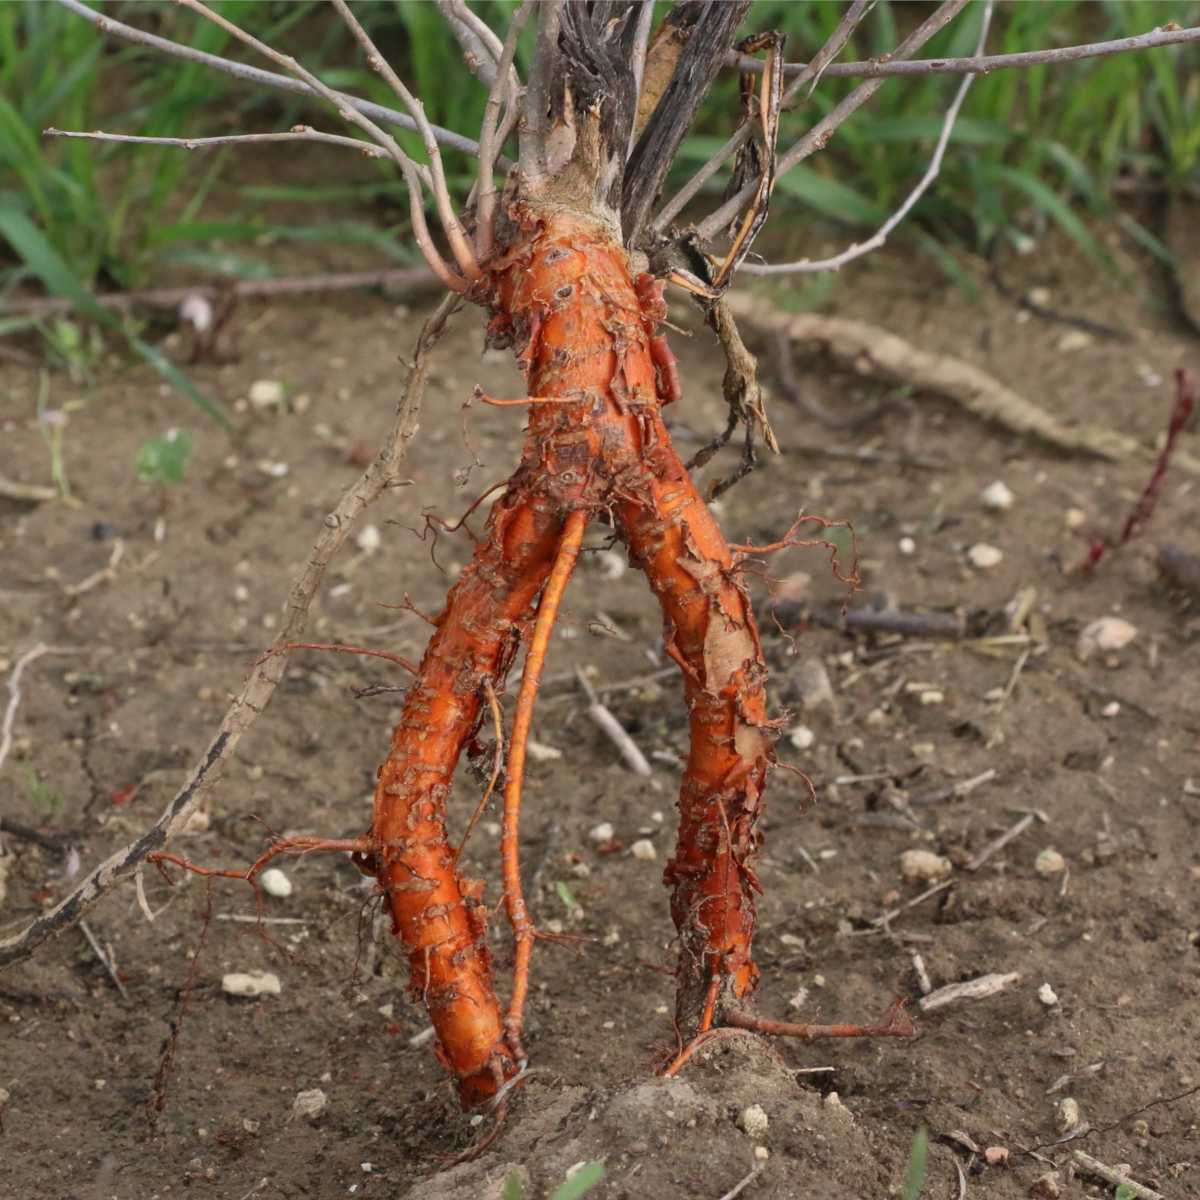
Protecting roots out of the ground
You’ll have to deal with two opposite needs of the plant once the root ball is out of the ground. On one hand, cuts on large roots need to dry out at their tips to “cure” and scar properly. On the other hand, intact small roots must avoid drying out at all costs.
- Fold or roll burlap around the root ball to keep moisture in and protect smaller roots. Wet if possible.
- Let tips of larger roots stick out of holes or folds for them to scar or cure in the air for one to four hours.
- This will both keep small roots safe, and block pathogens from entering the root system through fresh wounds.
Important: while the plant is out of the ground, protect roots from wind and direct sun.
Experiments when replanting forest seedlings have shown how damaging sun and drying out is:
- Seedlings were pulled out of a protective bag and placed on the ground to mark rows.
- Once at the end of the row, the planter turned back to spade shallow holes and slide each seedling in. This only kept them exposed for 15 minutes.
- But 25% of these seedlings died, as opposed to only 5% dying when planted directly from the bag.
Protect roots when transporting the plant
Roots aren’t designed to “hold soil up” since the tree needs grows them to stay anchored to the ground.
- Don’t carry the tree by the trunk with roots and soil sagging under it.
- Place the root ball in a wheelbarrow, on a pallet, or a large pail. Carry that around instead.
- Best transport the tree standing upright.
- If you must lay it down, to fit in a car for instance, put the mound in a barrel. Or, wedge it between two ridges for the mound to stay round.
Vibrations from the vehicle also cause tearing of microscopic rootlets. A spare slab of foam, a work-out mattress, or even an old folded blanket will help dampen these vibrations out.
Root protection upon replanting
Avoid root rot with these simple tricks. Try to apply at least one. You can combine several or even use them all together!
- Prepare root dip, adding rooting hormones to the mix. Dip any bare or visible roots in it, or use a paintbrush to lather it on.
- Add hydrogel crystals to the soil mix you use for backfilling. Keep some pure soil mix for the topmost 2 in (5 cm).
- At the bottom of the hole, layer gravel or clay balls 2 inches (5 cm) thick.
- Atop this layer, make a loose, cone-like mound with the prepped up soil mix. That way, the root ball will gently nestle in without landing hard.
- After backfilling, water with a fermented fertilizer potion. This adds valuable nutrients and favors beneficial fungus over root rot fungus.
Spread roots out evenly along the hole.
- Don’t fold roots or make them run in circles.
- If a root is too long, either open up a wedge with the spade in the soil to lie it down in a straight line, or cut it shorter.
When backfilling, use your hands to press soil down the sides instead of a tool.
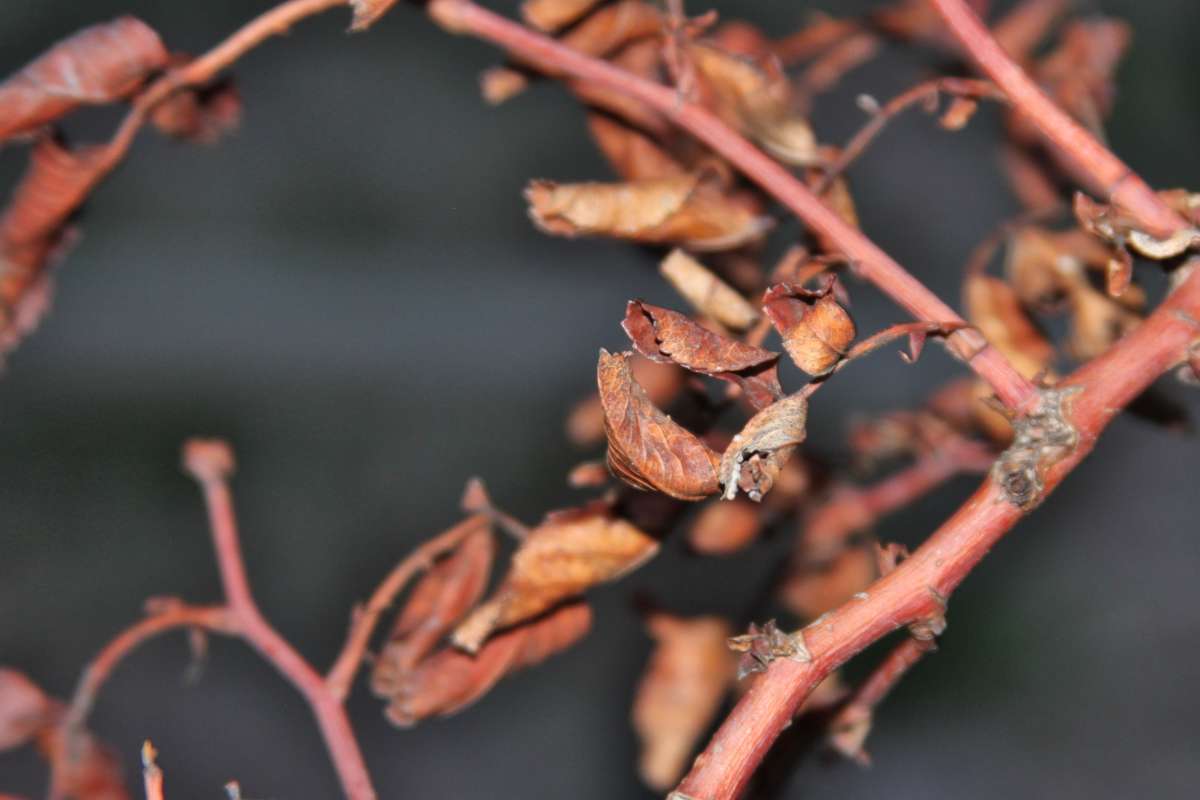
Branches – control transplantation damage
Most of the transplant damage to branches happens when moving the plant.
The key to reducing damage to branches is simple: be the one deciding about it. Indeed, when transplanting a tree, pruning is a crucial step. This is particularly useful when dealing with plants vulnerable to transplant shock.
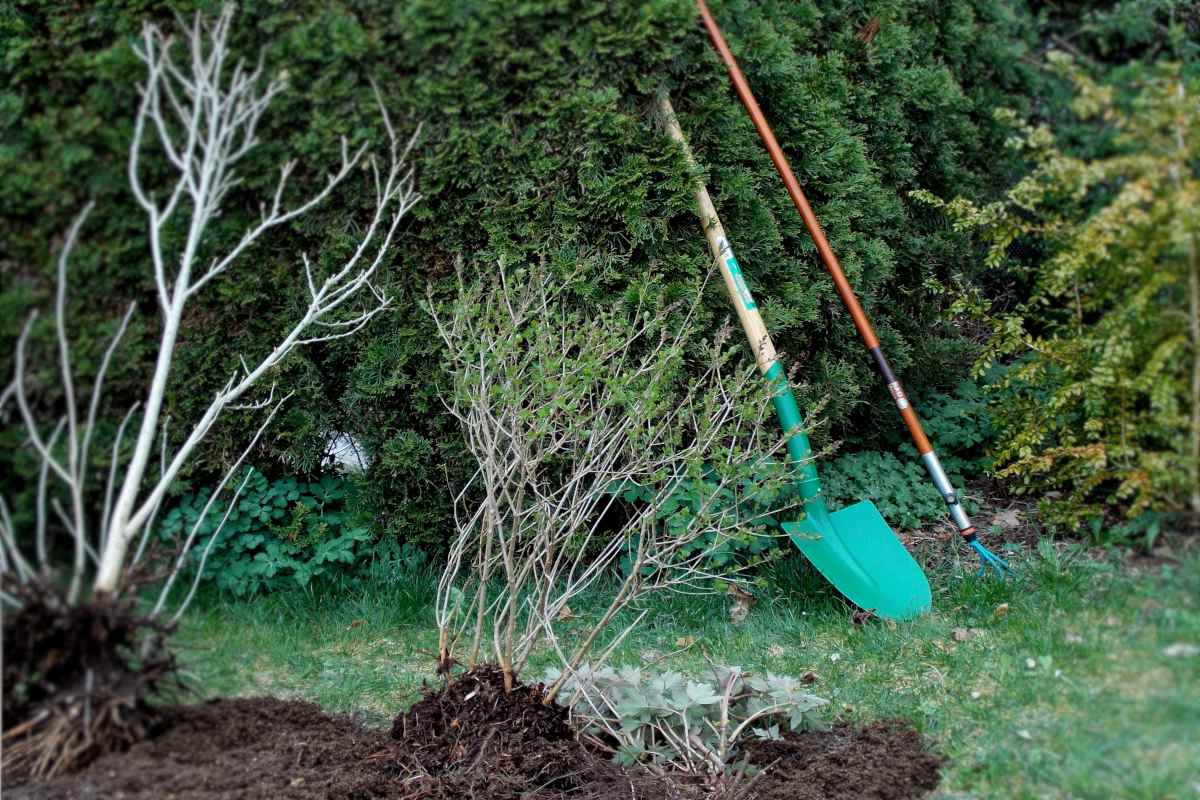
Preliminary pruning before transplanting
Since transplanting severely reduces the root system, it’s important for the rest of the tree to “lower expectations”.
Indeed, without any pruning, the tree expects too much from the few roots that remain.
- without pruning, a 20% root loss results in severe stunting and weakens the tree (inviting disease).
- a 40% root loss and more inevitably results in tree death.
That’s why tree thinning beforehand is necessary. When transplanting, shrubs and trees typically lose 40 to 60% of their root system.
Consequently, it’s best to prune before transplanting.
- It’s ok to do it on the same day, but it’s much better to prune one to two weeks before moving day.
- The tree thus heals cut branches first, without any other worries.
- It already starts preparing new buds. This development will be “paused” when the moving occurs, but will be easier to resume.
The techniques you can apply for this pruning are basically a combination of two pruning goals:
- pruning to thin a tree – this means removing one in three or one in four branches all the way back to the trunk
- pruning to reduce the size of a tree – which means cutting back remaining branches by one-third or one-half (even two-thirds for larger trees)
Protecting branches on free-growing plants, shrubs & trees
To reduce and minimize damage to branches during transportation, it’s best to package the plant in a suitable way.
For short plants, for example, a sturdy carton or crate is perfect.
- Ideally, it would be just the size of the plant itself.
- If larger, fill in with other items to keep the plant from tipping over.
For trees and shrubs, start wrapping burlap around the trunk, below the lowest branches.
- Work your way upwards, gently holding branches up to wrap them, too.
- Continue to the top.
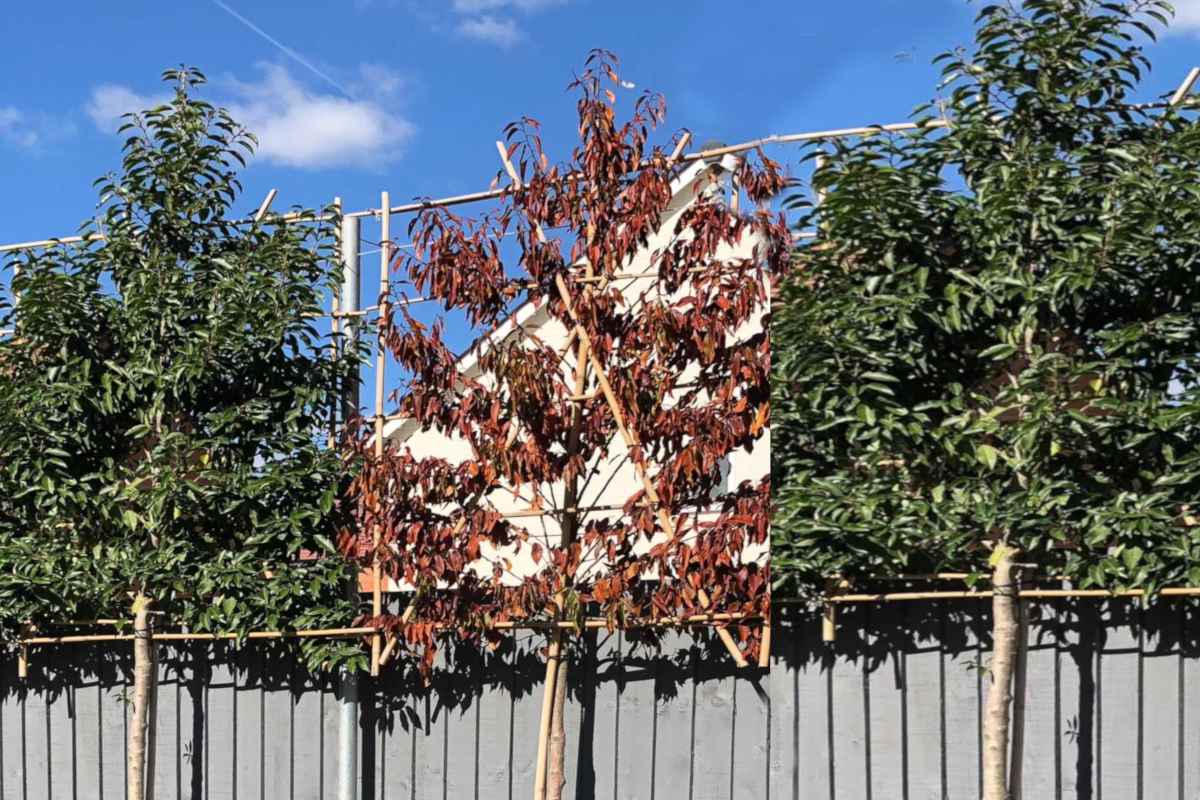
Espalier-shaped fruit and ornamental trees, including topiary
These are the most vulnerable. If broken, the missing branch will wreck the symmetry and lower productivity or blooming.
- Sometimes it’s possible to mend a broken branch
If pleached or attached to a lattice, keep these on until long after you’ve planted your tree in the ground. During transportation, the lattice should be secured, not the branches.
If moving a espalier-formed tree, determine if you need to secure some of the branches in place.
- Best secure the tree before digging it out.
- Use strong, light poles and tethering wrap or rubbers (such as is used when staking a tree).
- Attach poles to each other, and branches to poles where both meet.
- Best is to transport the tree vertically, for example in the back of an flatbed truck.
- If you must lay it down, make sure no single branch is bearing the whole load. Transfer load to the support poles instead.
- For topiary, sometimes a wire mesh form is enclosed. Make sure it doesn’t lose its shape!
After transplanting
Stake the tree or shrub for a year or two to avoid having it topple over. At least the remaining branches won’t have to catch the fall!
Smart tip about controlling transplant damage
Make sure the steps are clear and all the materials are ready. The enemy you must fight in this endeavor is time: roots belong in the ground!