Stem and root cuttings are often successful with plumbago.
Plumbago cuttings facts
What to use: new growth, no flowers
Season: mid→late winter
Difficulty: easy
Cutting type: root is best, then stem
Rooting time: 3-4 weeks till first roots
Time to transplant: 1+ year (spring)
Success rate: 60% for stem cuttings
Success rate: 80% for root cuttings
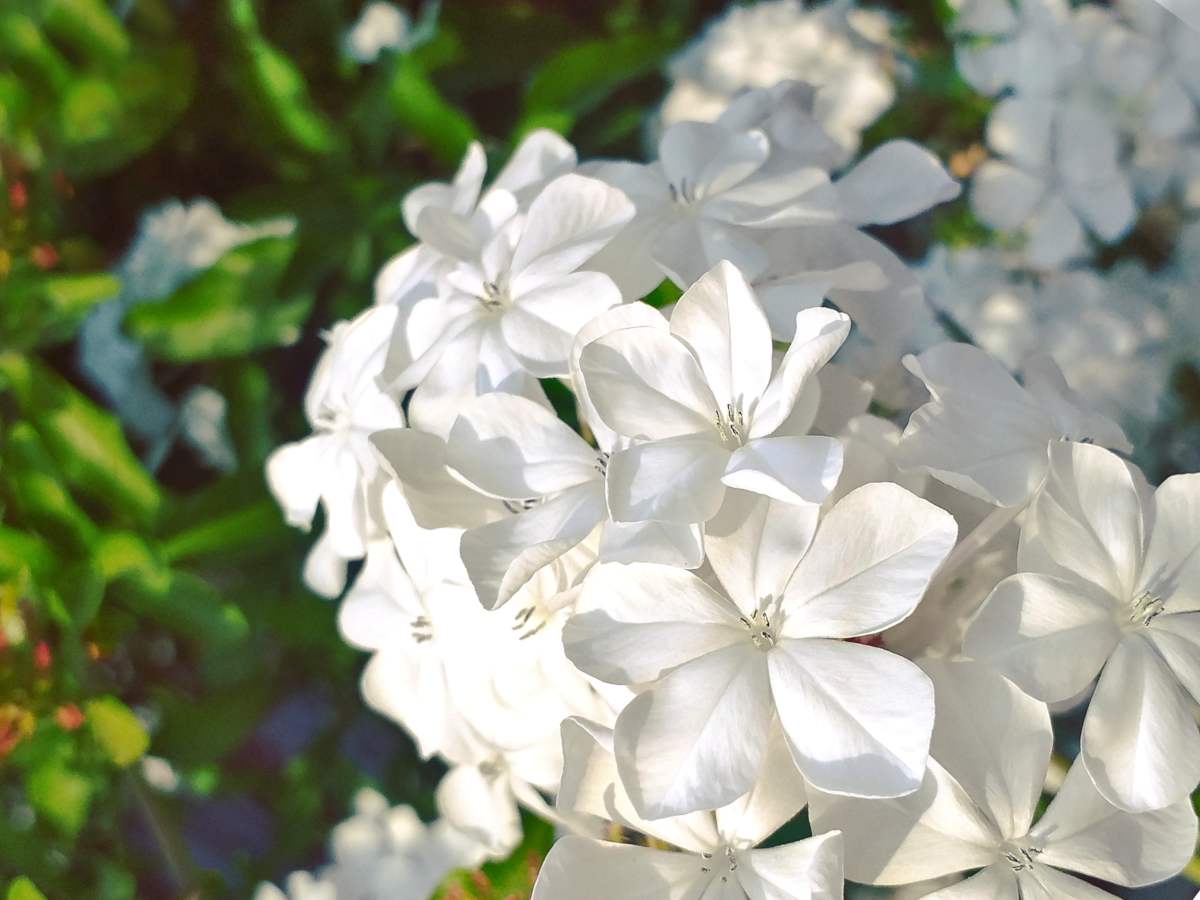
Cuttings are the way to go if you want a perfect copy of your beloved blue-flowered climber! There are two types of cuttings that will work well to propagate Plumbago.
Read all our posts about Plumbago
The ideal time to propagate from cuttings is mid to late winter.
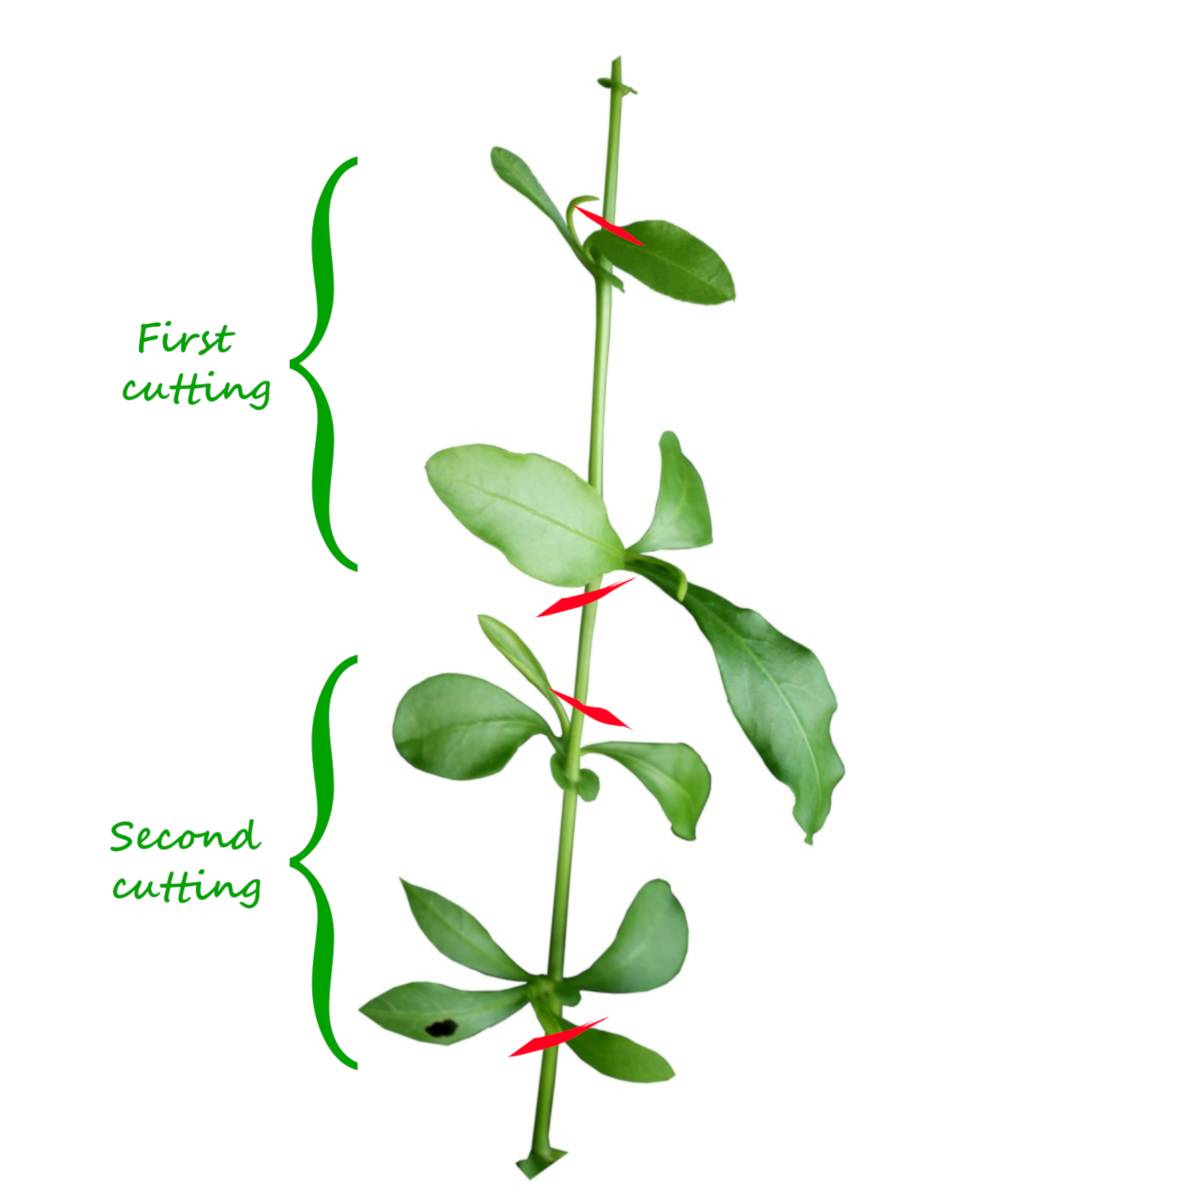
 Choose a stem that’s healthy but not flowering. In other words, a new-grown stem.
This promotes new growth and branching out from the remaining part on the original plant.
 Preparing the plumbago cutting
 After a month, roots should already start developing.
Sometimes, stems look healthy but didn’t actually grow any roots. This is why it’s wise to prepare several cuttings so that in the end, you’re sure to have 1-2 stems with well-developed roots.
Another type of cuttings uses roots, not stems. It’s a very effective way that is almost always successful.
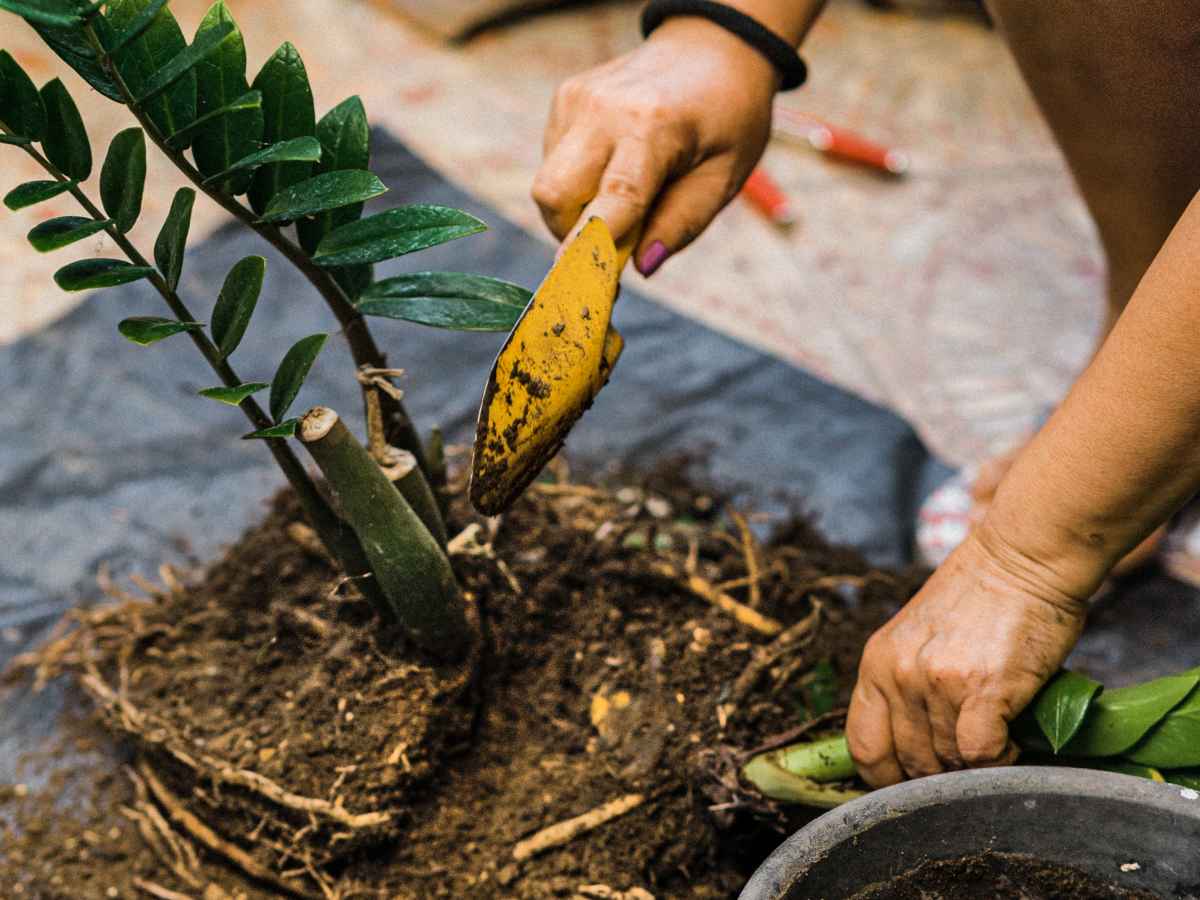
It requires digging part of a live plant out from the ground, though. Best is to take these root cuttings from a plumbago plant that is already at least two or three years old.
Work in late winter or early spring, before the vegetation wakes up.
After two to three weeks, shoots should start coming up from the root cuttings. Wait for another two weeks before transferring to a pot or to the soil.
Since plumbago stems are soft, they’re sensitive to drying out. Make sure you set something up to lock moisture in around your cuttings.
Root cuttings are the most successful method with an 80% success rate, while stem cuttings have a 60% success rate. Root cuttings are taken from plumbago plants that are at least two or three years old, cut into 2-6 inch portions, and buried horizontally under half an inch of moist potting soil in late winter or early spring.
The ideal time to propagate plumbago from stem cuttings is mid to late winter. For root cuttings, work in late winter or early spring, before the vegetation wakes up.
Stem cuttings typically develop roots within 3-4 weeks, while root cuttings show shoots emerging after two to three weeks. Both types require an additional 2 months of growth in a pot before being transferred to the ground in autumn.
Plumbago cuttings should be stored in a luminous spot but with no direct sunlight. They can be kept outdoors as long as constant shade is provided.
Even moisture in the soil is critical for plumbago cuttings to develop roots, but the soil should not be soggy. Using a clear plastic bag as cover helps maintain moisture, though you should open it for a couple hours if excessive condensation builds up.