Whenever your Dracaena marginata grows too tall, there’s only one solution: “Off with their heads“! At last a time when we can reveal that mean Queen of Hearts that resides in each of us… and let it actually make the world a better place!
Let’s take a quick look at this drastic but very effective solution to many different problems.
You’ll need to behead your dragon plant for four main reasons:
Whatever the reason, the way forward is clear: lop the top off and plant it – and let nature regenerate the rest of the plant with lush new growth!
This is a very disfiguring operation. Your dragon plant will look nothing like it used to, but it’s for the greater good. After a year, you’ll have a plant that is more appealing than it was before the decapitation took place.
It’ll have more branches bearing leaves and the stem will grow thicker as a result of all that extra activity.
So set your fears aside and reach for the cleaver. Um, not necessarily a cleaver, a normal hand pruner should be more than enough!
Depending on how thick the stem is, different tools are needed:
A dangerous method if you aren’t familiar with it to use a hatchet or a machette to chop the top off. It’s recommended to lay the potted plant down with a slab of wood underneath to get a clean cut.
Clean the tools beforehand with alcohol or the now ubiquitous hand gel. This will remove any bacteria, fungus and disease from plants that were previously in contact with the blade.
 Dracaena readily sprouts both roots and leaves from almost every part of the stem, so the idea is to use this versatility to shape and propagate the plant in as many specimens as desired!
You’ll have:
All of which can lead to new plants.
Beheading will split the plant in two, and both halves can grow into a new plant. The top half, with the leafy head, is planted as a cutting, whereas the bottom half will sprout one or more new stems, each with a fan of leaves at the tip.
The beheaded portion will create new roots on the lowest portion. Rootlets will sprout from leaf joints (where the leaves connect to the stem). These nodes look like swells or bumps on the stem, at the bottom-most tip of the “v-shaped” mark left by a leaf as it fell off. Node are active whether or not live leaves are still attached to them, so old wood will sprout rootlets, too.
There are cells here that can turn into any kind of plant part, they’re called totipotent cells. If they’re in the dark or dunked in water, they’ll turn into roots. That’s the goal we’re aiming for.
Ideally, try to sprout roots along the bottom 2 inches (5 cm) of the cut stem. So the right place to cut the stalk depends on how you want one of your new plants to look like in the end:
How much stem should be left on the bottom part of the plant? At least 2 inches (5cm), but you can again leave much more length if you so desire. Keep any extra portions of the stem and cut them into 6-inch pieces (15 cm), and make cuttings from them alongside the topmost part.
Even if there aren’t any leaves initially, these pencil-length stem portions can sprout both roots and leaves at the same time. One note of caution: keep them right-side up, since they won’t develop if they’re upside-down!
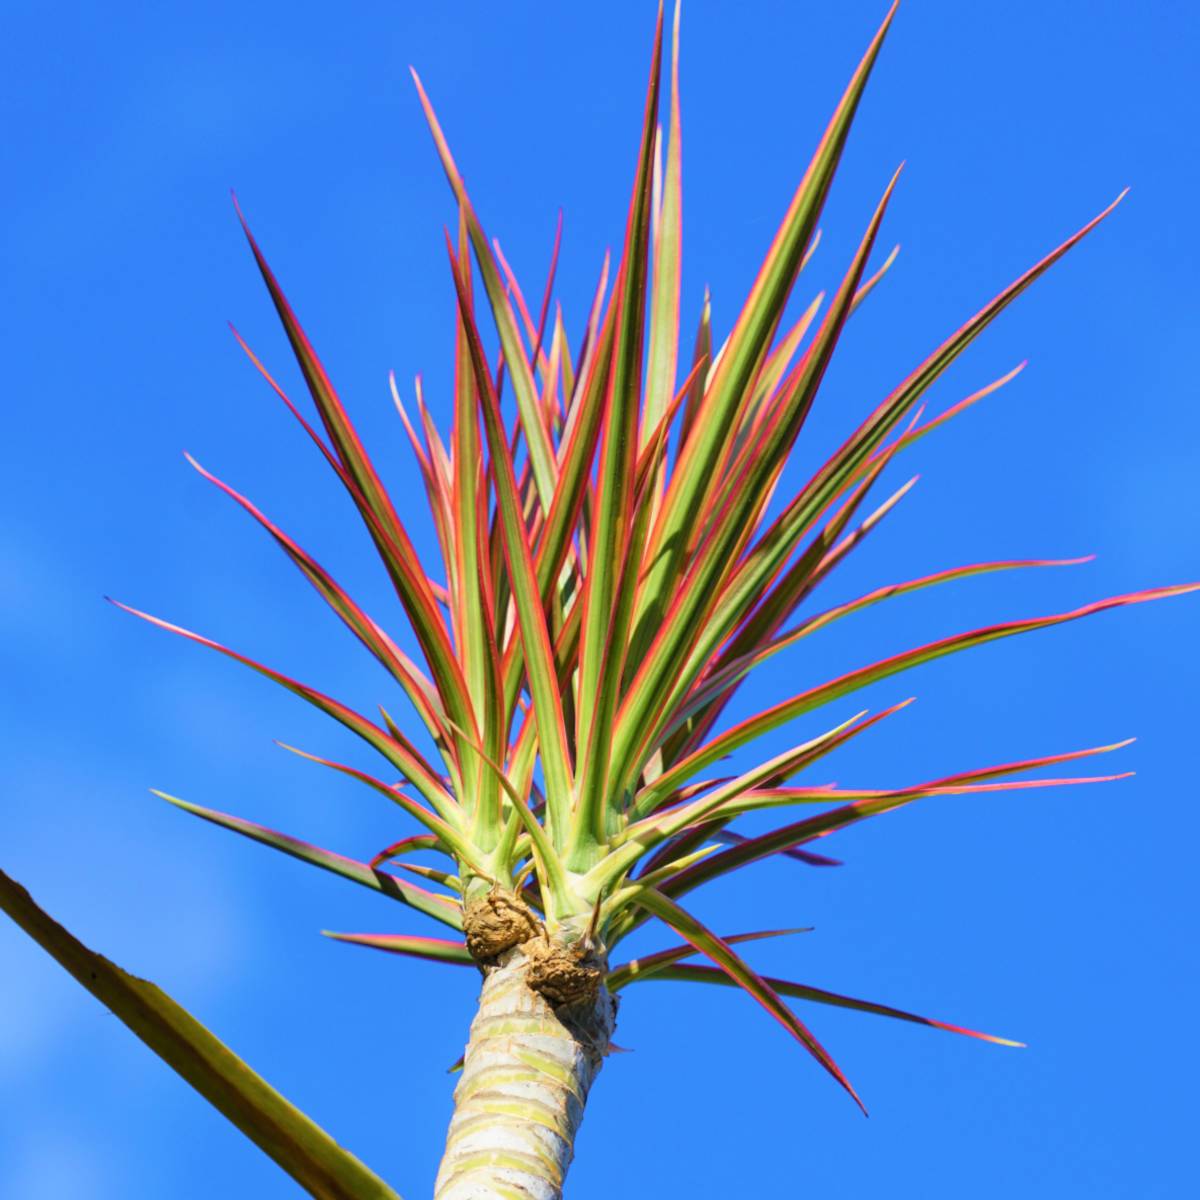
 New leaf stems will sprout from nodes (same nodes as above). Usually, from two to four new stems will appear. These are typically located at the very tip of the remaining stem, emerging from the highest dormant nodes within the topmost inch (3 cm).
It takes about 2 weeks for the emerging buds to appear and start developing.
In the meantime, best is to let the soil dry out nearly completely. When it’s really dust-dry, just give the plant a tiny amount of water, not more than half a cup (10 cl). Since the plant doesn’t have any leaves yet, it can’t deal with overwatering at all: roots have nowhere to send excess water because there are no leaves to evaporate it from!
Fun tip: you can have nodes sprout lower down along the stalk by hiding the higher portion in the dark. Cut a carton or use a paper towel core to cover the portion higher up, and the highest nodes to receive sunlight should be the ones to sprout first. Once you’ve triggered their emergence, let them grow to at least an inch in length before removing the dark box. Then, the nodes at the top of the plant will sprout, too. Great way to get a very bushy plant that branches out at different levels!
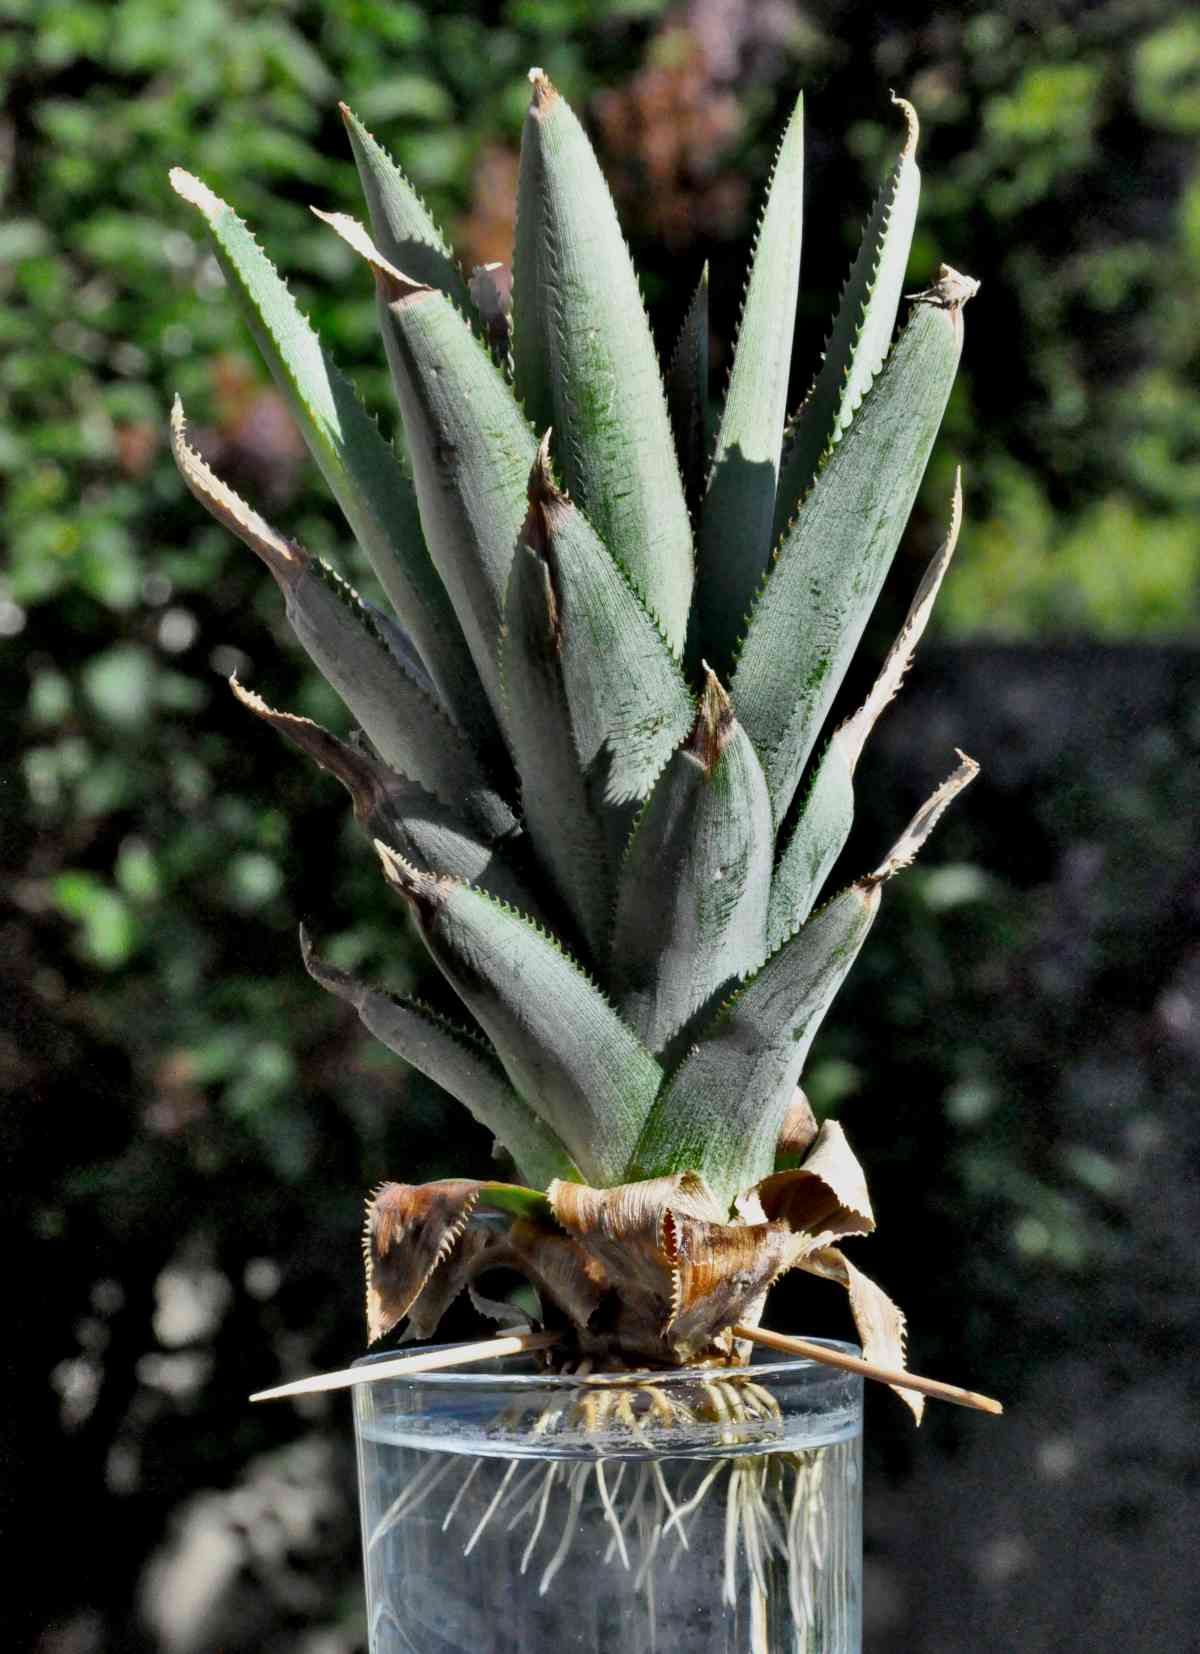
To trigger rooting, you can either use the water method or skip directly to planting.
In the water method, simply plunk the cutting in water. The rooting depth shows how much of the stalk should be submerged: 2 inches at least, more if needed. If your glass or vase is too deep, just add water or pile some gravel or clay pebbles at the bottom to keep the stalk at the correct depth.
Remember to change the water every two or three days to limit algae growth. The best way to do this is to prepare a second glass or vase and sit it next to the first. Water temperature will be the same in both, so it won’t shock the cutting when you transfer it to the clean water.
After a few weeks, small rootlets will form. When these are about an inch (3 cm) long, you can transfer them to a pot with potting mix.
Basically, you’re preparing a cutting. What you need is a pot, fresh clean soil that’s not too rich (no need for extra fertilizer). The first goal of making a cutting is simply to permit root growth.
It shouldn’t try to nourish the plant: too many nutrients might actually “burn” young roots.
 Here are the steps to root the beheaded dragon plant:
After about a month, roots will have appeared underground and you can testily remove the stake.
There’s no need to protect any of the cuts with pruning paste, the plant can cure (heal) on its own.
This technique will work in all seasons, but you’ll avoid problems if you perform this in Spring or Summer. Indeed, having lots of light is important to trigger leaf buds, and longer days mean more light. Additionally, it helps when temperatures aren’t as cold, since the plant’s metabolism increases with temperature.
All in all, it’s a great technique to propagate your Dracaena marginata and get more appealing plants instead of the original, lone, leggy stem!
→ Also: all about Dracaena and their problems
Before cutting the stem into shorter stalks for cuttings, use a pen and draw a few arrows to show what is the “right side up”. That way you won’t put the cuttings in the ground or water upside-down!