The dragon plant is a tall plant that’s among the easiest to multiply. Dracaena marginata propagation works with any of these techniques: beheading, stem cuttings, and layering. You’ll have an unlimited supply!
Like all plants of the Dracaena family, the Madagascar Dragon plant propagates through its stems.
In the wild, it flowers with delicious scented blooms and bears seeds.
In our own cooler climates, blooming is very rare. The best way to get new D. marginata plants is to either behead it or try out stem cutting propagation.
As time passes, your Dracaena marginata will grow tall and spindly. Depending on the technique, you can create from 2 to 10 new Madagascar dragons from the leggy stems of a single plant.
This technique yields two new plants: the top of the stem you cut off will grow roots, and the bottom part will re-grow new leaves.
All you have to do is:
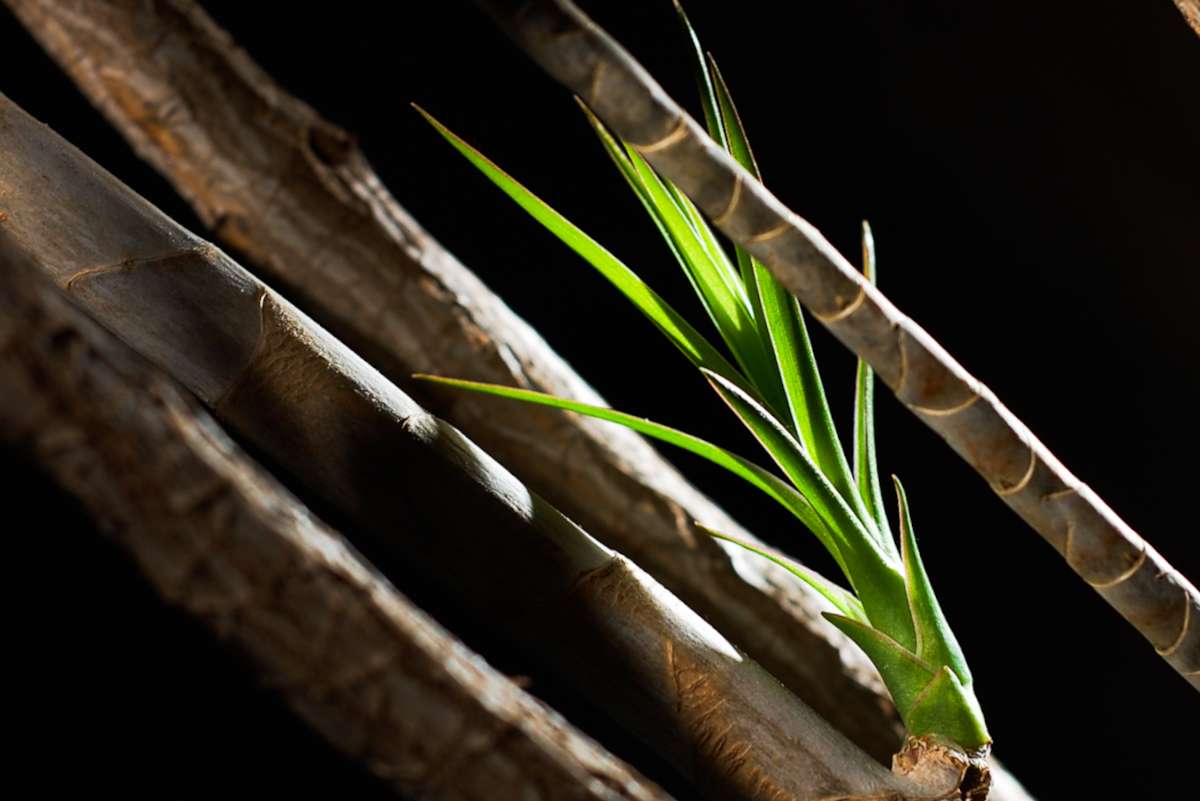
Keep the older stem in its old pot: it will sprout leaves at nodes near the tip.
Cuttings are easily prepared. Within a portion of stem, cells exist which can turn into either roots or leaves. Chopping a stem into shorter sections yields as many new dragon plants as you have pieces. Ideally, sections should be about 6 inches long (15 cm) or more to guarantee success, but this can still work even if parts are only 2 inches long (5 cm).
Usually for cuttings people recommend having all cuttings the same length, but for Dracaena marginata it’s a good idea to have different lengths. That way, you can plant them together in the same pot and get leaves at several levels. For example, cut pieces at 6, 10 and 14 inches long (15, 25 and 35 cm).
Important: Mark which side is “up” with a pencil or make a small notch at the “top” so you don’t plant it up-side down.
 Dragon plants root well in water directly, but you must change the water every 2-3 days to keep it fresh.
Two variations of this technique also work well.
Instead of sticking your stem sections upright, simply press them down horizontally on the moist soil mix. They should be buried halfway into the soil, a bit like a log floating in water. Some of the nodes on the underside will sprout roots, whereas other nodes on the topside will turn into branches with leaves.
As a result, you’ll have several independent plants connected by a stem that will slowly rot away. When you can clearly mark out each distinct dragon plants, you can cut the stem between them and repot them individually.
Layering and air-layering will both work on Madagascar dragon plants. Most plants you find in garden stores come from layered plants: it’s a sure way to get a new plant going without having any dying off.
 Watch for moisture in the pouch. It shouldn’t be full of water, but it shouldn’t dry out either. If too dry, squirt a little water in with a syringe or dribble water down the stem from above.
After about 2-4 weeks, you should notice roots starting to reach the sides of the pouch. When they start circling around in the pouch, it’s time to cut the branch off underneath, remove the pouch, and pot the clump!