Air layering is the most successful way to propagate lavender. Wrap a wad of dirt around a stem that’s still connected to the mother plant, and a few months later you’ll have a healthy lavender shoot to grow or give away! Other terms for this is “marcotting” or “marcottage”.
Difficulty: moderate
Success rate: nearly 4 in 5
Time to prepare: 20-30 minutes
Time to root: 3 months if prepared end of spring
To prepare the branch, you’ll need shears or a secateur to clear the shrub.
For the marcottage, plastic wrap or thicker but clear plastic will do well. Transparent plastic will show any roots growing inside. Soft, easily twisted wire will hold it in place (type used for bonsai works great).
Some prefer burlap since it holds long enough for roots to form, but biodegrades easily afterwards. Perfect for planting without opening the air-layered pouch!
All varieties of lavender fare well. However, here are a few tips:
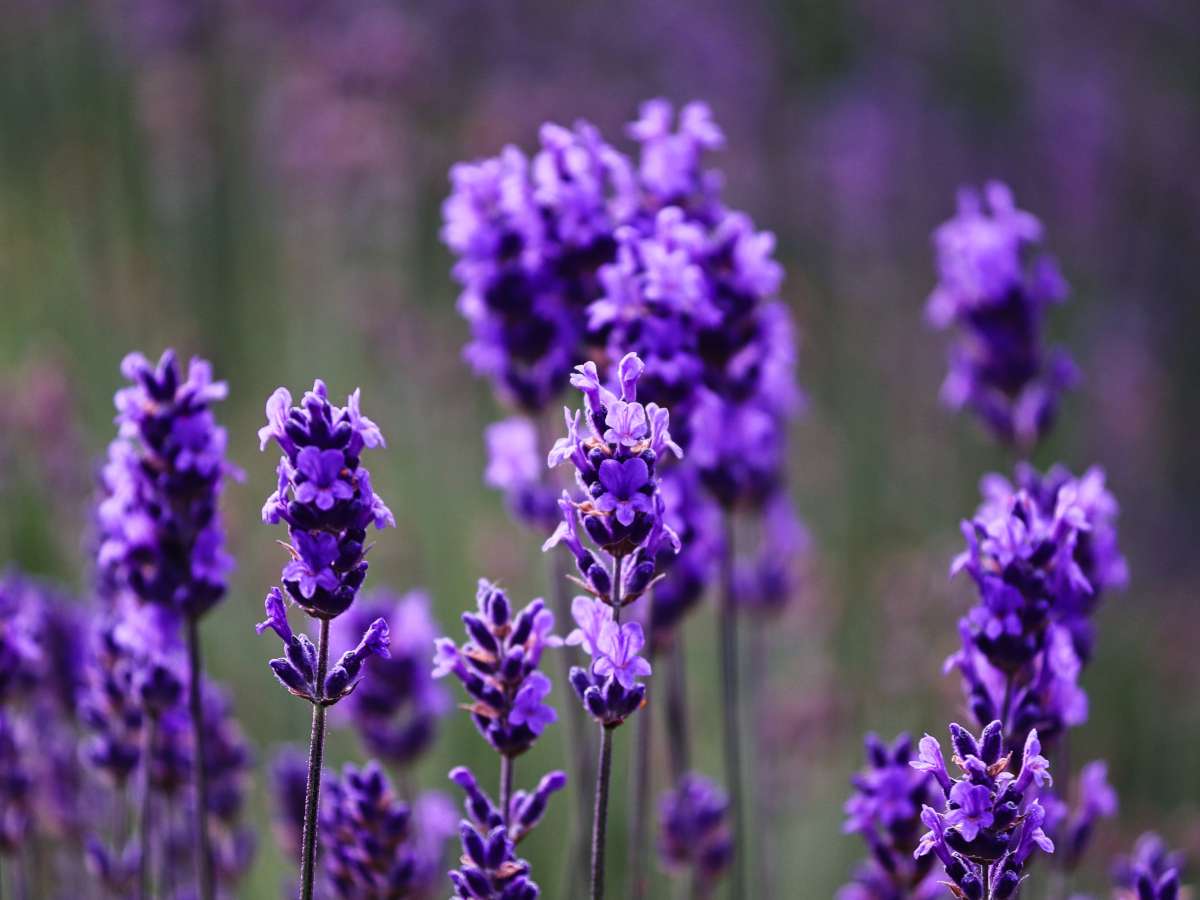
When spring comes to an end, it’s easy to determine which lavender branches bear flowers and which don’t.
Select up to three or four branches that aren’t blooming or bearing flowers. These are excellent for preparing air-layered cuttings. The size doesn’t much matter. Make sure they aren’t woody, though.
 On each branch you’ve selected:
 Prepare a couple fistfuls of soil mix. You can use it pure or mix in up to a third of garden soil. It helps to add a few leca balls or hydrogel crystals: this will increase the water supply. At this stage, don’t add any fertilizer or compost: too much nitrogen and other nutrients would burn emerging roots.
 Slip an 8 to 10 inch square of clear plastic or burlap (20-25 cm) between hand and stem.
When air-layering lavender, you’ll nearly always have to “hold” the air-layered stem up. It’s often rather heavy compared to the thickness of the lavender stem itself.

A smart way to do so is to set up a small stake nearby, on which you twist some wire into a noose or hook shape. Then, on the marcottage, twist one of the tips of the topmost wire into a hook so you can latch it to the stake in the right position.
 The advantage of the hook-and-noose setup described above makes it easy to move the whole marcottage and dunk it in a pail of water.
You’ll have to check on the moisture inside your air-layered marcot. It should stay constantly moist after the initial drenching. To check for moisture in your air-layering:
 Normally, you’ll have to check every few days, until you get a feeling for how moist it is. Then, water accordingly.
Note: if using burlap and not plastic, water twice as often since moisture evaporates faster.
Remember to water the mother plant as well, but not too much. Giving the air-layer pod more moisture than the ground will actually lead to earlier rooting!
Check up on your marcottage every two or days as part of your garden routine. After the first two weeks, you can only check every week or so, since there shouldn’t be any new surprises compared to the first few days (pets or birds pulling the plastic, stake falling over…).
If you started end of spring, the three summer months should be enough for roots to appear. If you air-layer your lavender during the summer or fall, though, wait until late spring in the following year.
At this stage, either roots start crawling out from the marcottage, or they’re running around in circles inside.
Use shears or a secateur to cut the lavender branch off just beneath the air-layered pouch. Transfer to a fresh pot with potting soil and just a touch of nutrients and compost. If plastic, delicately remove it and the wires. If burlap, simply remove the wires but leave the burlap in place.
There you go! Air layering works more effectively than other methods to propagate lavender. However, its success rate is similar to that of layered lavender.