Zero efforts to convert food and plant waste into rich organic fertilizer, a dream come true? Yes it is! Go for vermicompost, it produces and excellent soil without any smelly side-effects.
Read also:
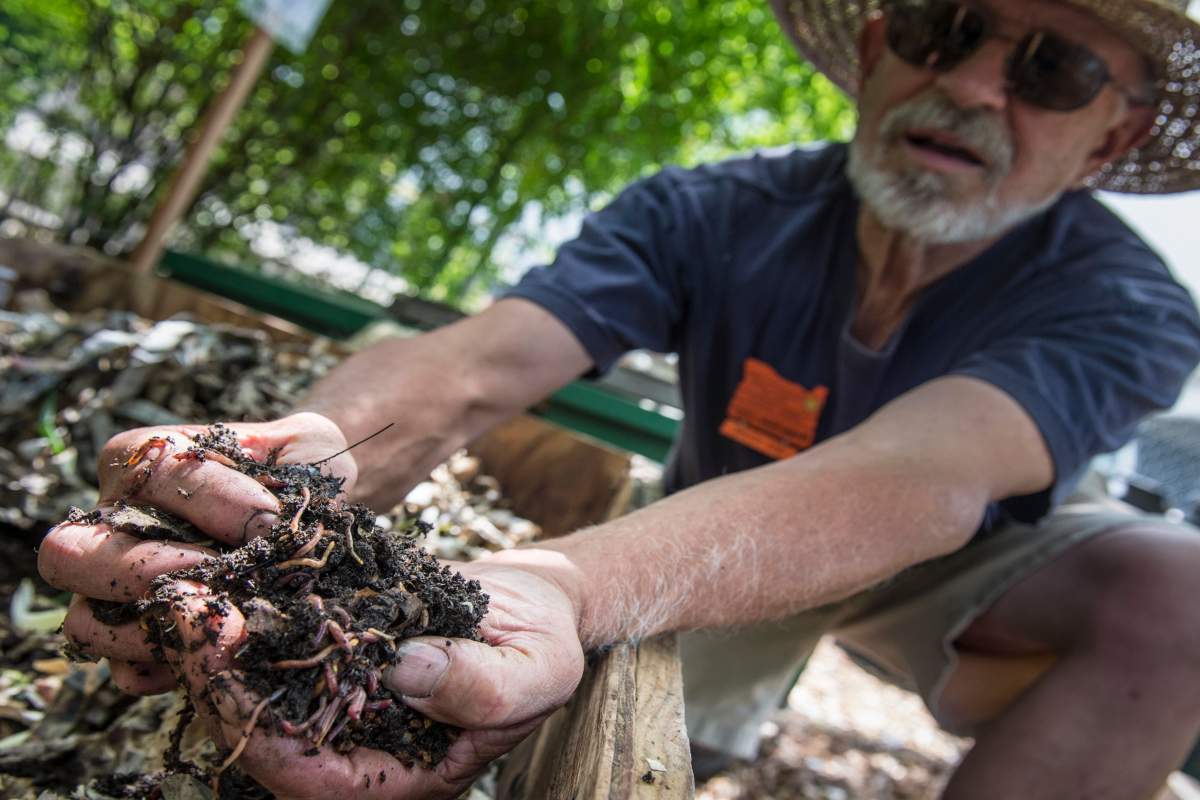
In a traditional composter, kitchen and garden waste is stacked up. As it slowly breaks down, it turns into a rich, natural fertilizer. Vermicompost works in nearly the same fashion, except that it’s writhing with worms that feed on this matter directly to produce fertilizer in the form of droppings after they’ve finished digesting it.
Worms, droppings, “poo” even… not very appealing words, are they? Happily, since the container is nearly airtight, there isn’t any smell. Additionally, it’s a very fast process.
 A vermicomposter should stay in a temperature range between 65 and 80°F (15 to 25°C) for its worms to stay active and alive. If it’s colder or hotter than that, they don’t work as fast. In extreme cases, under 40°F and over 90°F, they might even die. You can keep the vermicomposter outdoors, but you must protect it from freezing. Make sure it’s in the shade in Summer.
Worms like moisture, but they don’t like swimming! It should never rain into the container, but neither should it dry out. Keep the lid on, and if the weather is dry and hot, spray water inside. Ideally, the spot where you set your vermicompost is quiet and well-ventilated.
Given the recommended temperature range for vermicomposts, it’s preferable to place it on a balcony, perhaps even indoors. As long as the worms find their environment adequate, the vermicompost won’t release any foul odors at all! No risk of finding worms in unexpected places, either, since they hate light and wriggle underground in seconds.
A smart tip is to place two different species of worms in your vermicomposter:
Since they both have different diets, they’re perfectly compatible to make sure organic matter breaks down properly.

 To know how many worms you need, first try to estimate how much waste you have to recycle. As a rule of thumb, these worms consume around half their own weight every day. So estimate the amount of waste you produce, and multiply that amount by two. If you produce a pound of kitchen scraps a day, then procure about two pounds of worms.
Best is to ask for a few worms from someone who is already practicing vermicomposting, that way you’ll also get guidance and tips directly. However, it’s also very easy to purchase worms online. Delivery then takes place within days, and the worms are delivered in a pail that typically contains enough food for the worms to travel safely.
 All right! You’ve bought (or made) your vermicomposter! Now is when to prepare the perfect environment for our little wriggling friends.
 It’s quite simple: only put in biodegradable plant matter such as peelings and plant leaves.
Periodically, add a few crushed egg shells to keep the soil from turning too acidic.
Lastly, since plant matter usually contains mostly nitrogen, you’ll also need to add in carbon-rich material. This can be small shreds of cardboard, newspaper (but not the glossy type) and paper handkerchiefs.
Six months after starting the vermicompost, you can harvest the famed natural fertilizer.
It’s best to use a vermicomposter that has several levels to it: this makes it easy to collect the mature compost in the bottom bin.
Another technique is the split bin design. Simply place the fresh organic matter in the new bin, and the worms will naturally switch to the new feeding zone, leaving the old one empty for you to scoop out the compost. What’s certain is that this compost is particularly rich! You can use it to:
 Enrich the substrate for your houseplants
Last of all, don’t forget to collect the “vermi-tea” that leaches out the bottom of the vermicompost! Use it directly as you would liquid fertilizer, simply dilute it with water.