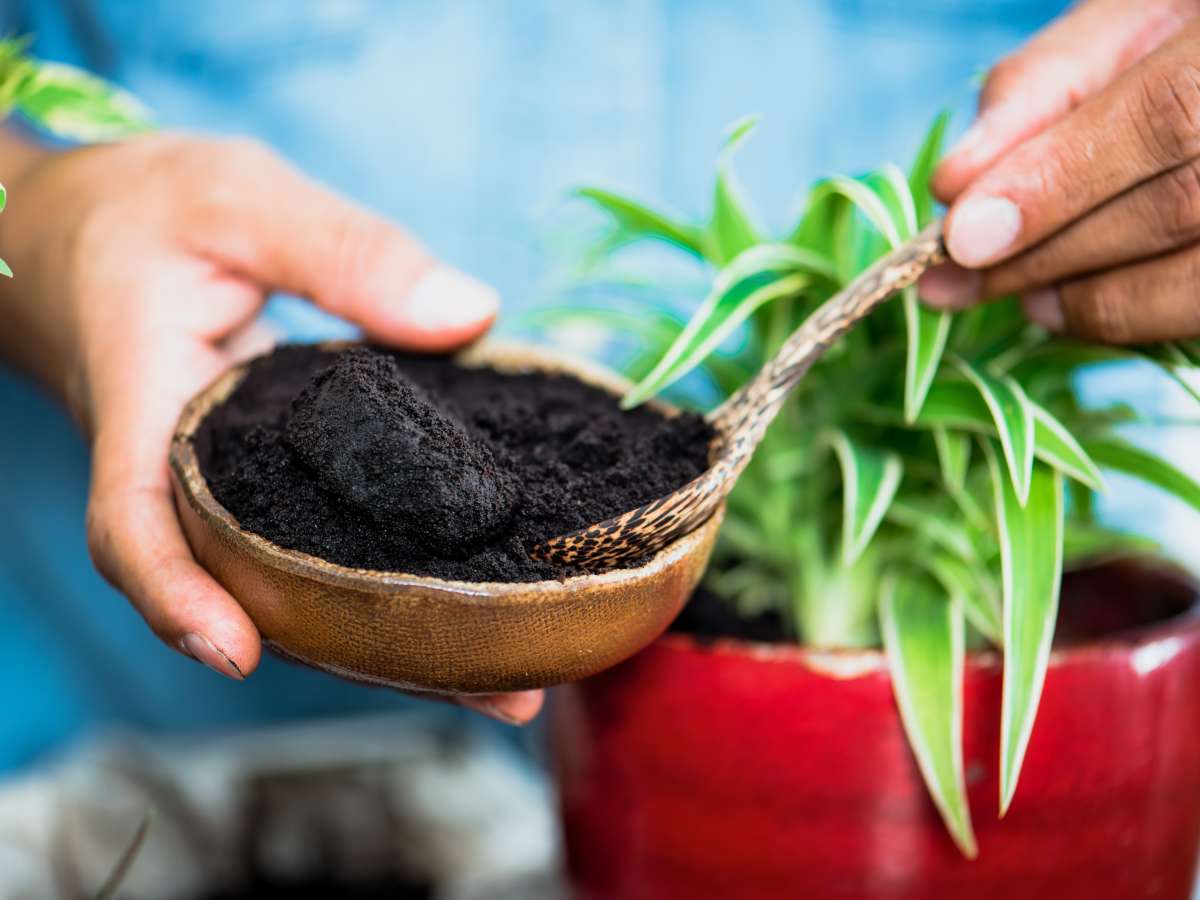
Instead of throwing your used coffee grounds away, recycle them in your garden! Plants will thank you for it!
If you’re not a coffee drinker, you can still reap the benefits of using coffee grounds. Just ask the neighborhood coffee shop for a bucket or two of fresh-pressed coffee grounds!
Read also:
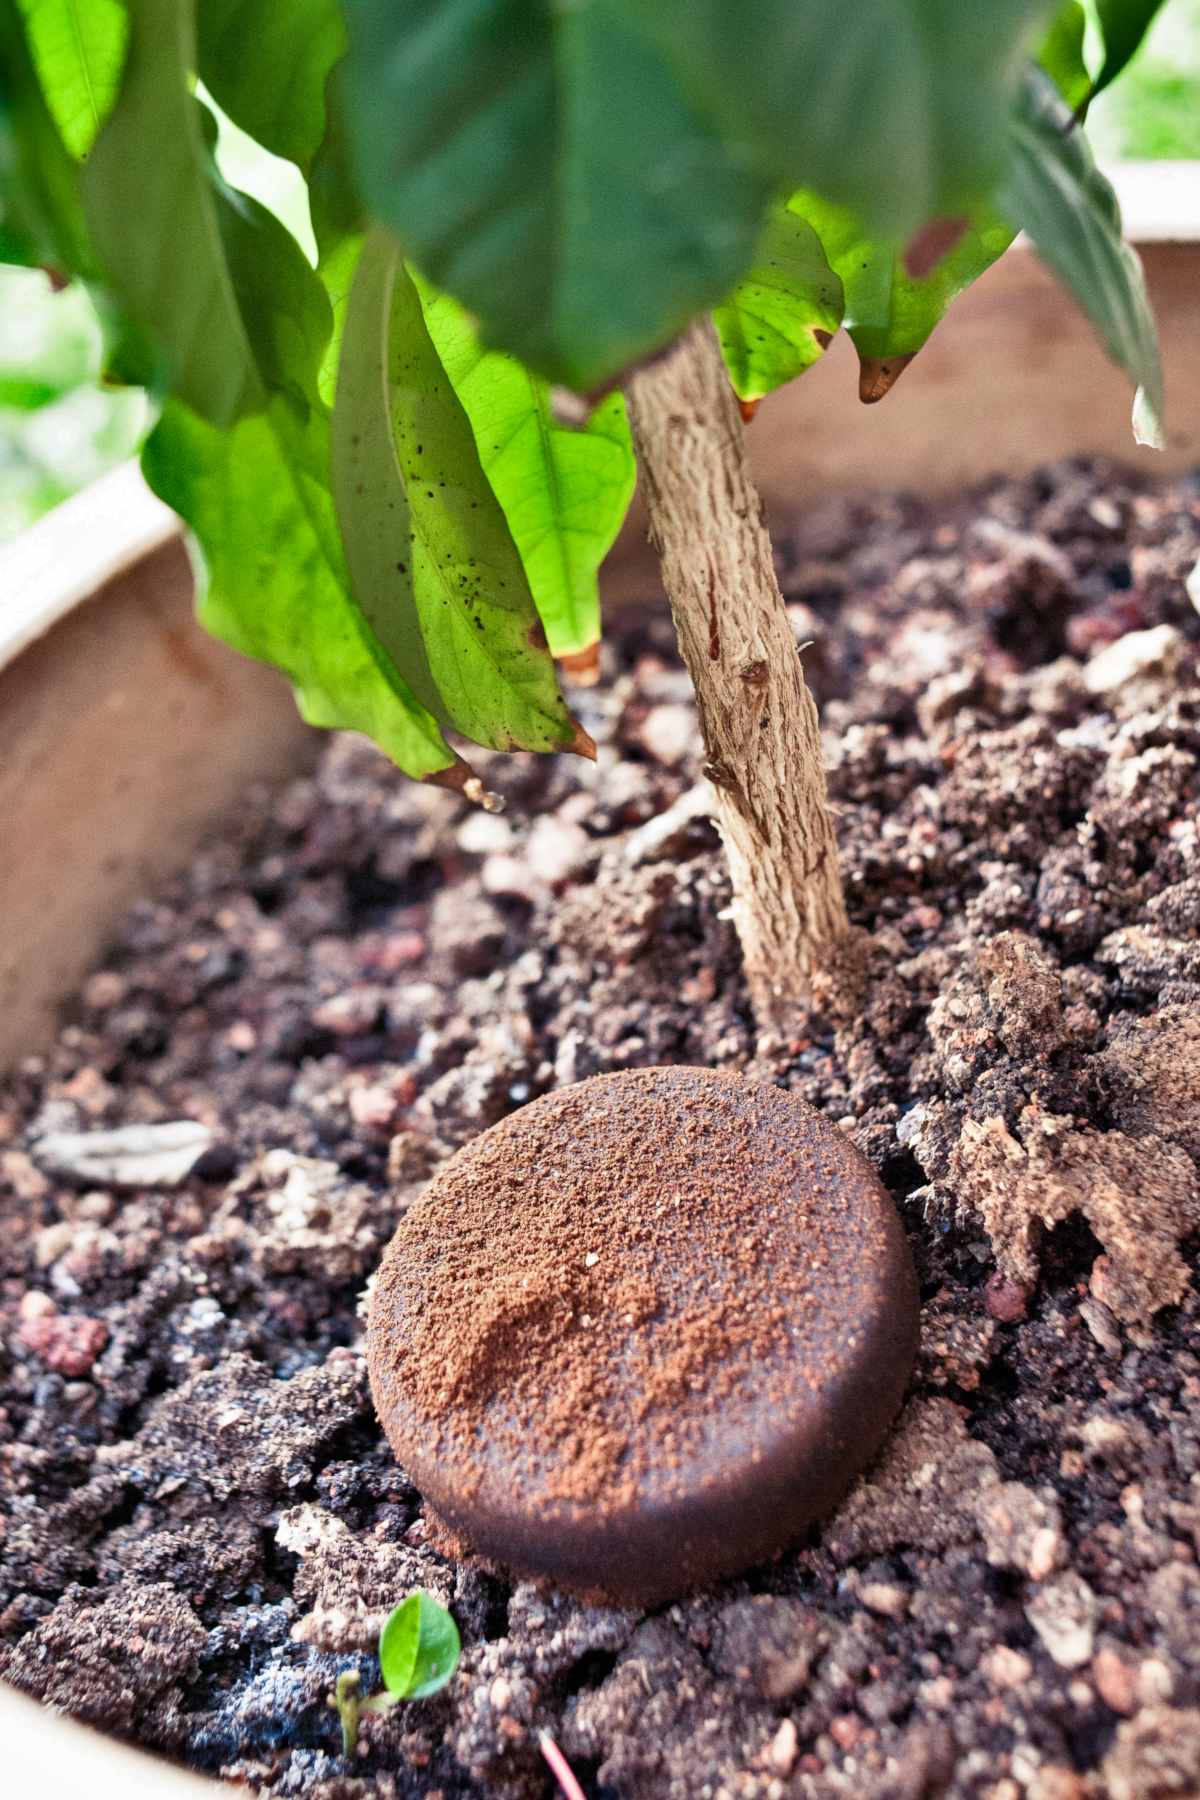
Coffee grounds contain high levels of potassium, magnesium, phosphorus and copper.
It’s an excellent item to combine with other natural fertilizers such as fermented nettle tea or crushed horn and bone powder.
Since these last few are chock full of nitrogen, when paired with your coffee grounds you’ll be giving your plants all they need to thrive.
Spread it at the foot of plants or mix it into the soil.
Spread the grounds thinly and rake them into the top of the soil, because a thick layer of fine particles sets into a crust that sheds water instead of letting it through.
Spread spent coffee grounds on a tray to dry before storing them, since damp grounds packed into a sealed bucket can develop mould, often within a week or two in warm conditions.
Water the bed after spreading the coffee grounds to settle them and keep them moist, which helps soil microbes break them down and slowly release their nutrients to plant roots.
The same bucket of spent grounds can feed a border, turn slugs away or de-ice a path. Here is what each use involves, and where restraint is needed.
| Use | How to apply | Watch out for |
|---|---|---|
| Natural fertiliser | Spread at the foot of plants or mix into the soil | Low in nitrogen, so pair with nettle tea, horn or bone powder |
| Slug and snail barrier | Sprinkle generously in a ring around young seedlings | Renew the ring regularly, and always after rain |
| Cat deterrent | Grounds at the base, leaves wiped or sprayed with cold coffee | Never use hot coffee; citrus peel makes it work better |
| Compost activator | Add in thin layers to the heap to trigger biological activity | Keep it a minor ingredient or plant growth slows |
| Acidifying heath beds | Work into the soil mix around acid-loving shrubs | Alkaline ground will not shift; grow in pots instead |
| Attracting worms | Scatter on the surface, or add freely to a vermicompost | Worms bury it for you, aerating the soil as they go |
| Seedling substrate | Dry it, then blend with seedling compost and plenty of sand | Never use pure: it stunts seedlings and drains poorly |
| Clearing black ice | Scatter on frozen walkways, in place of salt, through winter | Tracked-in grounds stain; unlike salt they harm nothing |
| Wood cleaner | One part grounds, one part water, one part clear vinegar | Test on a hidden patch first, as the colour may change |
| Mushroom growing | Fill a bag with grounds and mix in a strand of mycelium | Three weeks warm and dark, then light and constant moisture |
Whatever the use, moderation is the rule: coffee grounds work best as one ingredient among several.
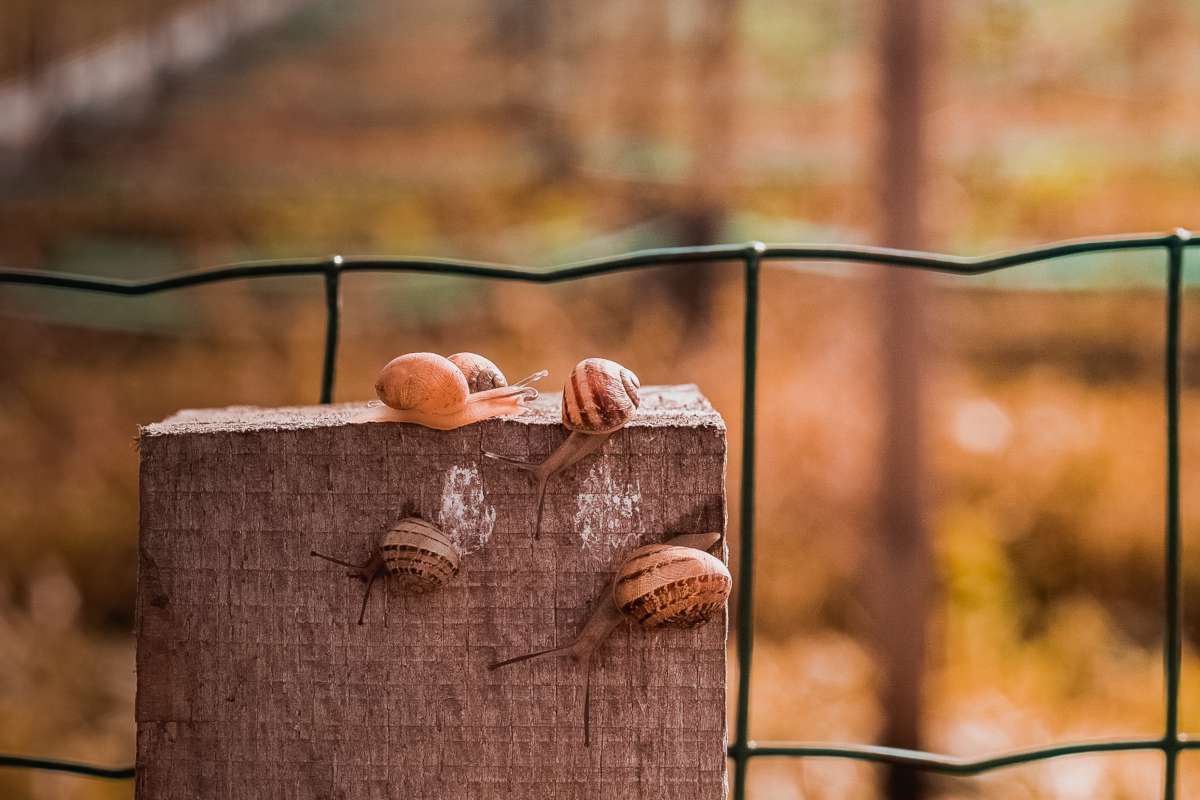
Coffee grounds pack a powerful smell. We love it, but pests like slugs, snails, aphids, ants, flies and nematodes hate it!
Sprinkle it generously around your young seedlings to divert those mollusks away from them. Remember to do this more than once to extend the coffee’s pest-repellent properties, especially after it rains.
Let the grounds dry out before you spread them, as wet clumps quickly turn mouldy.
Spread the ring thinly rather than piling it up: a thick layer of grounds sets into a crust that sheds water instead of letting rain reach the roots.
Yes, we love our cats and kittens, and with their purrs and cuddles they sure love us back. But for some strange reason they just can’t understand a few basic things, like not to nibble at our prize peace lily or poo all over the brand new perennial flower bed!
To keep your cat from leaving teeth marks on leaves, wipe them with coffee grounds. Spread some grounds at the foot of the plant and spray the leaves with coffee (not hot! at room temperature only). The smell will send the cat further off, especially if you double down and add citrus peels, too.
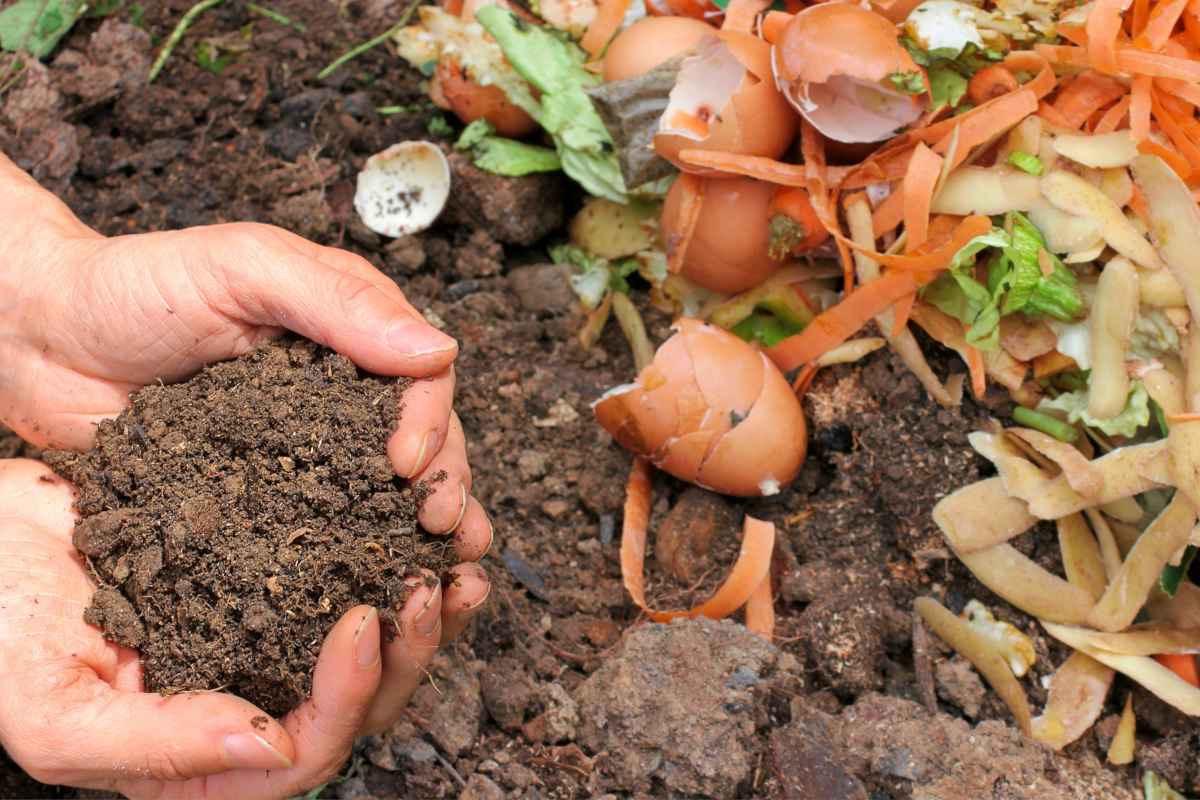
Just like weedy tea, coffee grounds trigger and activate compost activity. The biological activity it induces speeds up decay and breakdown of organic matter into nutrients.
Add the grounds in thin layers and never as one thick wet lump, which mats together and turns airless.
Grounds count as a wet, nitrogen-rich green, so balance each bucketful with dry browns like shredded cardboard, straw or autumn leaves.
Paper coffee filters go on the heap too.
Turn the heap after a large addition of grounds, because their fine particles compact and squeeze out the air the microbes need.
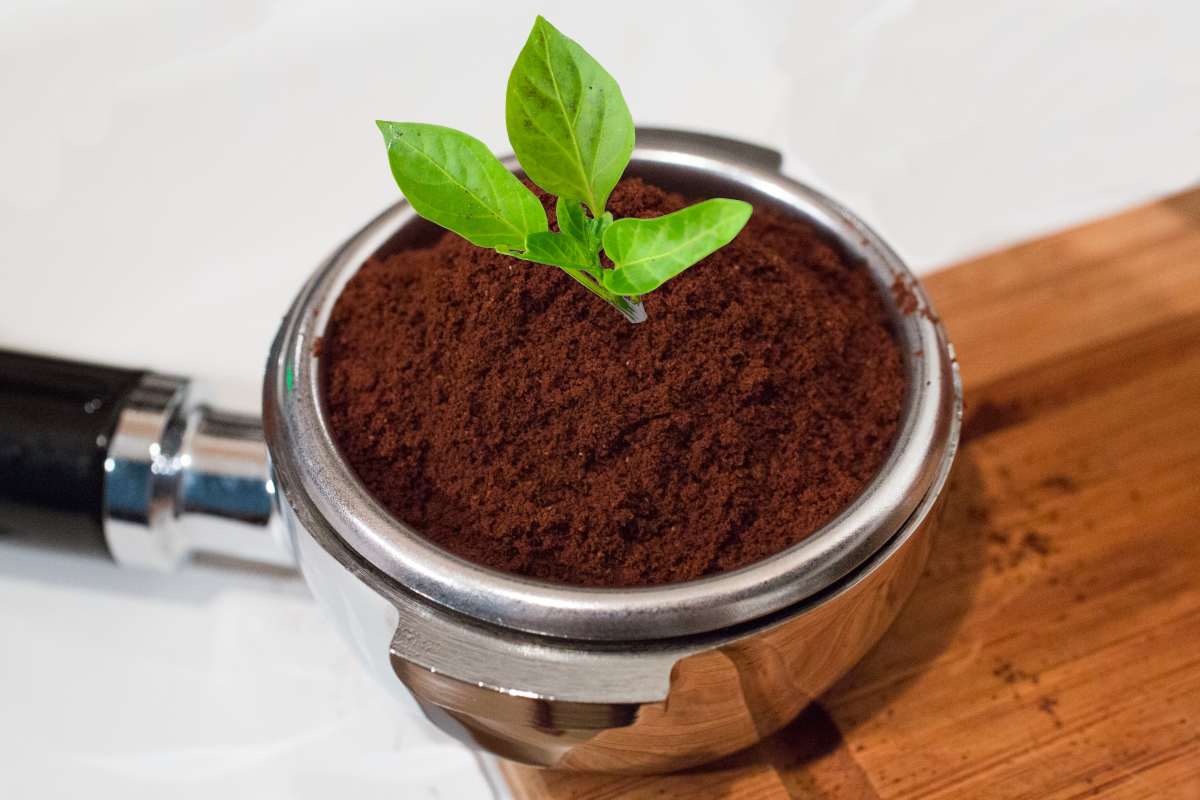
Coffee grounds naturally alter the soil’s pH levels. If you’re growing lots of heath plants, you’re in luck: it’s just what your soil mix needs!
Hydrangeas will stay blue even if the underlying soil is neutral. In alkaline soil, you can’t really change the pH, even over time. It’s much simpler to use pots for growing in that case.
Brewing extracts many of coffee’s soluble acids, and spent grounds usually test near neutral, though reported values range from roughly pH 5 to 6.8, so they typically shift soil pH only slightly.
For a real drop in pH, pair the grounds with ericaceous compost or a dressing of elemental sulphur.
Blue hydrangea flowers also need aluminium in the soil, not just acidity, so acidic ground that lacks it still gives pink blooms.
Lavender and clematis prefer neutral-to-alkaline soil, but used coffee grounds are close to pH-neutral and won’t meaningfully acidify it, so apply them thinly or composted to avoid matting rather than fearing acidity.
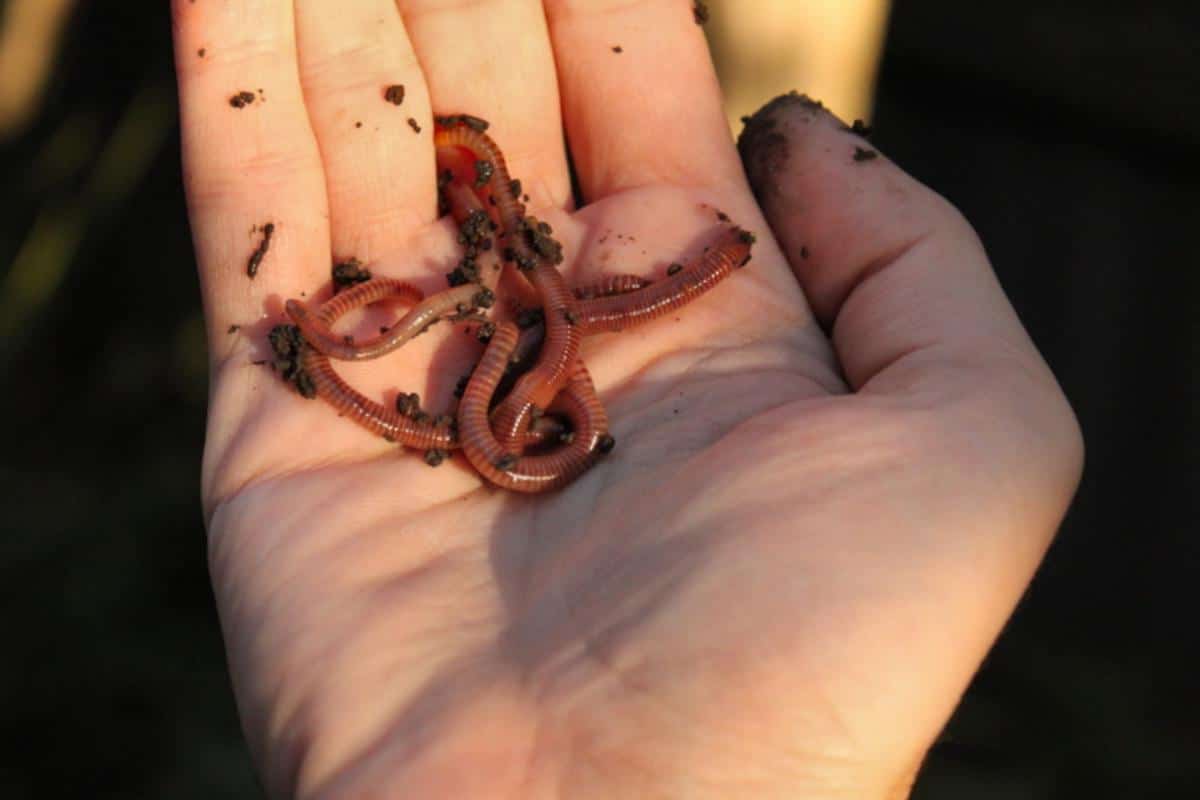
Coffee grounds attract worms, and these mix the grounds deep down into the soil. This benefits the soil as a whole, on top of feeding worms a healthy dose of nutrients.
Worms are essential because as they burrow around, their galleries help bring oxygen for micro-organisms to breath with.
Include coffee grounds in a vermicompost with no restrictions!
Rake the grounds lightly into the surface, or tuck them under a thin mulch, so worms can feed without the layer baking dry.
In a wormery, balance the wet grounds with shredded cardboard or torn paper, since grounds alone pack down and squeeze the air out.
Once dry, coffee grounds can be used as a growing substrate for seedlings. Thanks to its nutrients and pest-repelling properties, it’s ideal for young seedlings. However, you shouldn’t use it pure. Mix it into seedling soil mix and a good portion of sand. Pure coffee grounds will stunt seedlings and also won’t drain well enough, depending on how fine it is ground.
Spread the grounds in a thin layer to dry completely before mixing, since damp ones clump and quickly grow a white fuzz of mould on the surface of the tray.
Keep the grounds a minor part of the blend, well below the share of seedling compost.
Coffee grounds spread thickly tend to compact into a crust that sheds water rather than absorbing it, so it is safer to scatter them thinly or mix them into soil or compost.
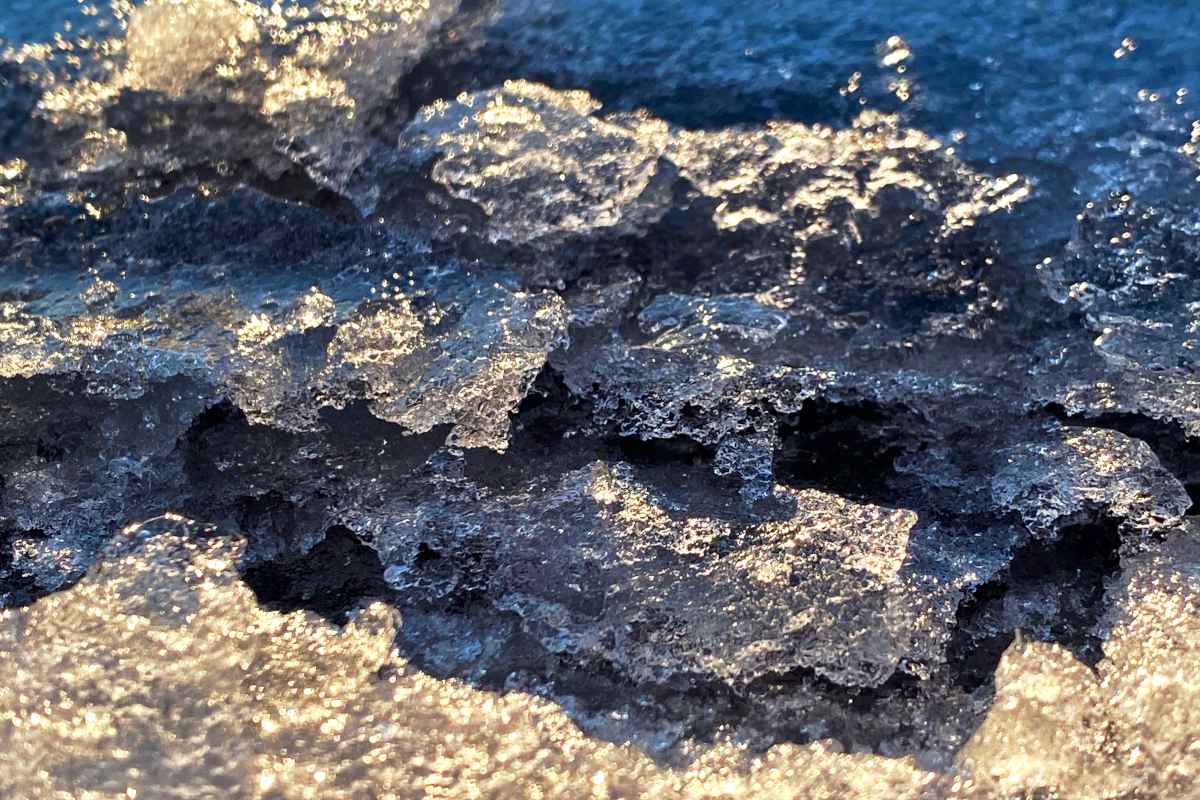
Black coffee against black ice! Just like salt, coffee grounds are excellent to avoid slipping on black ice in walkways when it freezes over. It works chemically in the same manner as salt does (acidic water has a lower freezing point), but it’s 100% respectful of the environment. Salt, on the other hand, is a poison for plants and when it washes out, it kills entire ecosystems.
Spent coffee grounds are compostable and can accumulate in pipes, so sweeping them off the paving into a compost heap or garden bed after the thaw keeps them out of the drains.

Mix one volume coffee grounds with one volume water and one part clear vinegar: voilà, an organic wood cleaner!
It will restore the wood’s original colors and masks scratches.
Many two-part materials, such as epoxies, grouts, and mixed concrete, begin curing once combined and have a limited working time, so any quantity mixed beyond immediate need typically hardens and is wasted.
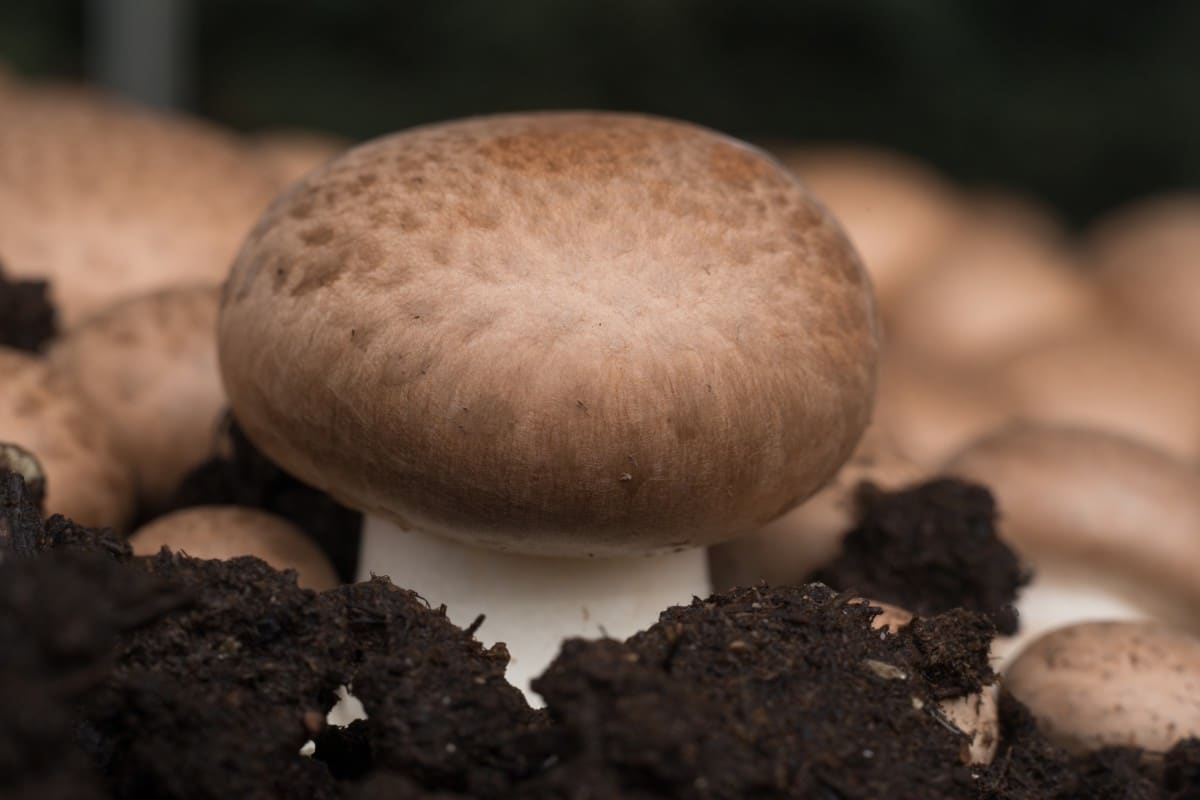
Since it’s cheap (even free!), ground coffee waste is a great alternative to grow your own mushrooms on it. All you need to do is fill a bag up with coffee grounds and mix a strand of mycelium in.
Three weeks later, after storing it in a dark, warm spot, just bring the pouch out into the light and water it to maintain constant moisture. Sprouting usually occurs ten days later: tiny mushrooms that will swell within hours!