Been wanting to start a veggie patch but not sure how get started? Find out how to start your first vegetable patch in 6 key steps!
All our growing tips, for each vegetable, can be found in our Vegetable patch section.
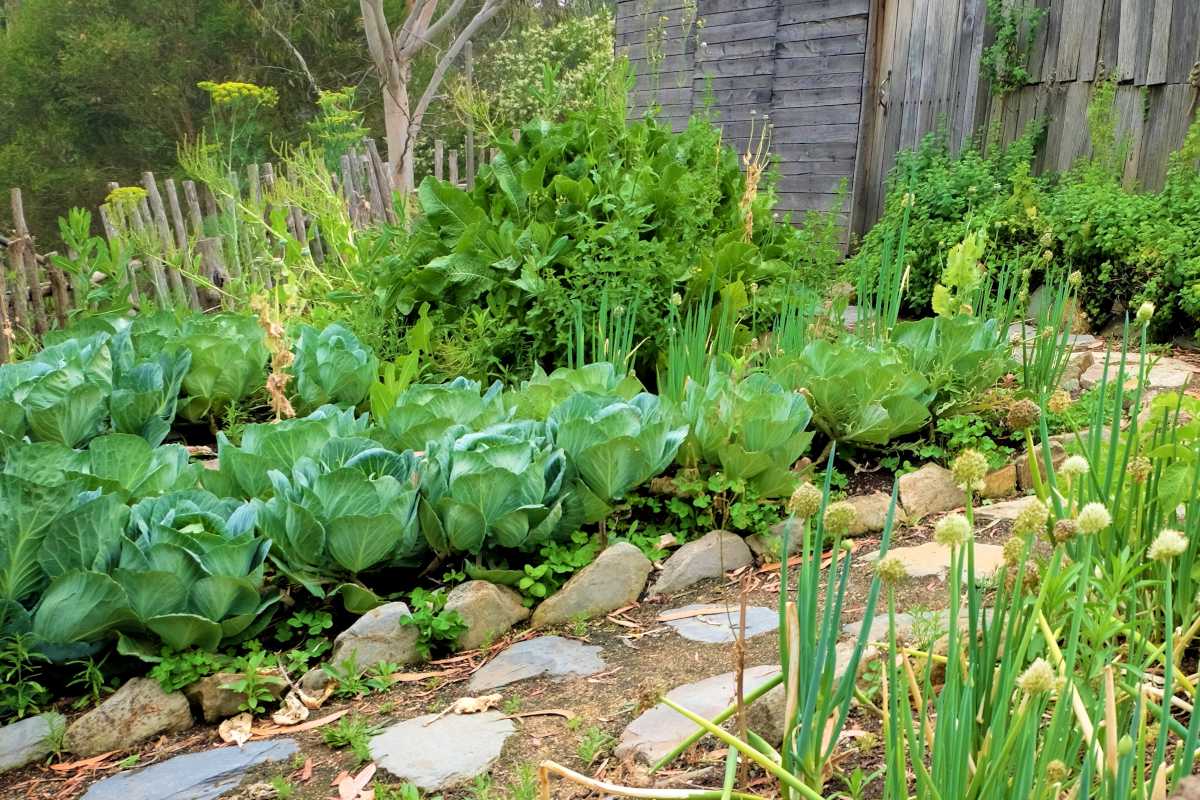
 This is the first step when creating your vegetable patch: where should you put it? Most vegetable species require full sun, so if you’re in the Northern hemisphere, this means either South-facing or West-facing.
If your plot has an area that’s flatter than the rest, choose that spot because it’ll be easier to cultivate. However, it’s also perfectly possible to grow your vegetables along a slope or even to set up a series of terraces that are more or less narrow.
For those who might not have much space outdoors, you should know there are lots of raised planters that will fit right in on any deck or balcony.
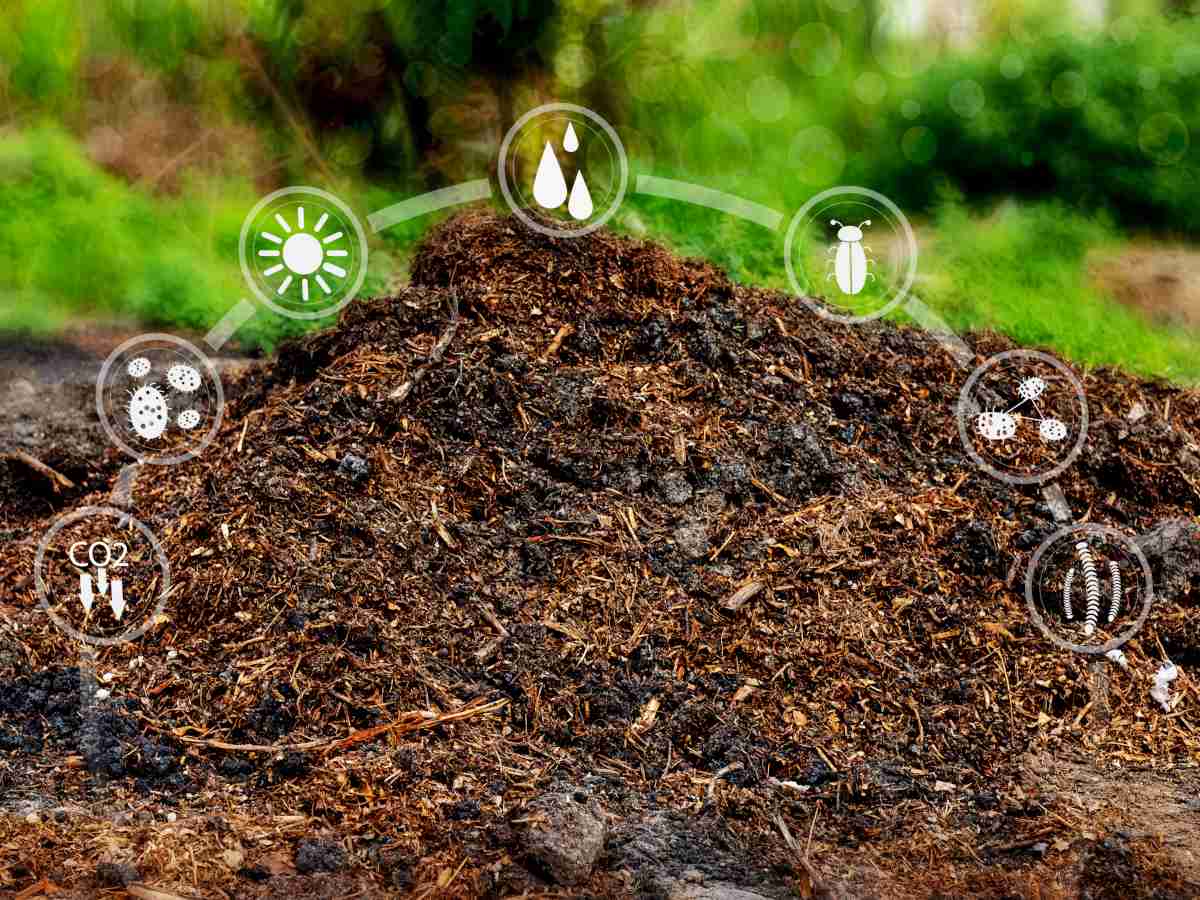
It’s important to know your type of soil well before planting. Indeed, sometimes soil is too poor and will need mulch and organic fertilizer, whereas these two things would suffocate plants if you added them to clay soil. Soil is usually in one of three categories:
 Sandy soil: this type of soil is often rather poor, since nutrients wash out and aren’t retained. The sun warms it up fast, and it dries up very easily. For this type of substrate, it’s best to add moderate amounts of organic matter regularly.
To determine in which category your soil belongs, grab a handful of dirt and try to pack it into a ball, as you would a snowball or a ball of dough. If you’re able to form a tight, heavy ball, your soil is clay. If it’s impossible to pack the soil together because it always breaks up, then it’s sand. If you’re able to form something a bit like a ball, but it cracks up and slowly falls apart, then the soil you have is loam.
 Lastly, only a special pH test can teach you the acidity or alkalinity of your soil. It’s very easy to perform: gather a spoonful of dirt and place it in an airtight jar. Pour water in, and shake it all up. Once the soil has settled down, dip a pH testing strip into the water and observe what result comes out. You can find testing strips for pH in pharmacies and in garden stores.
Now that you’re familiar with your type of soil, you can match these parameters with the characteristics that best match those of the plants you’re aiming to grow. For some, you might want to add nutrients, whereas for other you might need to lighten the soil up a bit with sand…
 A vegetable patch’s first job is to make you happy! Start listing what you’d really like to eat. After that, read up on when those plants are supposed to be planted, and group all the plants that need planting around the same dates. For instance red beet, zucchini and beans can all be planted in May. In July, it’s possible to sow carrot, radish and lettuce which will all be harvested later on.
All our growing tips are in the Vegetable patch section of this website.
 For each vegetable, you should bring the following information together:
With all these elements, you can finally map out your first vegetable patch. With the planting distance, you’ll be able to figure out how much space you need per plant. Thanks to harvest dates, you’ll know at which point in time the one or the other vegetable will free up its spot in the vegetable patch.
Another consideration is crop rotation! There’s a great many plants that should not be repeatedly planted in the same spot two years in a row.
→ These dates, and more, are summarized in our Moon Phase planting calendar.
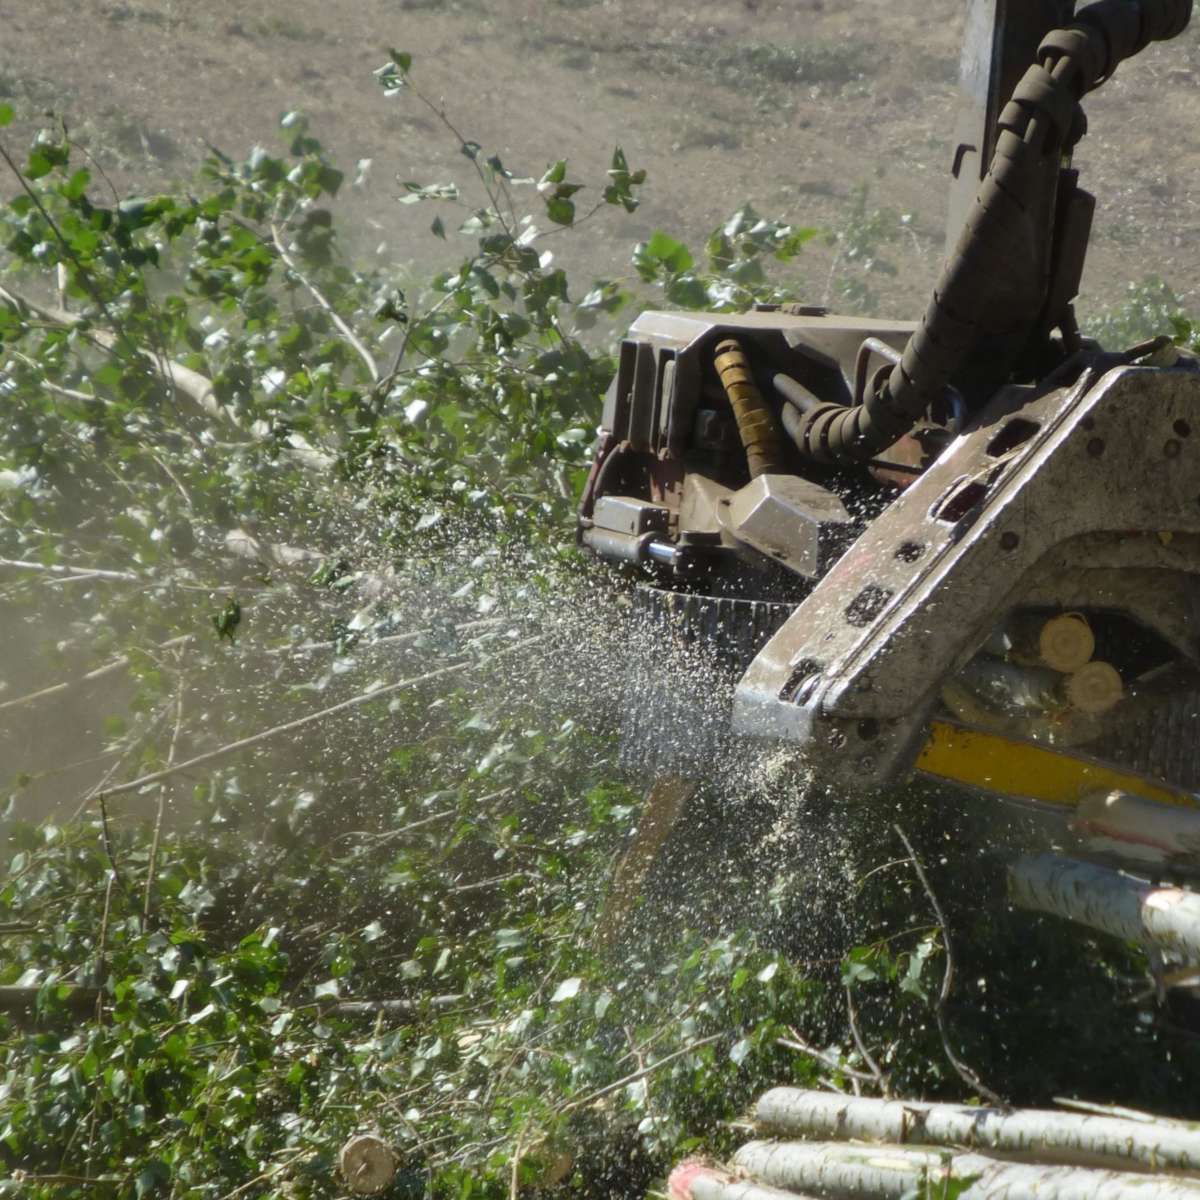
 All right, that’s enough theory – on to the practical part! Now you need to get your plot ready to welcome your future vegetables. For that, remove any weeds and rocks. If ever you’re planting where you used to have lawn grass growing, remove the layer of grass with a spade.
Another solution is to cover the whole area with a thick tarpaulin for several weeks: this will smother the lawn. It’ll be much easier to remove after that.
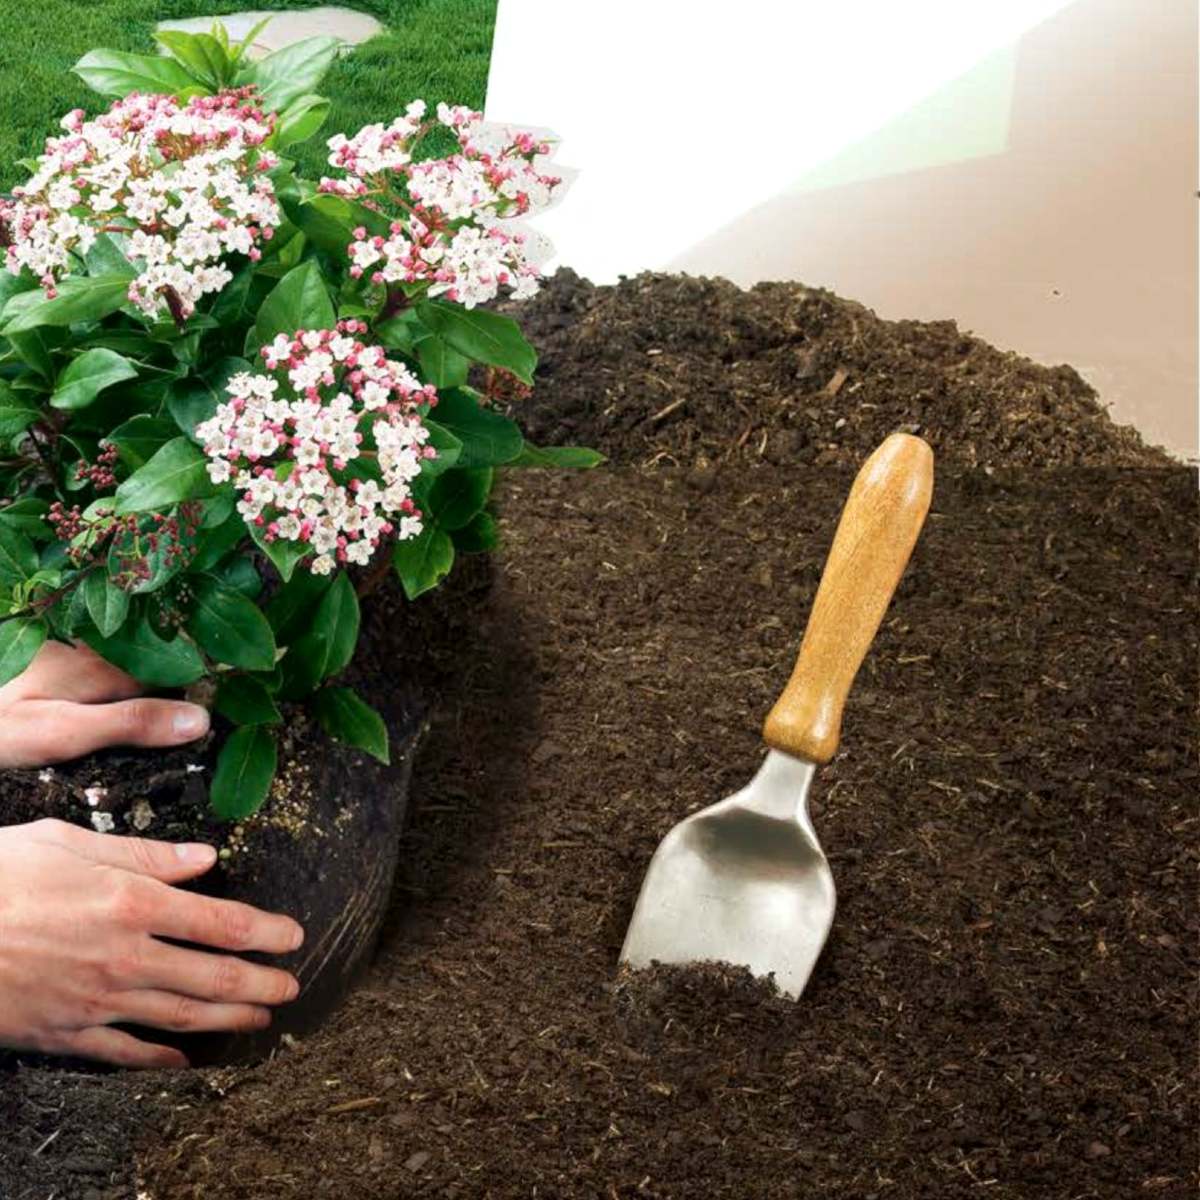
Make one pass across the whole surface with a grelinette to break up the first layer of soil without turning it inside-out. Last of all, run the rake atop the planting plot to level it out. Depending on your type of soil, now might be a good time to add compost. For that, spread a layer of ripe, well-decomposed compost atop the entire plot. That’s it! All that’s left to do is to plant or sow!