Landscaping a flower bed always starts with a basic question: “What type of soil is in my garden?” It’s important to know which plants will grow best.
Follow our guideline one step at a time, and you’ll quickly master the art of determining the soil type for your garden.
There are 5 main types of soil:
 Brown or tan in color, this type of soil is easy to shape like putty. It sticks to your fingers when wet. Although it’s very fertile, it tends to get compact and difficult to work with. It’s often qualified as heavy soil.
More grayish, yellow or whitish in color, this soil type is brittle, breaks down in hand and grains tumble out from between your fingers. Since sandy soil doesn’t retain water at all, it also doesn’t harbor any nutrients. It’s rather poor. An advantage, nonetheless, is that it’s excellent for aeration and roots can quickly dig paths through it.
Also on the brittle side, it tends to be a very light color. Chalky soil is often dry and not so fertile.
Deep black color, this soil contains extremely high levels of organic matter. It results from plant materials decomposing. It is a very fertile soil type, but is often too wet.
It’s a mix of the above. Overall the best possible soil type, with about 50 – 60% sand, 20% clay, 5 to 10% silt and 5 to 10% organic matter.
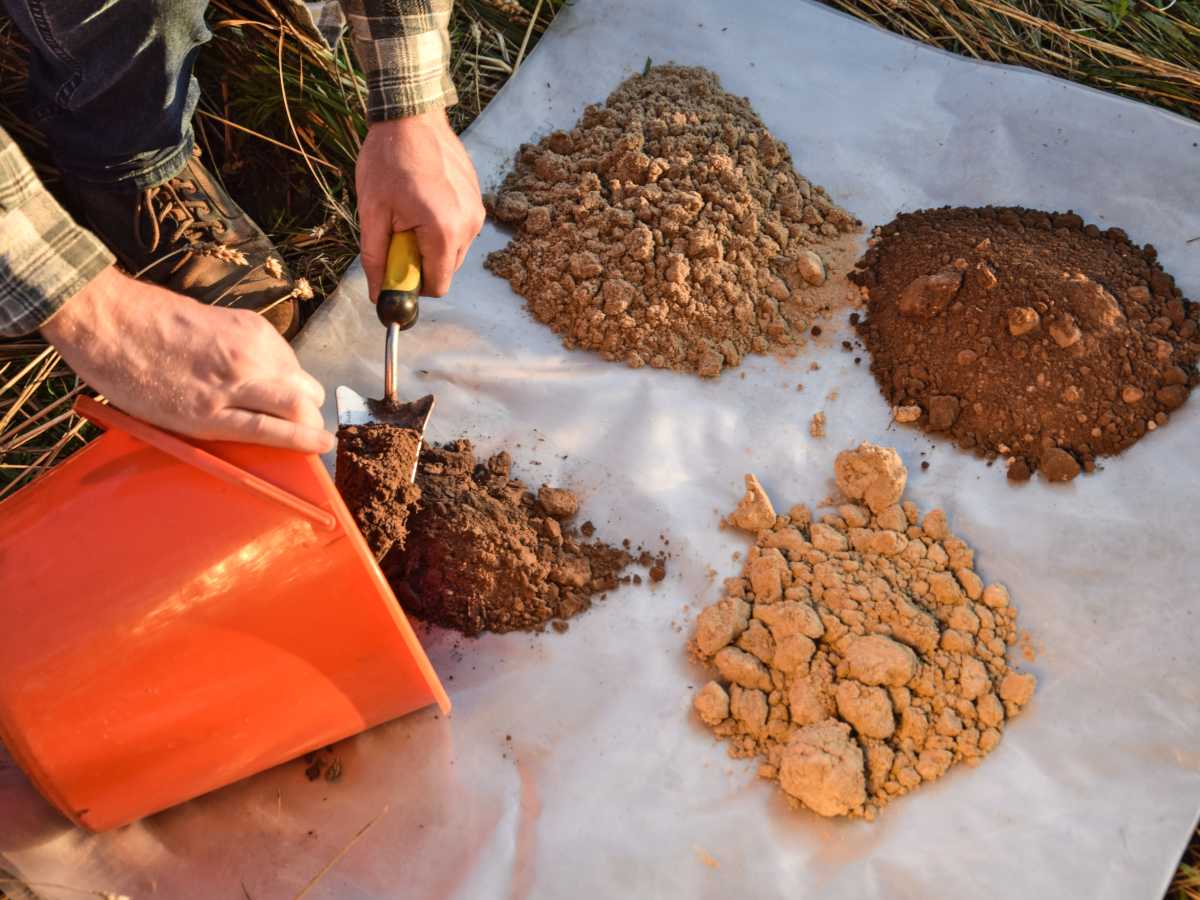
There is a simple 4-step method to nail down the right type of soil.
Dig 6 holes about 20 cm deep in different spots spread out over the garden and collect some soil. A handful is enough. After that, mix your samples all together in a pail.
large items should be removed for this analysis (rocks, sticks…). To remove them easily, use a sieve with a 8 or 10 size rating (2 to 2.5 mm or 0.07 to 0.1 inch-size holes).
 Note in some cases, even after 24 hours, the water might still seem clouded. If so, you’ll have to wait for even longer, until you can see through the water perfectly.
Once the waiting is over, you’ll quickly notice the different layers that formed in your jar. The bottom-most layer is always sand. Above that, you’ll have a layer of silt. The third layer from the bottom is clay and the last layer, floating at the top of the water, is organic matter. Use a ruler to measure how thick each layer is. Sand is the easiest layer to measure since you can clearly see the grains with the naked eye. What’s most difficult is distinguishing silt from clay: both have grains that are nearly the same size. Tricks to help you out are noticing that the layer of clay at the top usually seems more compacted and uniform; it also is a different color. Once you’ve measured the layers (water doesn’t count), on to a little bit of math (note that organic matter doesn’t influence soil type since it’s not included in the computation):

Now that you’ve got the breakdown of what your soil is made of, let’s interpret the results. For that you just need a soil type triangle (also called a soil texture triangle). It’s rather easy to use:
 Mark the percentages for each component type on the relevant side of the triangle (clay to the left, silt on the right, and sands at the bottom).
You’ve just figured out how to determine the type of soil in your garden! It’ll be much easier to select the right kind of flowers for your flower beds.
If you’ve got a very large garden with sloped portions, you might want to prepare different sets of samples. Soil in one part might not be the same as soil further off.