Jerusalem artichoke is an heirloom vegetable that is reappearing in gardens, with good reason: it is delicious!
Key Jerusalem artichoke facts
Name – Helianthus tuberosus
Family – Asteraceae
Type – vegetable, rhizome perennial
Height – 6 to 8 feet (2 to 2.5 m)
Exposure – full sun
Soil – ordinary
Harvest – November to March
From planting to harvest, growing it really isn’t difficult. Jerusalem artichokes will thrill you without a doubt once harvested and in your plate.
It’s only possible to start growing Jerusalem artichoke by planting entire, fair-sized tubers. It has the great advantage of growing in all kinds of soil.
Growing Jerusalem artichoke can actually turn to become very invasive. Mark out its allocated space clearly because it tends to spread to other plots fast.
Plant the tubers preferably during the months of February-March. It’s also possible to plant up until the middle of spring.
Usually, special tubers from garden stores are used for planting. But you can also simply plant normal, store-bought tubers which were actually sold as food.
 Jerusalem artichoke grows in normal soil, but produces a more bountiful harvest when manure or manure juice is added.
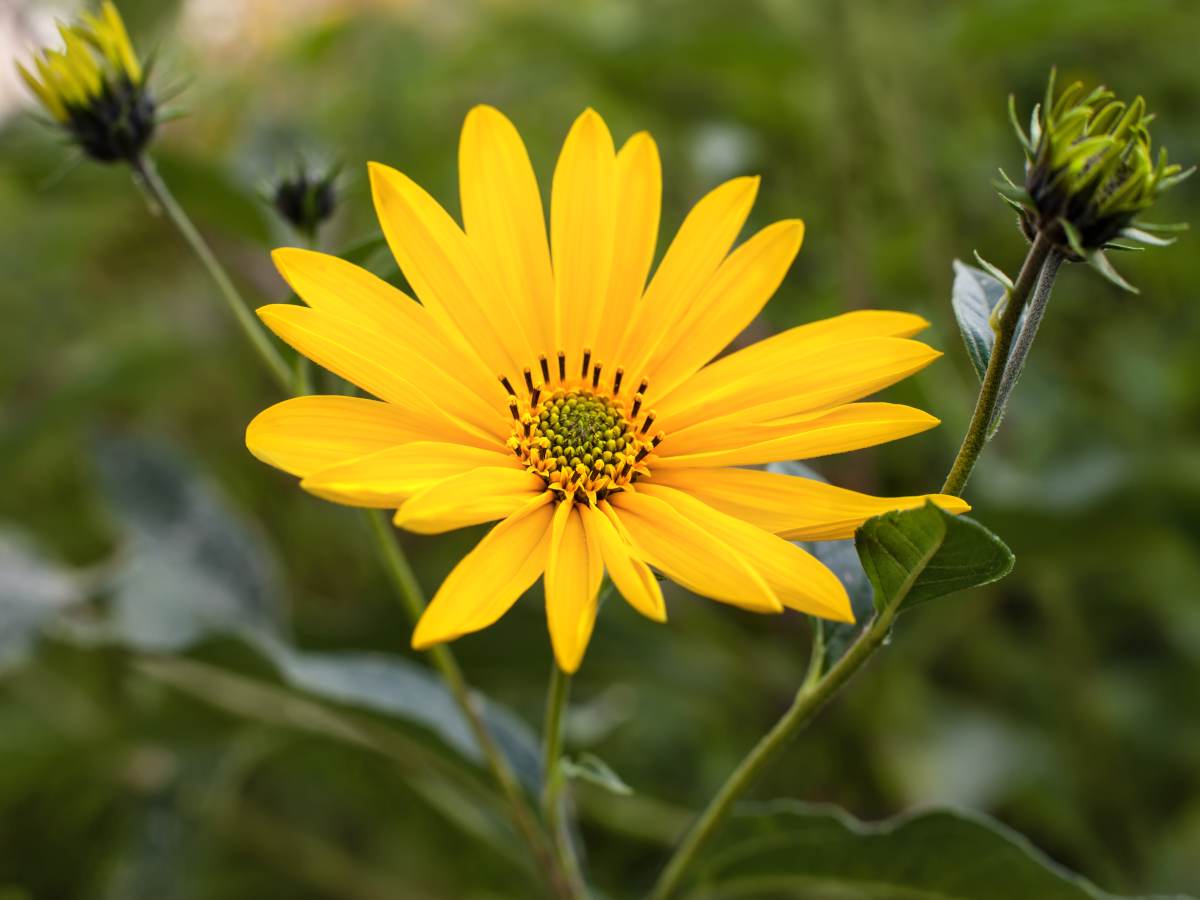
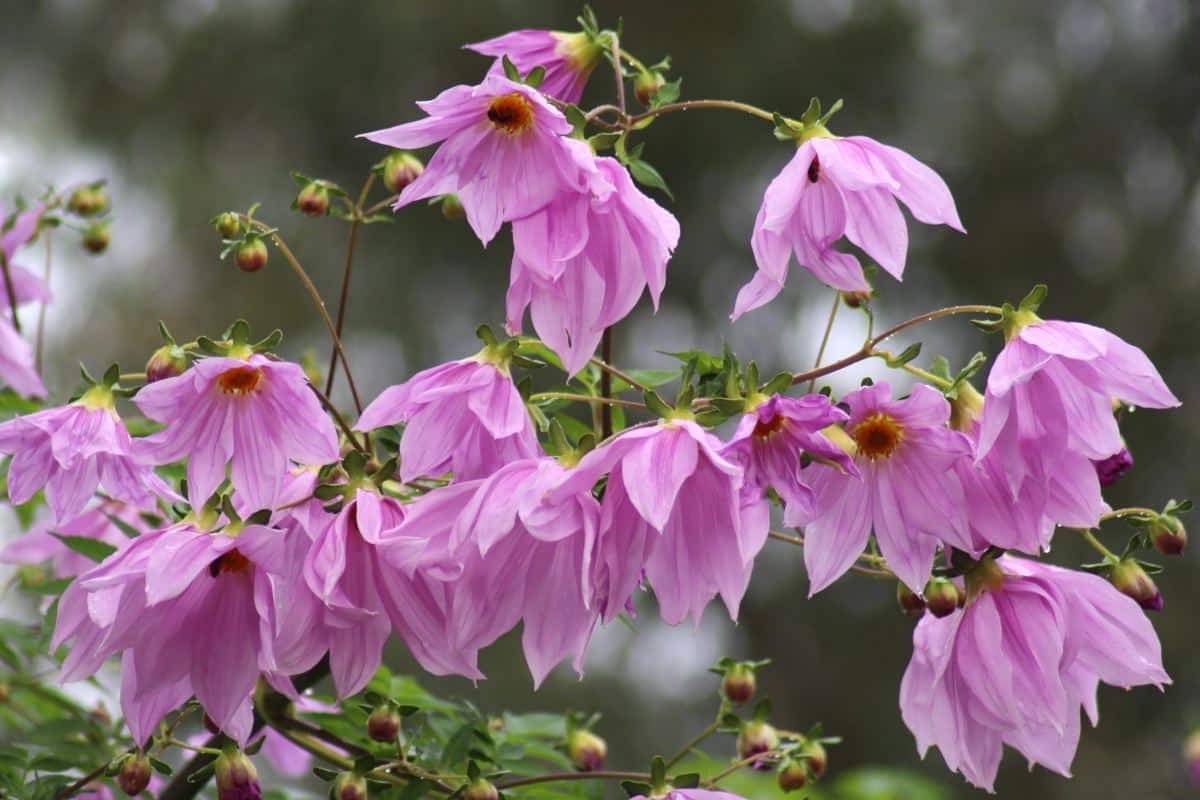
Consider planting jerusalem artichoke in the middle of a flower bed. Its flowers are indeed a beautiful yellow color.
 Container growing is one of the best options for planting this root crop. Indeed, harvesting is made very easy: when stems die off, tip the pot over and pick the tubers out!
The harder part is that it’ll need more attention and care:
When properly cared for, Jerusalem artichoke can produce a harvest of about 7 pounds (3 kg) per square yard (square meter).
 You may start harvesting when the plants start blooming. Continue all winter long, collecting just enough for your weekly needs.
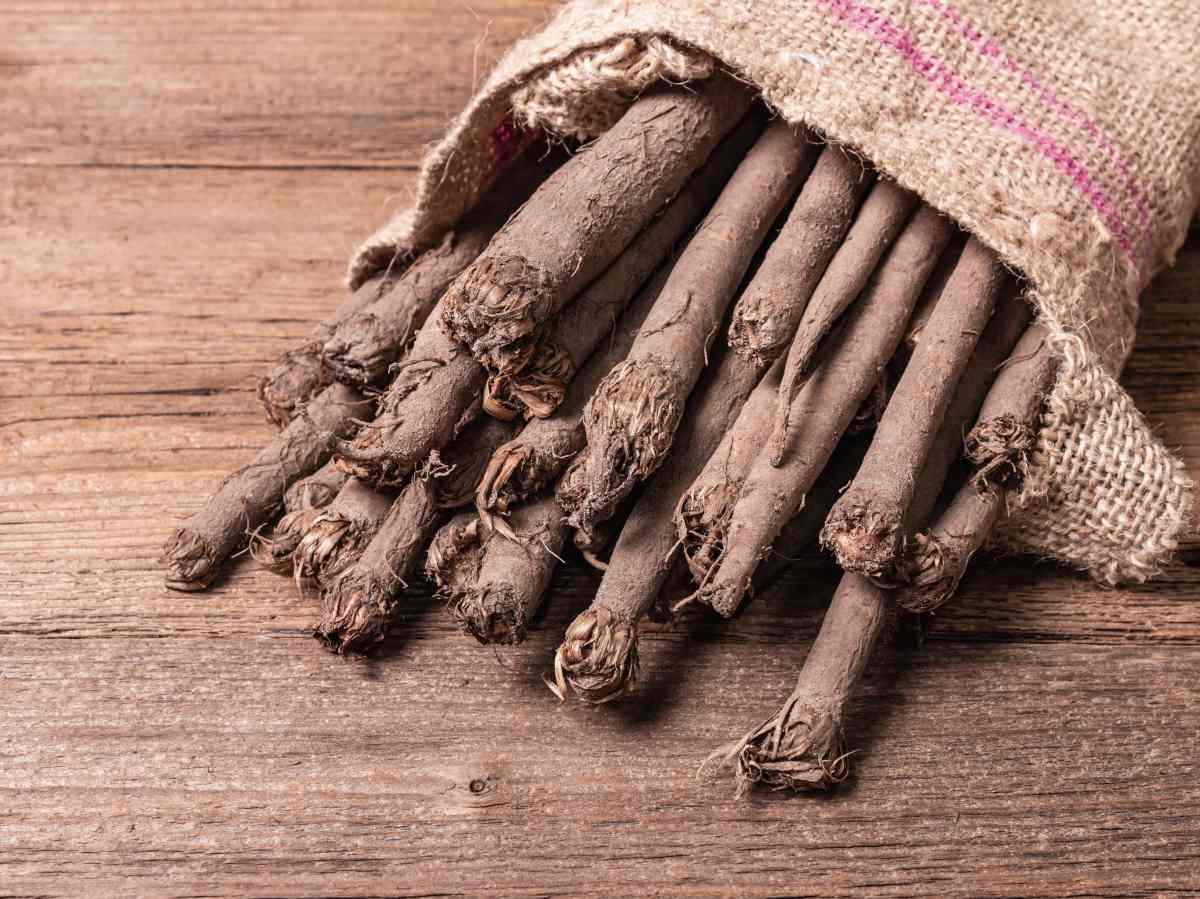
Pull the tubers out; leverage them out with a pitchfork, for instance.
Leave whatever Jerusalem artichoke tubers you don’t immediately need in the ground, that’s where they’ll keep the best.
Once dug out, it’s preferable to rinse your Jerusalem artichoke off with soft brush to remove any soil.
This extends keeping since it removes moisture: there’s a high risk of diseases developing if moisture accumulates.
 An easy-to-grow plant, Jerusalem artichoke is extremely hardy. It can spend all winter long out in the cold without flinching. For areas where winters are cold and there’s a high chance of deep freezing, here’s a trick to make harvesting easier.
After peeling your Jerusalem artichoke, rub it with a dash of lemon juice so it doesn’t turn black. Indeed, though the skin is edible, it’s usually better to peel it off when cooking.
With high levels of vitamins and very few calories, it will impart 4 times less calories than potatoes. This is the perfect vegetable for your weight-loss diet. With high levels of minerals and fiber, it will trigger tonic and diuretic activity in your body.
→ Try this duck sheperd’s pie with Jerusalem artichoke recipe
Native to North America, great chefs are more likely to be aware of it than the public at large. Indeed, it has a distinct artichoke-like taste. That’s why it’s called Jerusalem Artichoke.
But why Jerusalem? Some say it’s what English-speaking Americans heard when Italian-speaking Americans described the plant: “girasole“. For others, the first Pilgrims fleeing religious oppression were in search of a “New Jerusalem”. They then named the plant when they saw Indian Natives growing it. Practically, though, what they saw was a relative of Jerusalem artichoke called Helianthis.

Once it has been dug out, eat your Jerusalem artichoke quickly because it won’t keep for very long! Best leave it in the ground until you need it.
Smart!