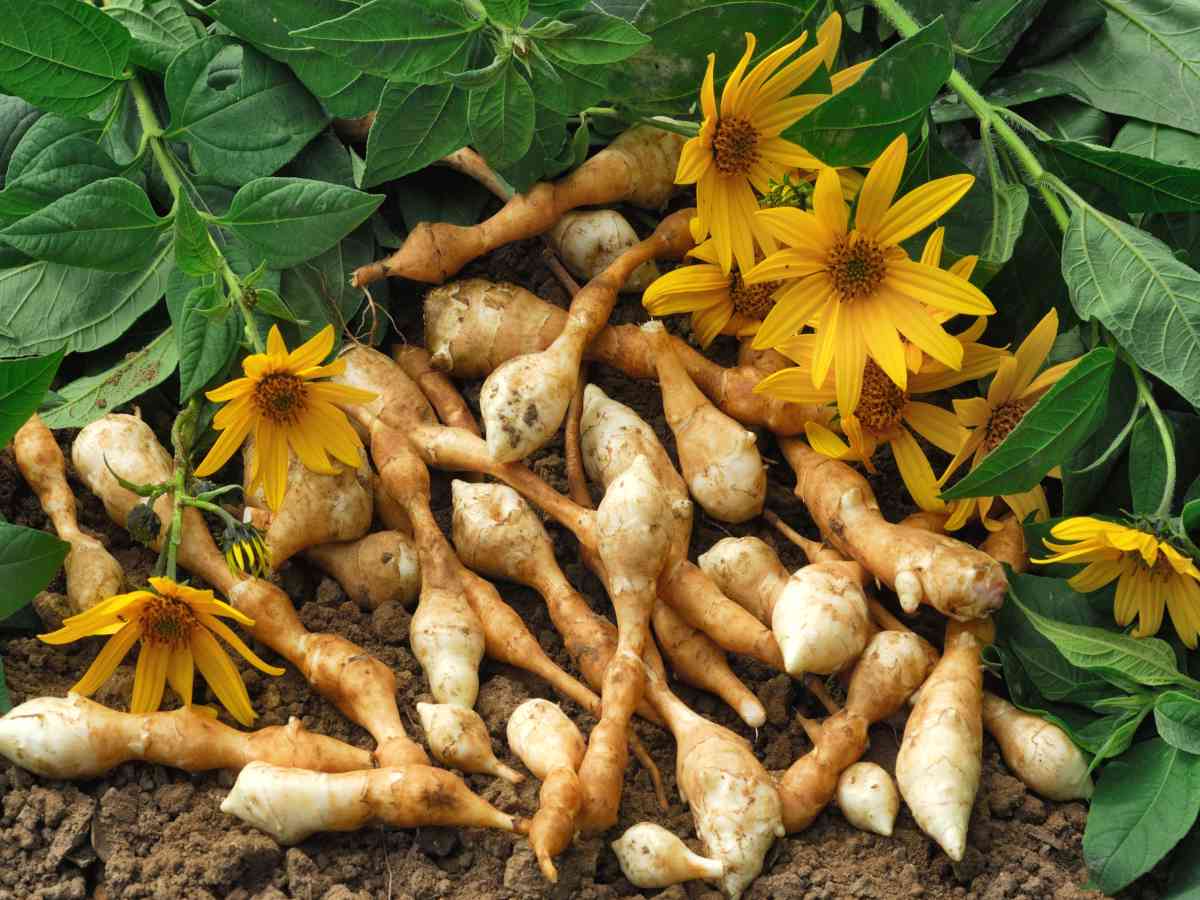
Bright yellow flowers top gangly stems up to 6½ feet tall, and underneath them sits a crop of tubers that stands in for potato in any recipe. Helianthis (Helianthus strumosus) asks only full sun and shelter from wind; give it that and it hands you flowers and dinner, while shrugging off powdery mildew.
| Name | Helianthus strumosus |
|---|---|
| Common | pale-leaved woodland sunflower, helianthis |
| Family | Asteraceae |
| Type | Root vegetable |
| Height | 3 to 6 ½ feet (1 to 2 meters) |
| Planting distance | every 20 to 24 inches (50-60 cm) |
| Exposure | full sun |
| Soil | any type |
| Planting | mid- to late spring |
| Harvest | late winter to early spring |
Perfect substitute for potato in any recipe. And, not to be forgotten, helianthis is also a very beautiful perennial with bright yellow flowers, like its cousin Jerusalem artichoke.
Two options to get your helianthis crop going: start from sowing seeds or plant nursery seedlings.
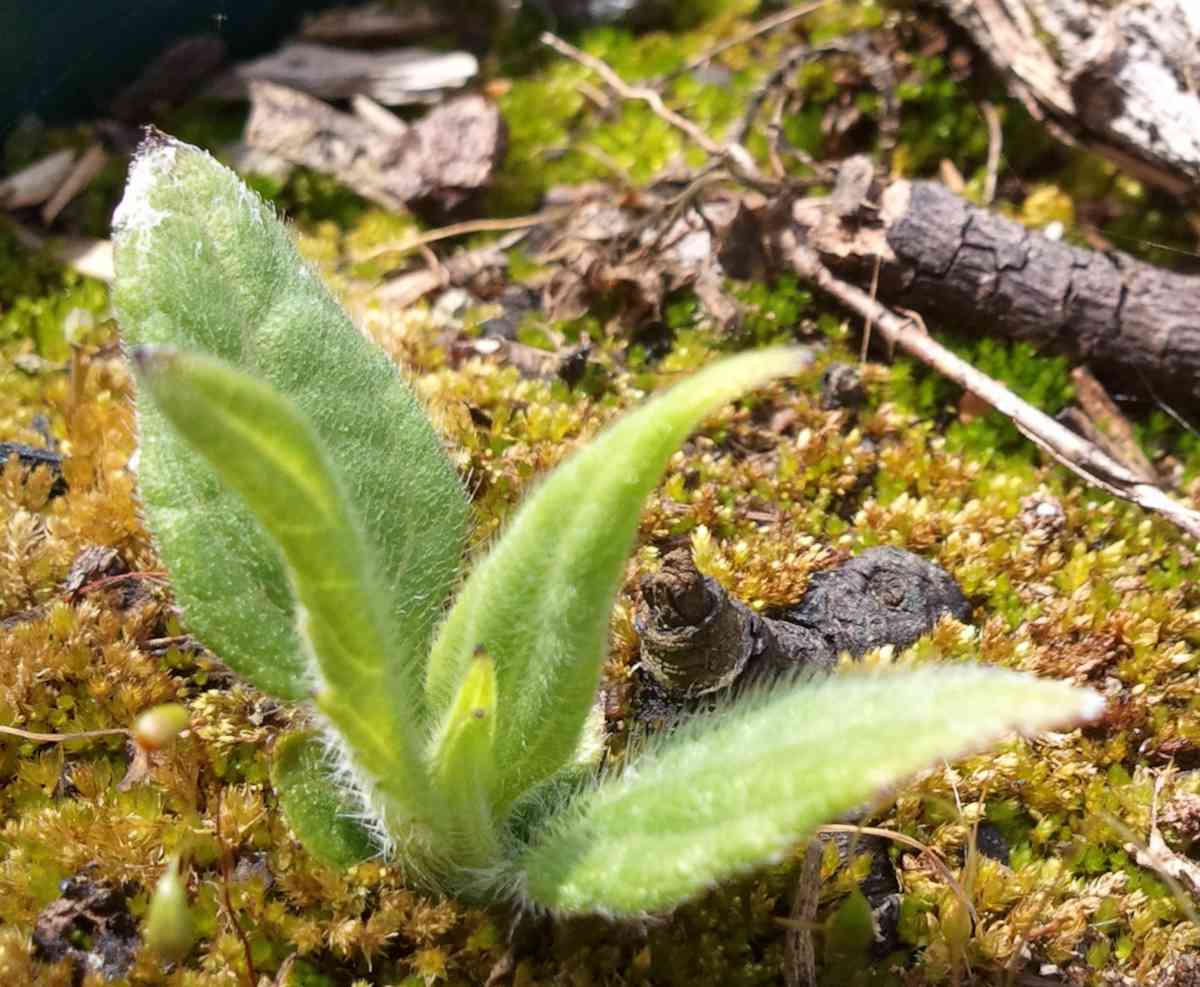
To sow helianthis seeds, first loosen up the soil and amend it with extra soil mix, compost or manure.
Remove any weeds (self-sown plants that you don’t want growing there) and then sow the seeds by burying 2 or 3 of them about half-an-inch deep (1 cm).
After 10 to 15 days, you should see sprouts appear. From each cluster, keep only one seedling, the most vigorous one. This is called thinning.

Prepare soil just as you would for sowing: loosen it up and clear weeds out. Plant the tubers around 5 inches deep (10-15 cm). Alternatively, you can just lay them on the ground and cover them with soil, forming a ridge that’s also 5 cm deep.
When planting in a vegetable patch, space each plant by nearly 2 feet (50 to 60 cm) along a row.
When growing the plant in an ornamental flower bed, try to keep the planting density at around 4 or 5 helianthis stems per square yard or meter.
Helianthis can be started from seed or from tubers, and the spacing changes depending on whether you grow it for the kitchen or for the flower bed. Here is the whole cycle side by side.
| Stage | Depth | Spacing |
|---|---|---|
| Sowing seeds | about half an inch (1 cm), 2 or 3 seeds per spot | thin each cluster to the single most vigorous seedling |
| Planting tubers in a vegetable patch | around 5 inches (10-15 cm) | 20 to 24 inches (50-60 cm) along a row |
| Planting tubers in an ornamental bed | around 5 inches (10-15 cm) | 4 or 5 stems per square yard or metre |
| Harvesting tubers | lifted with a pitchfork | work from the outside in, towards the stem |
Tubers are lifted in the same season as the next planting, so a few can go straight back into the ground.
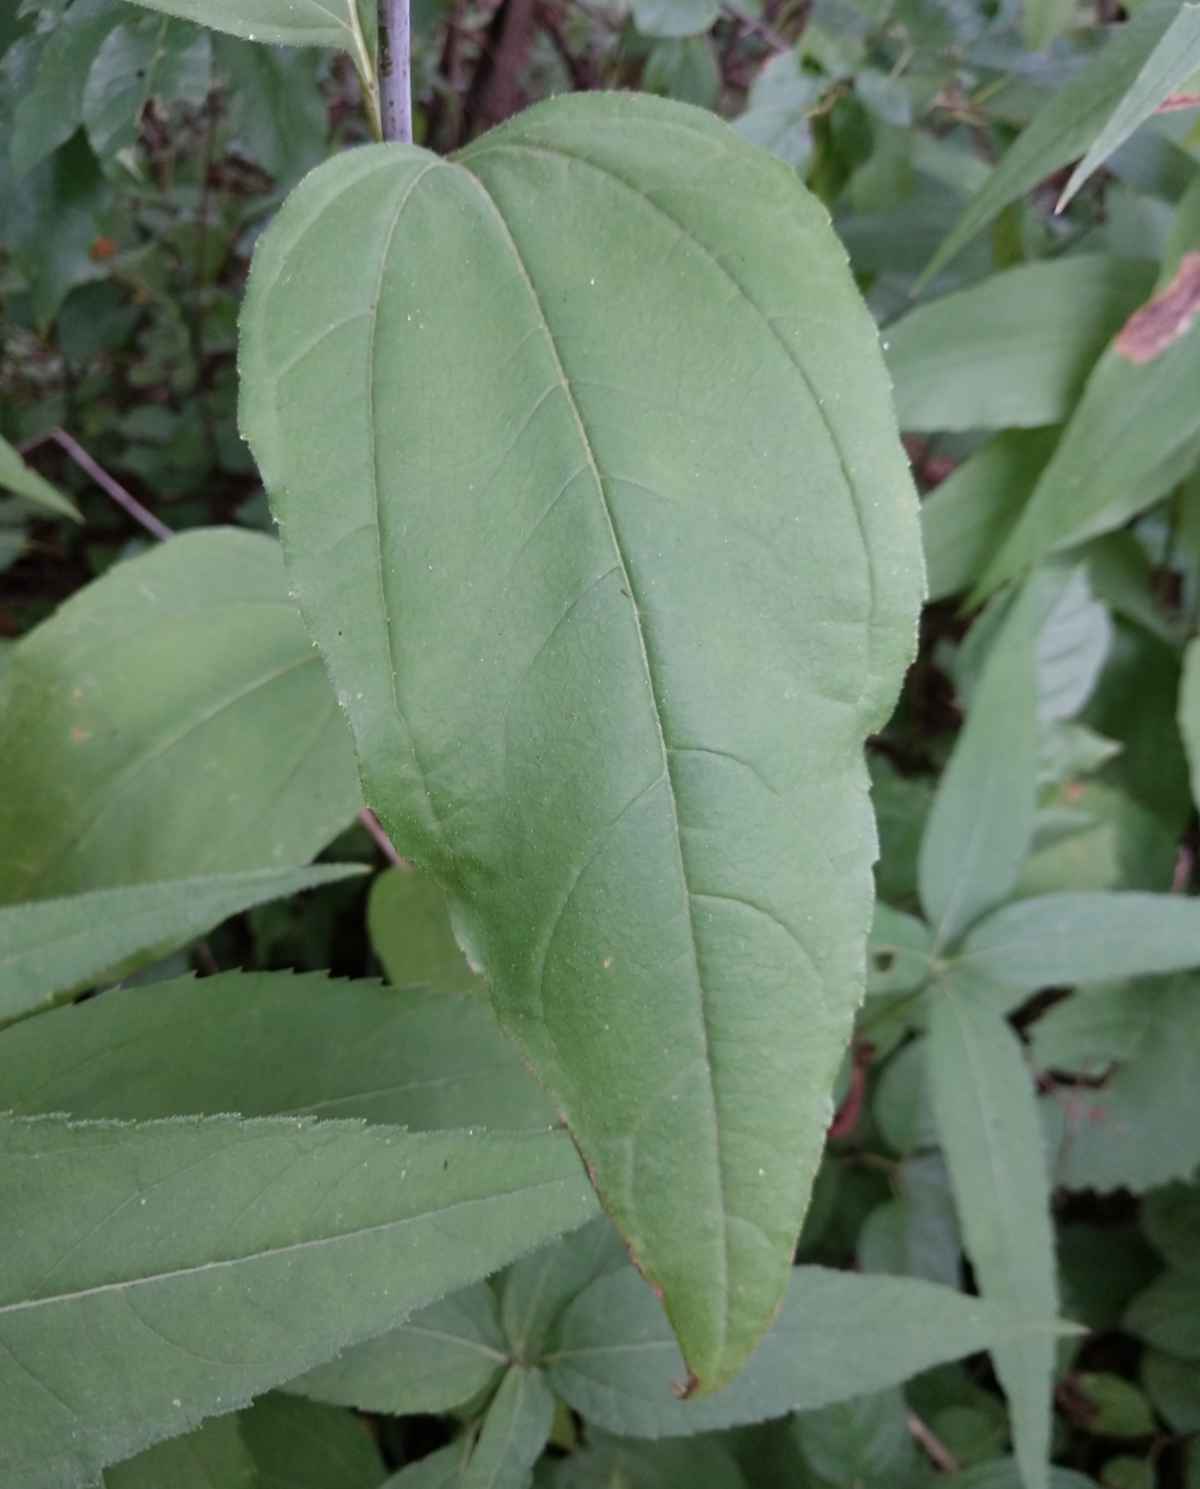
Unlike potato, which requires constant care (watering, mildew control, ridging…), your Helianthis won’t need any care at all!
This very hardy plant is easy to care for and it doesn’t need much water. However, stay watchful in case of long-lasting drought.
Note that if your plants are in a spot where it gets windy, the tall, gangly stalks risk breaking and falling over:
You can harvest your helianthis tubers at the end of winter (late winter, early spring).
The easiest way to do this is to lift soil up with a pitchfork. Start out at a distance, working from the outside towards the stem: this will let you lift tubers out without bruising them.
Wait for a thaw before forking up the tubers: frozen ground is hard to work, and lifting is easier and less likely to damage the brittle tubers once the soil has softened.
Hélianthi spreads by rhizomes, so tubers form well away from the stems; when harvesting, start your circle generously wide of the plant rather than digging tight against it, and widen as needed.
Even small tuber fragments left in the soil can resprout, so sift the loosened earth by hand and remove what you find if you want that ground free for another crop.
Cut the dried stalks back to a short stub before you start digging; they show you exactly where each plant sits and give you something to pull on.
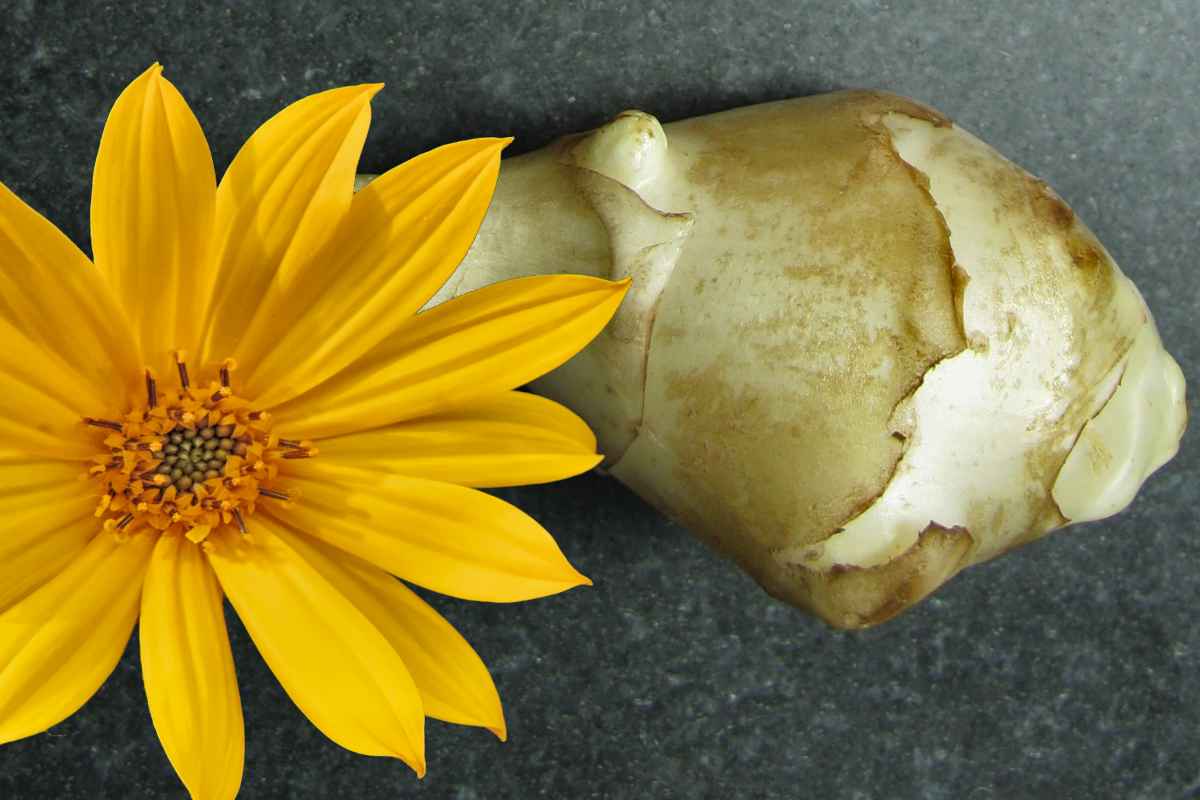
When dug out and exposed to open air, Helianthis tubers quickly lose their water and wilt away rather fast.
They won’t keep for very long, unlike Peruvian oca or potato.
It’s thus best to only unearth tubers the week you plan to eat them.
Good to know: the fresher they are, the more digestible they’ll be to eat.
The ground itself is the best store cupboard for helianthis.
Brush dry soil off the tubers rather than washing them, since surface moisture encourages rot and mould in storage; if you must wash them, let them dry thoroughly before putting them away.
Every scrap of tuber left in the soil will sprout, so lift the strays carefully if you intend to move the patch elsewhere.
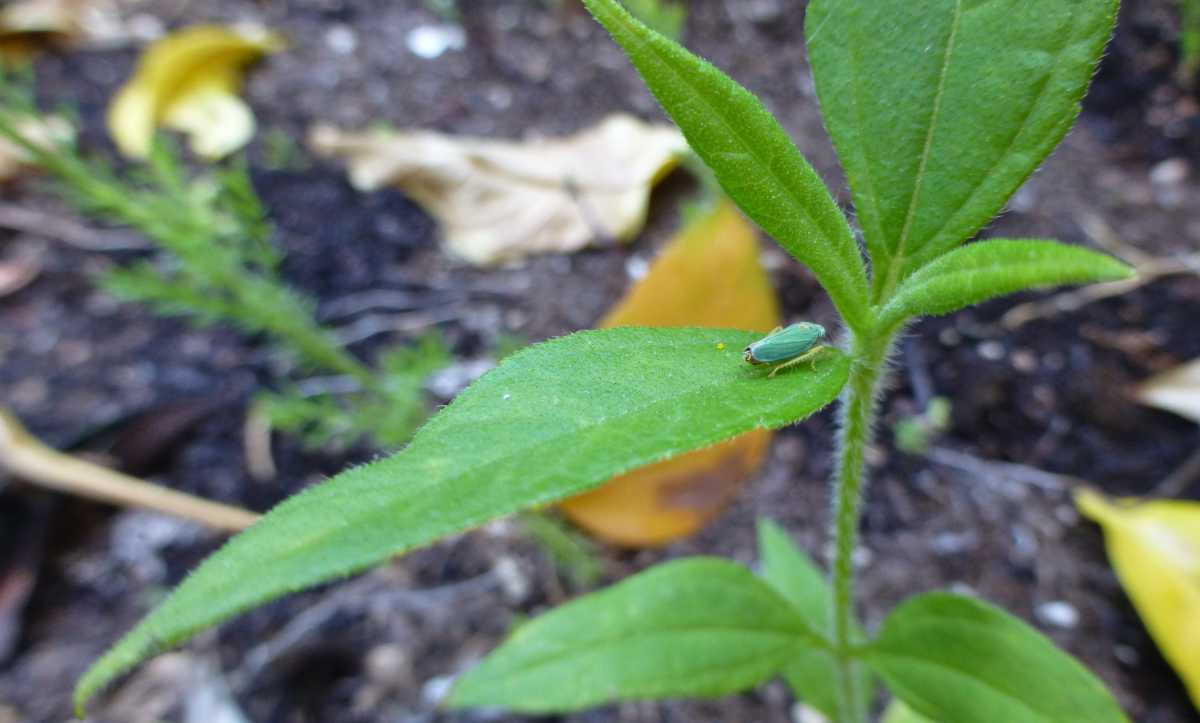
As is often the case in vegetable patches, your main enemies are slugs and snails. They will keep your stems from blooming by repeatedly attacking stems and leaves.
Note that some small black slugs, Arion hortensis, may even cause damage to the tubers.
As for diseases, Helianthis is highly resistant to powdery mildew.
Go out with a torch after rain and pick the slugs off the stems by hand.
Keep mulch, boards and dead foliage away from the base of the clump, since such surface debris offers slugs and snails a damp daytime refuge close to the shoots and tubers.
Inspect lifted tubers for gnaw marks and set only clean, firm ones aside for replanting.
Since you harvest helianthis tubers in the same season you plant them, simply set a few roots aside to plant again immediately when harvesting.