Chufa key facts
Botanical name – Cyperus esculentus
Common name – chufa
Family – Cyperaceae
Type – perennial
Height – 12 to 16 inches (30 to 40cm)
Planting distance – 16 inches (40cm)
Exposure – full sun
Soil – light, lots of humus, soft
Planting – beginning of spring
Harvest – beginning of fall
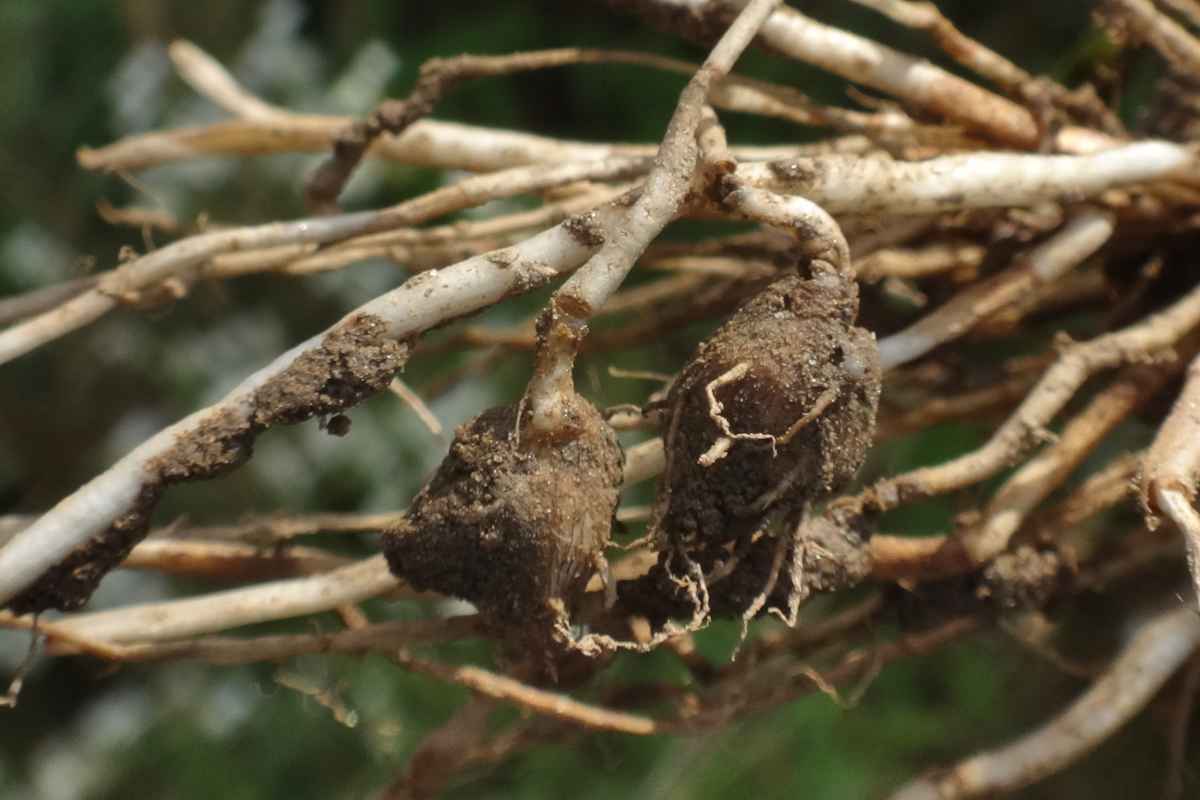
Though it looks like a simple grass, chufa is a perennial plant that belongs to the same family as that of papyrus. And its tubers are edible! These small roots taste somewhat like almonds, and their texture is a bit like that of coconut. Definitely original and very easy to grow, this vegetable deserves a space in your vegetable patch.
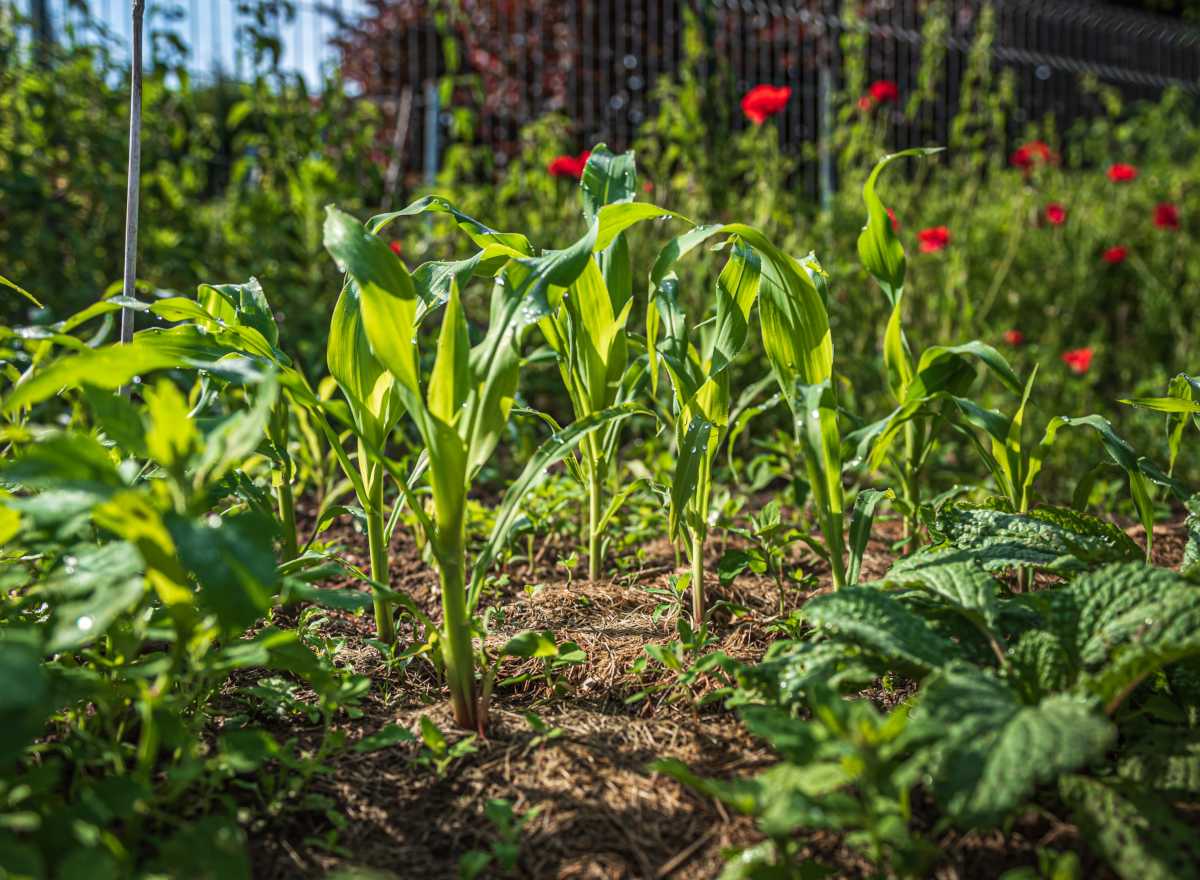
Even though growing it is easy, it does need a little care if you want a sizeable harvest. First of all, find a spot in full sun, because it loves heat. Before planting, you’ll need to get the soil ready.
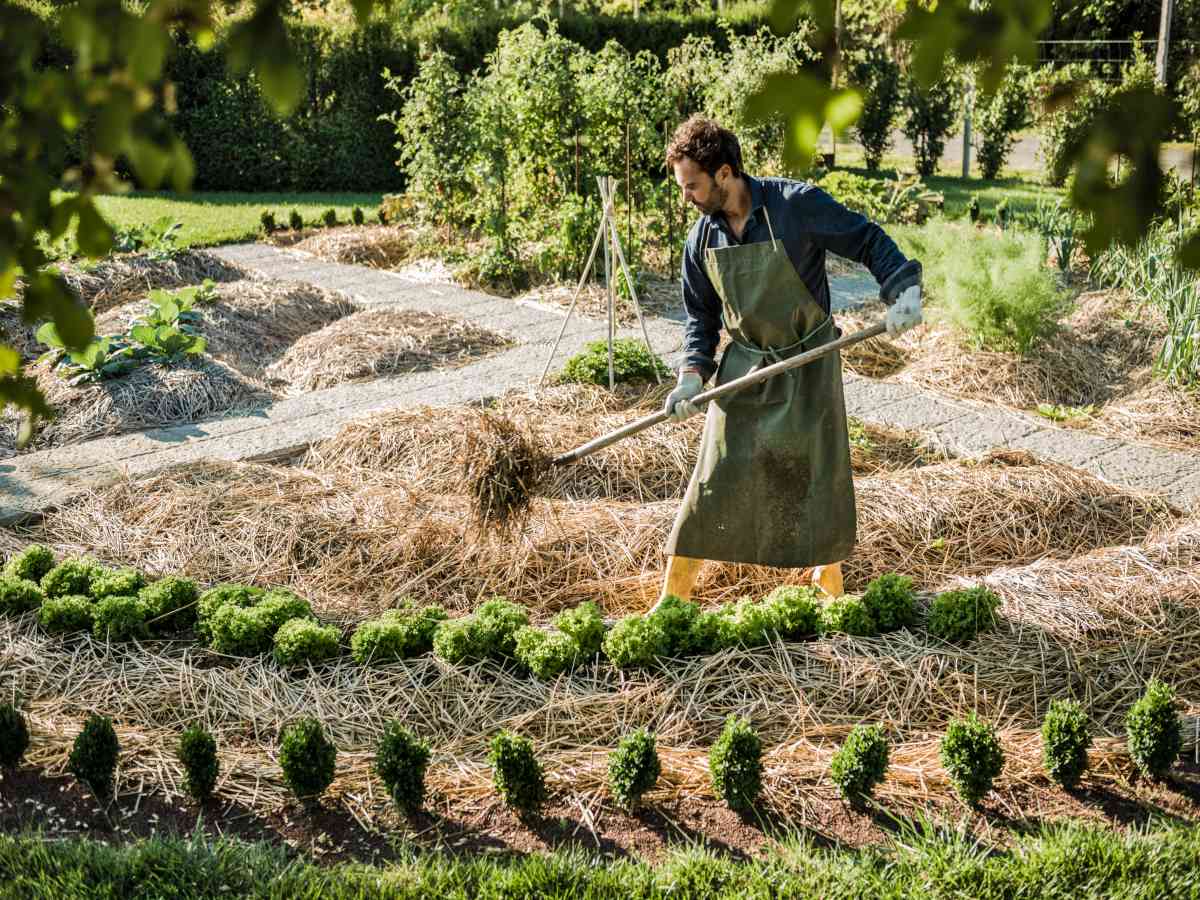
Chufa loves light, soft soil that’s humus-rich. To bring these conditions together, follow these steps in the fall of the year before planting:
 Work the soil quite deep, using a spading fork or a grelinette. It’s better to use these than to simply turn the soil over with a spade: do so destroys soil structure and kills underground animals.
 First step is to soak the dehydrated tubers in water for 6 to 8 hours, no more. If any longer, they’ll start to ferment.
In other regions, it’s best to start growing chufa at the same date, but indoors.
To give them space to grow, space them well, about 16 inches to all sides (40 cm).
 Chufa doesn’t require any specific care after planting. Indeed, it can cope with extended drought. Nonetheless, to increase productivity, you can water each plant on a regular basis, but only use a little bit of water.
Though diseases seem to have no impact on its growth, it isn’t the case for rodents. These might create problems for you at the end of the season, when they attack grown tubers.
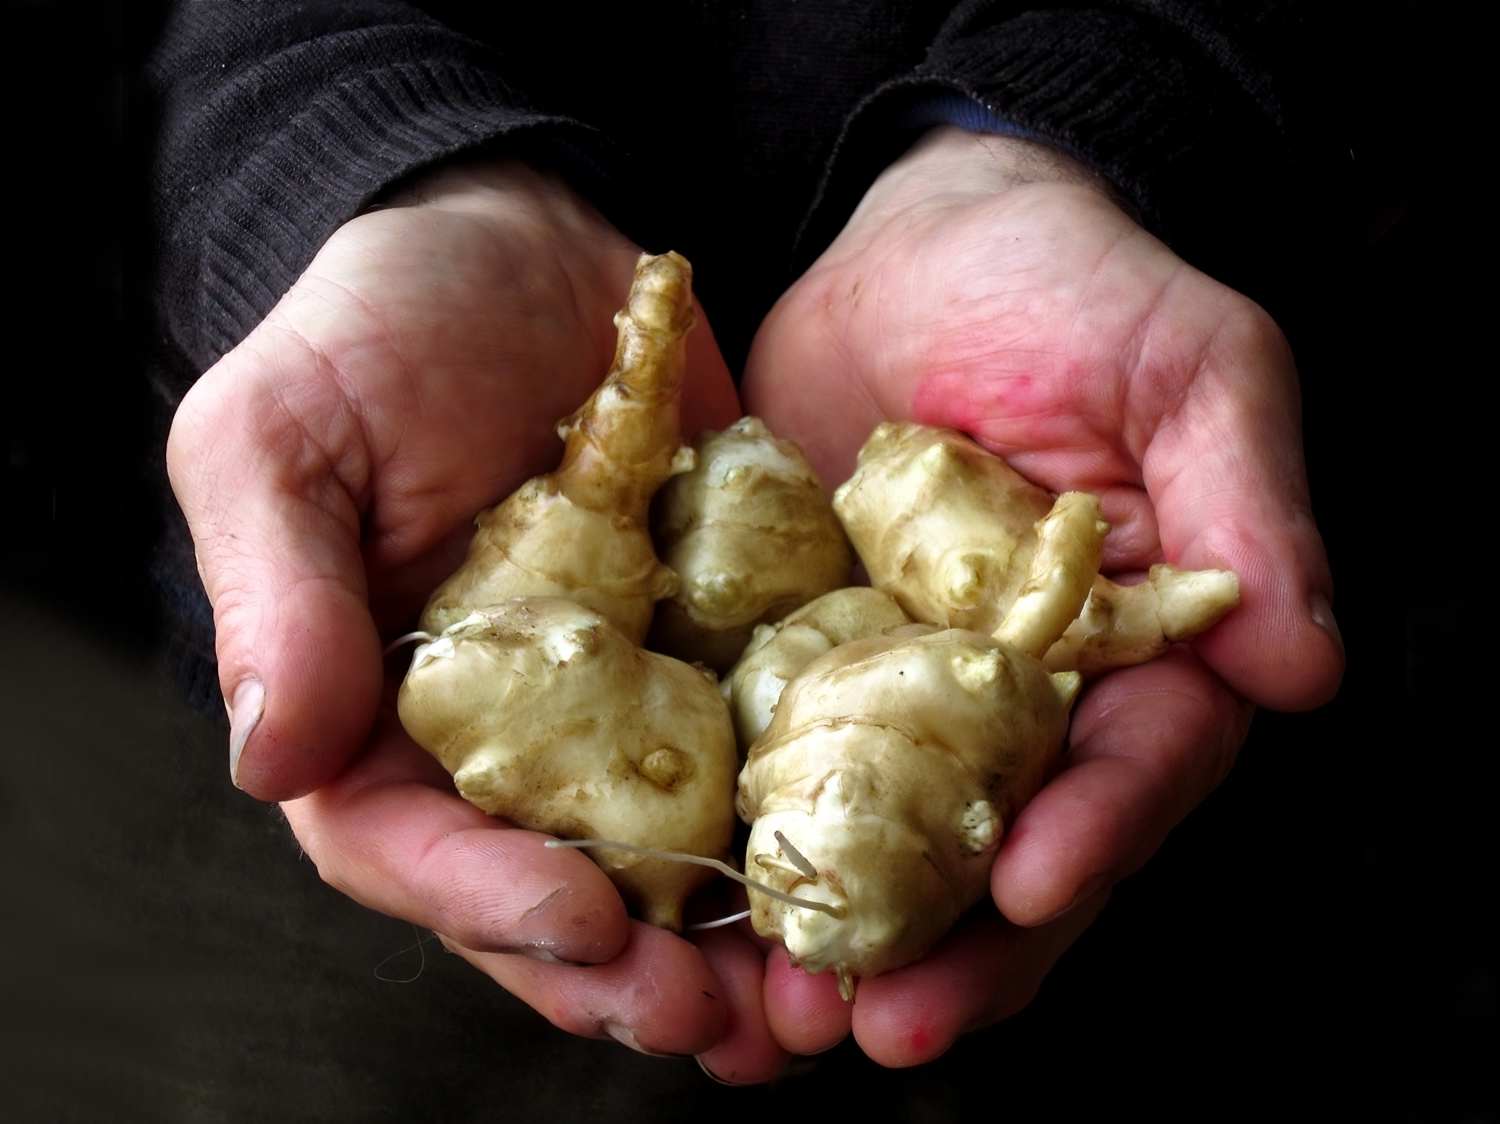
 Starting in October and November, after the foliage has dried out, the time has come to harvest.
If ever you have any left over at the end of winter, use the tubers to start a new crop!
How do you eat chufa? Chufa roots can be prepared in many ways:
Your comment is awaiting moderation.