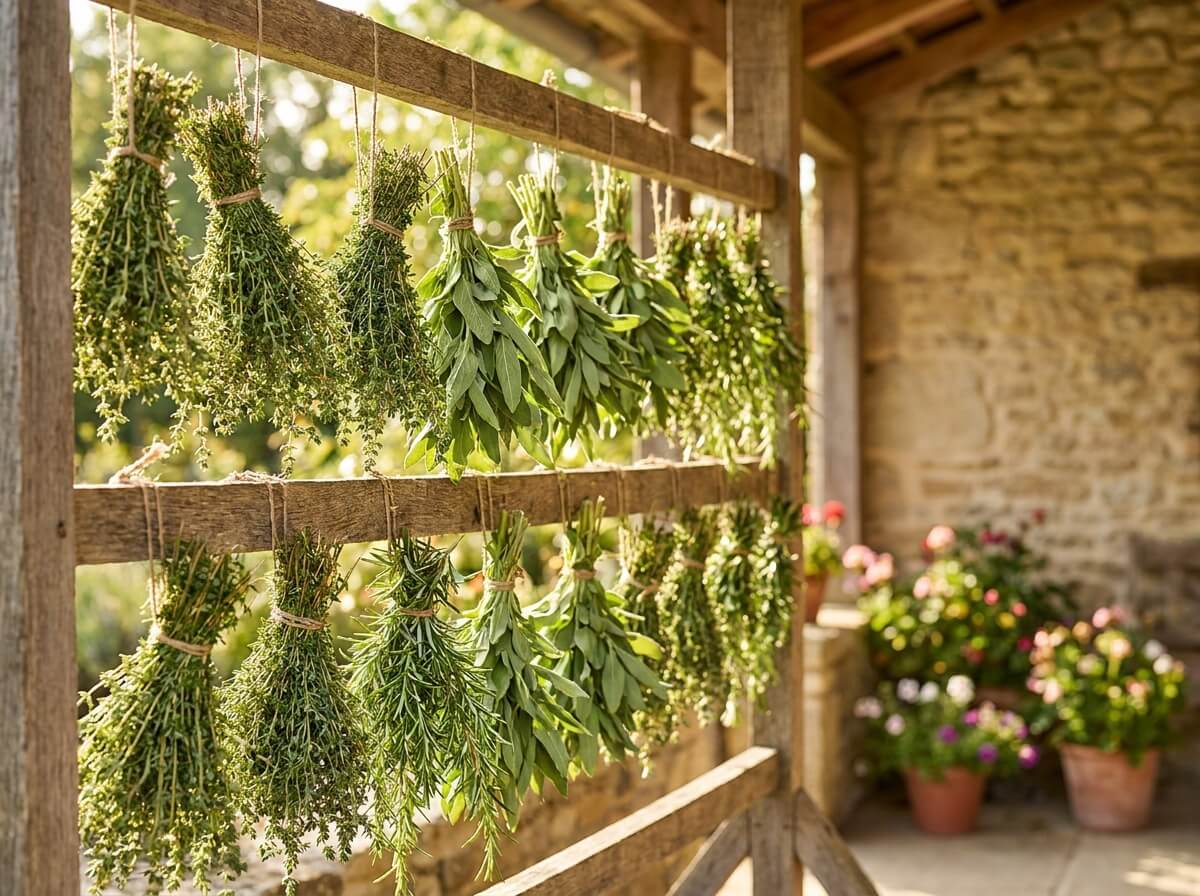
Traditional air-drying works — but it’s dreadfully slow, and slow means flavour loss. Every day a cut herb hangs in open air, its volatile essential oils simply evaporate.
So, the 3-day warm-air method changes the equation entirely. Faster drying at a controlled low temperature locks in those aromatic compounds before they can make their escape. Right now, with summer herbs at peak potency, the timing is properly non-negotiable.
The moment you pull off a herb stem, the clock starts. It’s irreversible. Those volatile aromatic oils — thymol in thyme, carvacrol in oregano, linalool in basil — are properly fragile.
But they evaporate. Slowly in a cool room, faster in warm sun, but always, constantly, going somewhere other than your winter stew. That’s not quite right.
Thyme, sage, oregano, rosemary and mint all reach their highest oil concentration right before flowering. That’s your window. Miss it by a fortnight of slow-hang drying and you’ll have merely adequately flavoured dust. Catch it with a fast, controlled dry and you’ll have something that genuinely smells like the plant did the morning you pulled it off.
The thing is, even food scientists at the University of Ljubljana are bang on: herbs dried at 35–40°C retained significantly higher levels of aromatic compounds than herbs dried at ambient room temperature over 14 days. The principle’s simple: get the moisture out before the oils follow.
No dehydrator required. No specialist equipment.
What you need is a warm, well-ventilated space — an airing cupboard, a south-facing windowsill with a slight breeze, or an unheated greenhouse on a summer day. Target temperature: 35–40°C (95–104°F).
Below that, you’re just air-drying slowly. Above 40°C, you’re cooking the oils out rather than preserving them.
A cheap probe thermometer takes the guesswork out entirely.
The method, step by step:
Yes, it’s fiddly getting the bundle thickness right. Do it anyway — it’s worth it.
Not all herbs dry equally. Moisture-heavy herbs like basil and mint are a bit dodgy — their high water content means you need especially small bundles and sharp airflow to avoid the inner stems going mouldy before the outer leaves are dry. They’re worth doing but need watching at the 36-hour mark.
Here’s the good news. The stars of the 3-day method are the Mediterranean woodier herbs. Savory, thyme, oregano, marjoram, rosemary and sage all shoot up brilliantly. Their lower water content and naturally robust essential oils make them almost ideal candidates — they come through the process with an intensity that slow-dried versions simply can’t match.
Lavender flowers dry beautifully in 3 days too and are worth adding to the rack while you’re at it. Strip the dried flowers from stems and store separately — they’ll perfume anything you add them to all winter long.
Correctly dried herbs crumble to powder between your fingers and release a sharp, immediate smell. That smell is the test. A simple, infallible truth.
Crush a leaf. If it smells like the living plant, you’ve done it right.
Watch for these issues:
The RHS recommends discarding any herb bundles that show signs of mould rather than trying to dry them further — the spores will already have penetrated deeper than they appear.
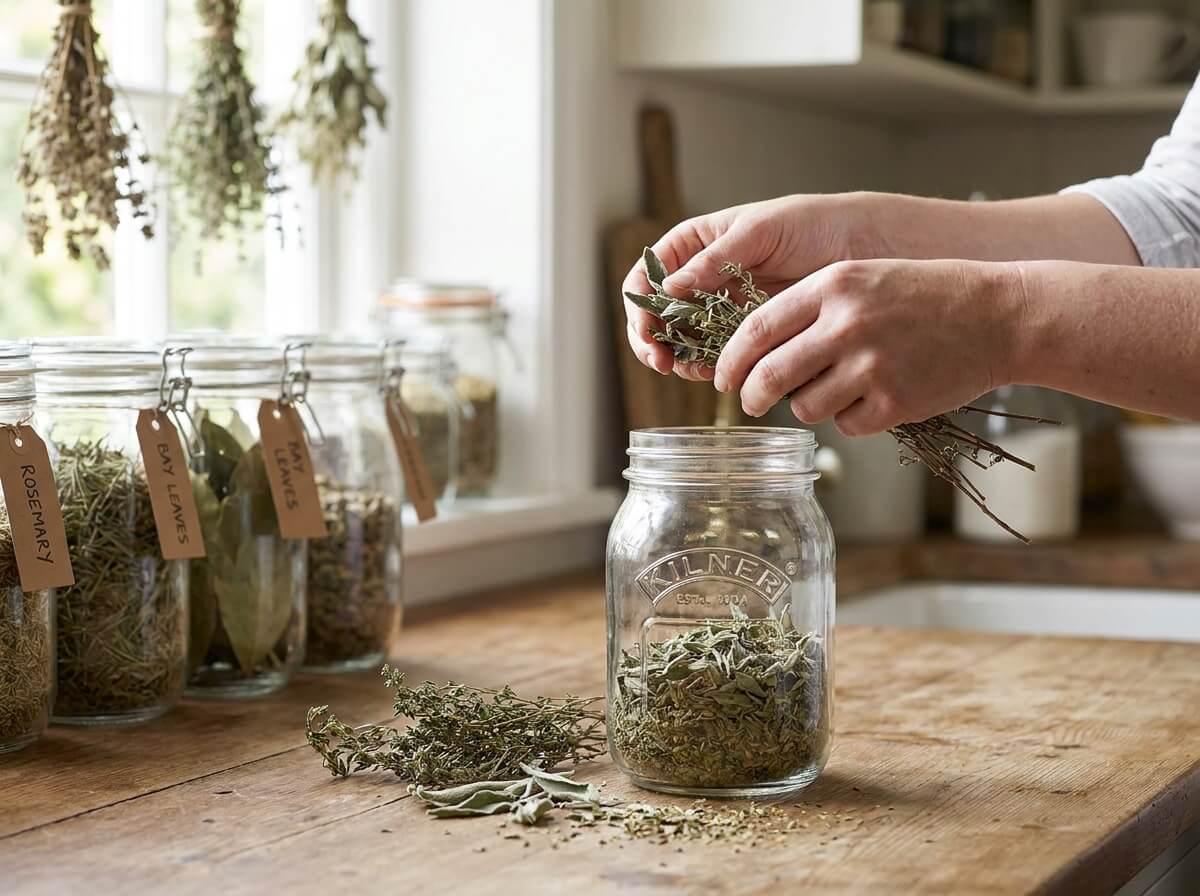
Smart tip: Bundle thickness matters more than temperature — keep every bundle under 2cm wide and your 3-day timeline will hold reliably.
Only if your oven holds a steady 35–40°C with the door slightly ajar — most ovens can’t go that low reliably. A food dehydrator set to 38°C is far more precise and gives consistent results.
Chamomile flowers dry beautifully in 3 days on a mesh rack at 35°C — lay them flat in a single layer rather than bundling, since the flower heads need airflow on all sides to dry evenly.
Snap a stem — it should break cleanly with a crack, not bend. Leaves should crumble to powder instantly when rubbed, not compress into a paste.
Yes, but you need a genuinely warm enclosed space, not just a room with a window open — an airing cupboard or a propagator with the lid removed and a heat mat set to 38°C both work well in humid summers.