Save your own tomato seed instead of purchasing new ones every year! Learn how to select, harvest, and keep tomato seeds to make sure you get great plants in following years.
Read also:
 You can’t simply use seeds from any random tomato plant. It’s important that you only try to save seeds from varieties that aren’t hybrids. Avoid hybrids, they’re produced from two genetically different parents. Hybrid seeds generally are labeled as such. For instance, “F1” appears on the seed pack for hybrid vegetables and fruits.
Why should you avoid hybrids? It’s quite simple: if you sow their seeds, you’ll have unpredictable and often disappointing results. The plant will produce fruits that will have a completely random appearance, taste and color – nothing like the mother plant at all.
With non-hybrid varieties, you won’t get this problem: each tomato flower will self-fertilize. From the stamens of each flower, grains of pollen will fall deeper into the flower, and will meet the tip of the pistils there to fertilize it.
The further apart you plant different varieties, the more you’ll be able to avoid cross-pollination.
 You’d typically harvest tomatoes 4 to 5 months after sowing. This duration depends on how much sun they get. The sunnier the weather, the earlier the harvest. Based on your sowing calendar, you’d start sowing seeds under cover sometime in February-March. After that, young seedlings are transplanted in the ground as early as mid-April, once any risk of freezing has subsided.
Tomatoes are thus ripe enough to be harvested when July comes around. The harvest season lasts up to October-November, depending on the region – the cutoff date is usually the first autumn frost.
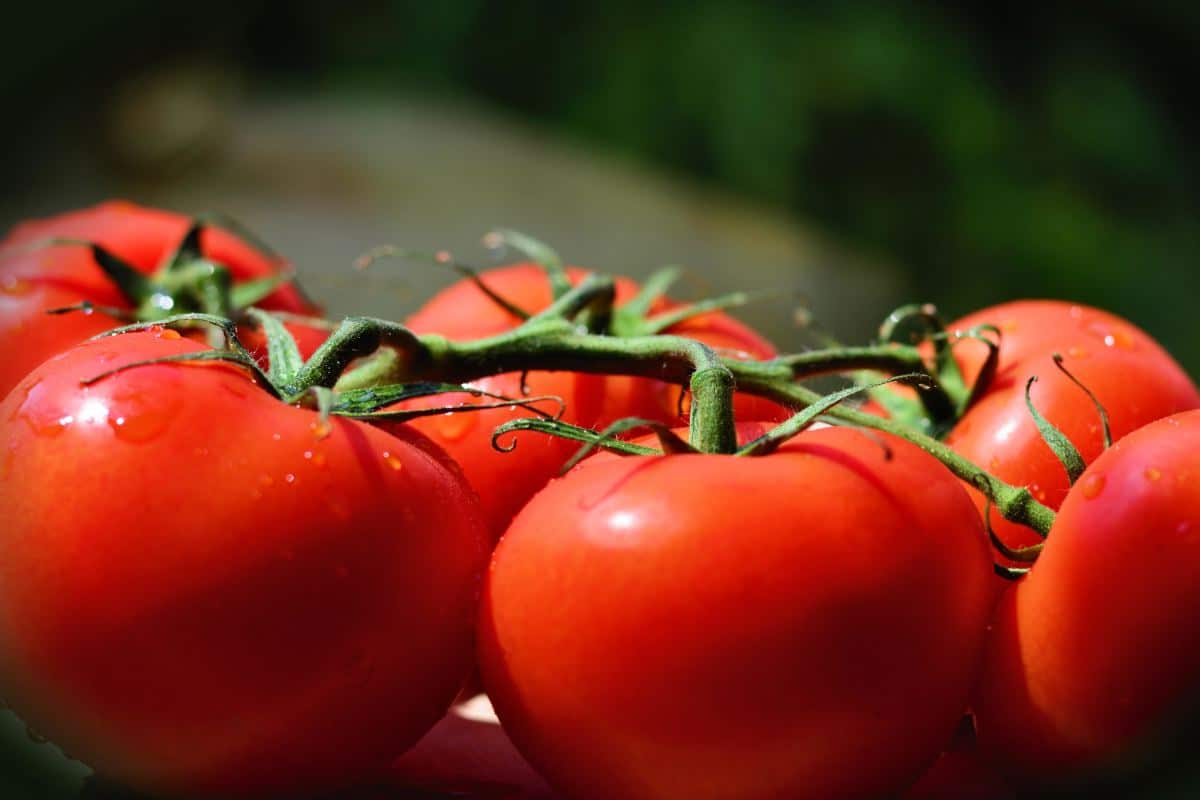
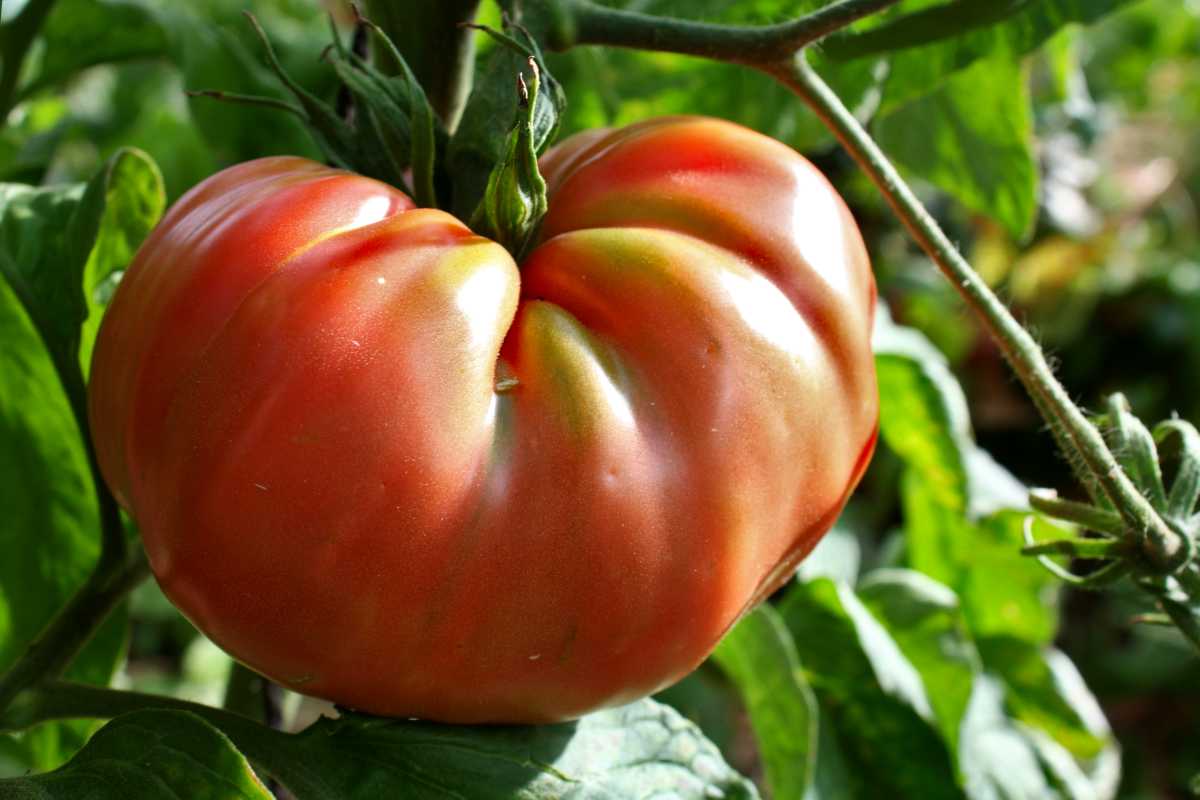
It’s important to harvest your tomato when the fruits are perfectly ripe. Their color is full and flush, even though there may still be a hint of green around the stem. Note, however, that some varieties such as the ‘Green Zebra’ stay completely green even when they’re fully ripe.
In any case, your sense of smell can help: ripe fruits will release a sweet scent. If you twist is a little on its stem, the fruit should break off easily. If this isn’t yet the case, you’ll have to wait a little longer: your tomato isn’t yet perfectly ripe.
It’s quite straightforward: they’re inside the fruit.
 Slice your tomato in half, and scoop the seeds out together with the pulp.
That fabulous moment when you sow your own seeds has finally arrived: the beginning of spring! Bring your seeds off of the shelf or drawer where they were stored.
 Fill a tray with a mix of soil mix and sand. Alternatively, you can purchase special “seedling potting mix” for sowing seeds.
All that’s left is to care for your growing tomato plants and you’ll get to reap a 100% home-grown harvest!