Raised from seed, tomatoes taste of far more than shop-bought fruit or plants bought ready-grown in nursery pots, and sowing your own reopens a whole range of varieties and their original flavours. Allow about four months: start under cover in late winter or early spring, and plant out in late spring.
Sowing your own tomatoes will let you grow different varieties and rediscover their original taste. And the process of sowing and growing is a great way to truly enjoy yourself !
Tomatoes have a lead time of about 4 months, so it helps to start preparing your seedlings in a nursery quite early. Late winter or early spring is perfect for transplanting to their growing beds in late spring.
Go for a as many varieties as you have space for: it is the best way to discover new flavors. Follow our advice on preparing tomato seedlings to get a nice harvest.
Nothing should keep you from also purchasing potted tomato seedlings and replanting them in your garden.
How to sow tomato
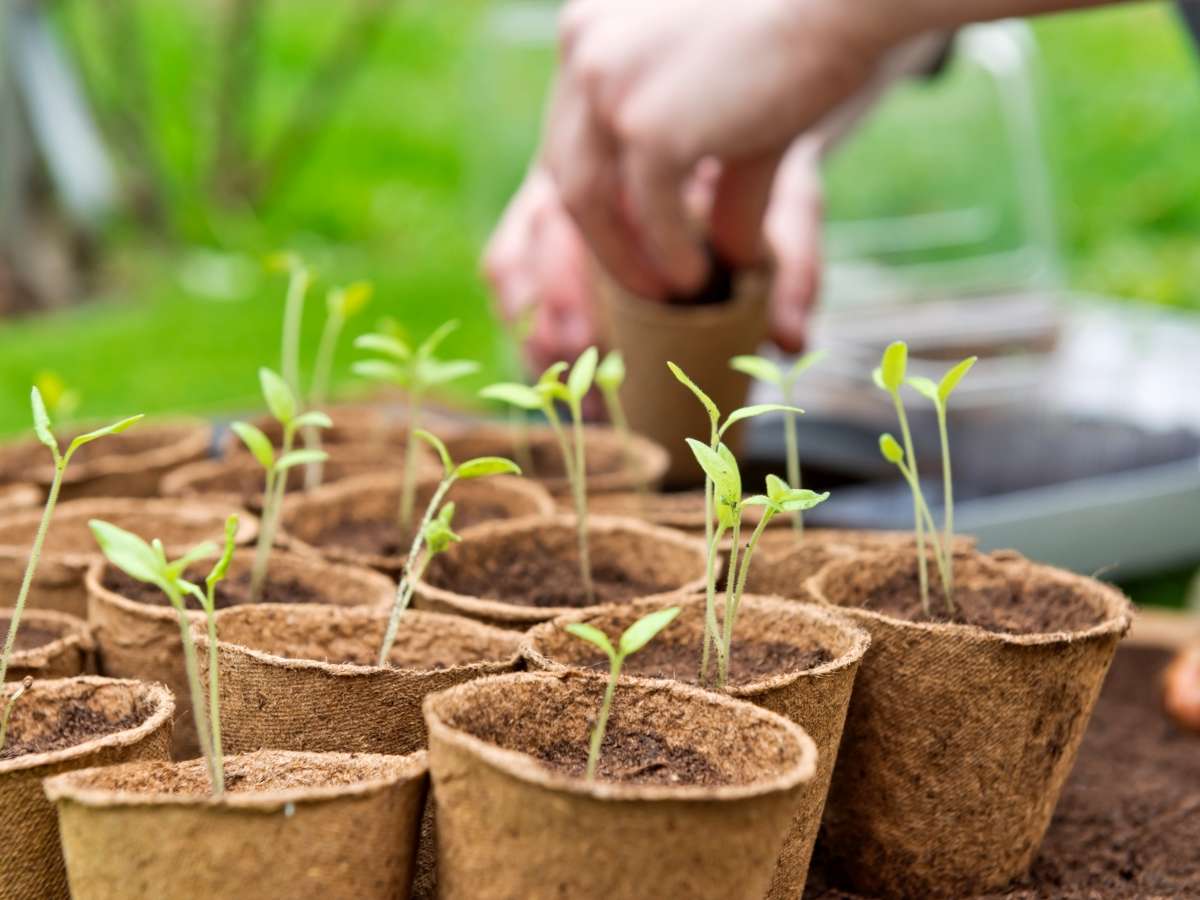
First, you should find an adequate container.
For example, a tray or nursery pots, which are increasingly used for this type of sowing.
Start your sowing indoors in Late winter or early spring, preferably in a greenhouse or on a windowsill, but avoid direct sun.
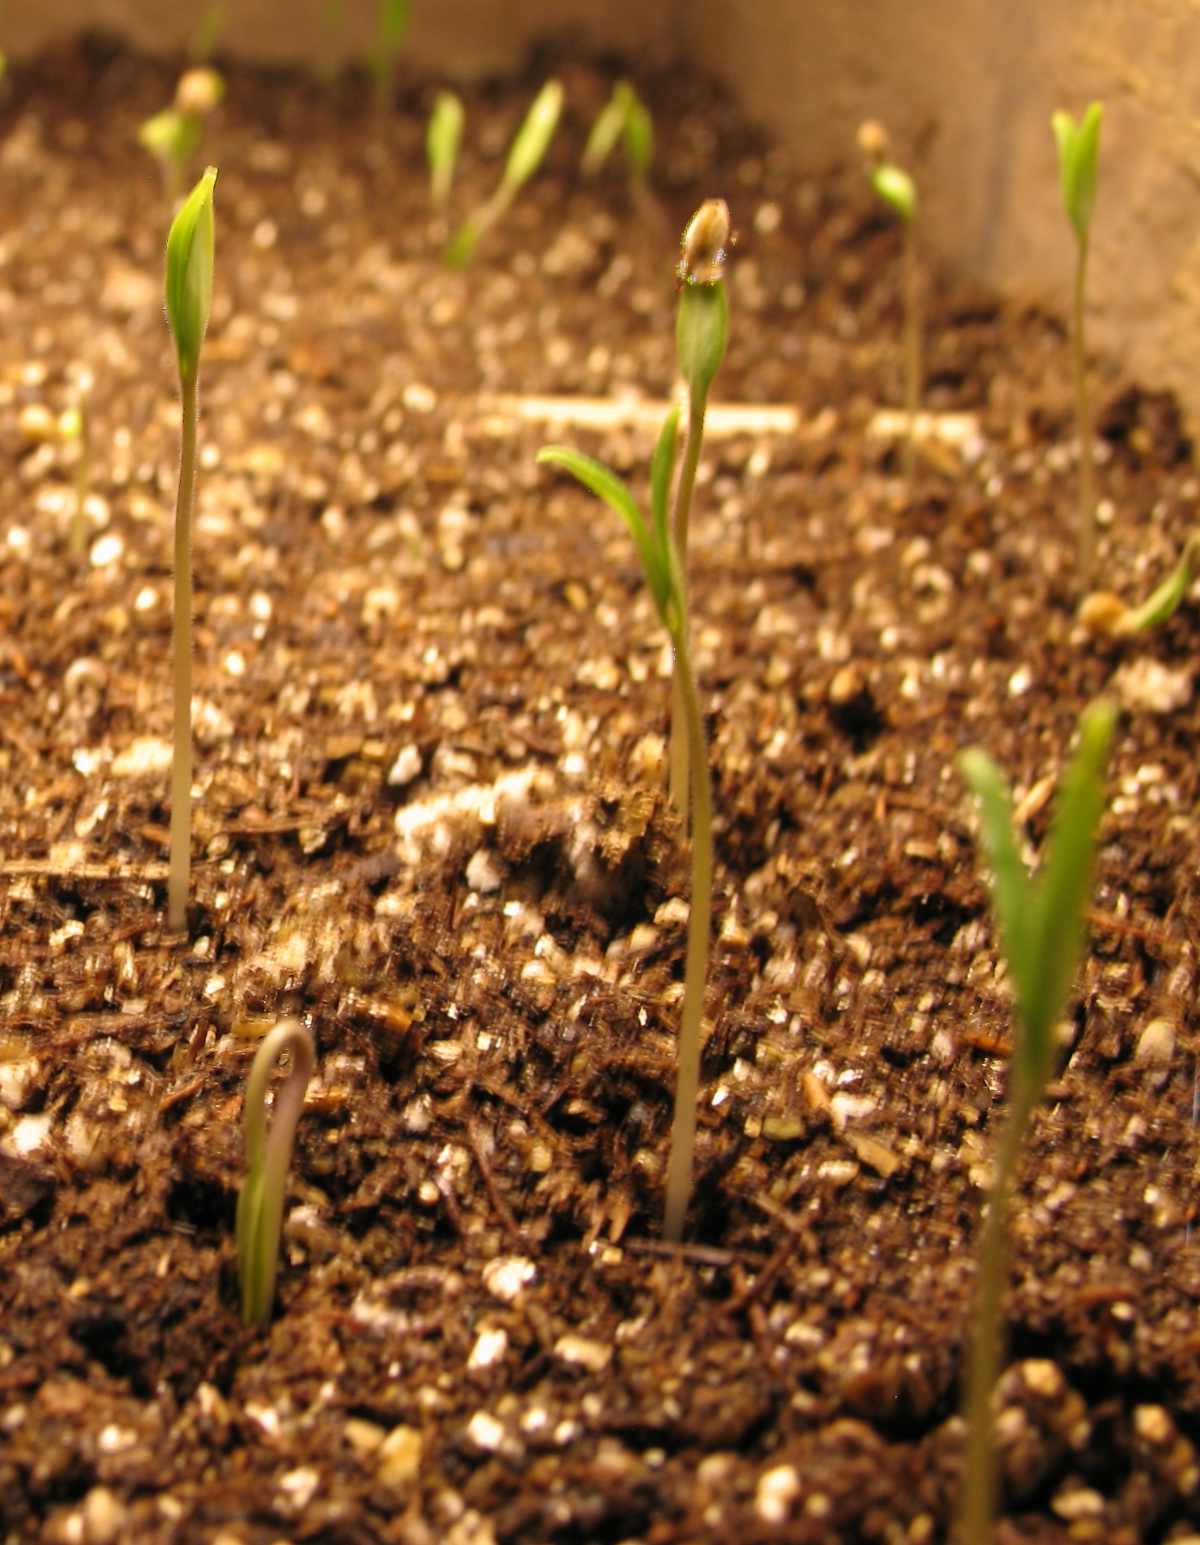
Seeds sprout within a week above 20°C
Prepare a bed of gravel or clay pebbles to ensure proper drainage, 1 inch thick (2 to 3 cm).
Although this step isn’t mandatory, it is strongly recommended to avoid root rot.
Add seedling soil mix up to ⅔ the height of the container, and press it down a bit.
Fill in to the top with more soil mix.
Sow the seeds.
Space the seeds about 1½ inches (4cm) on all sides if sowing in a tray.
A couple seeds in the center are enough for pots.
Water regularly, and feed lightly with organic fertiliser
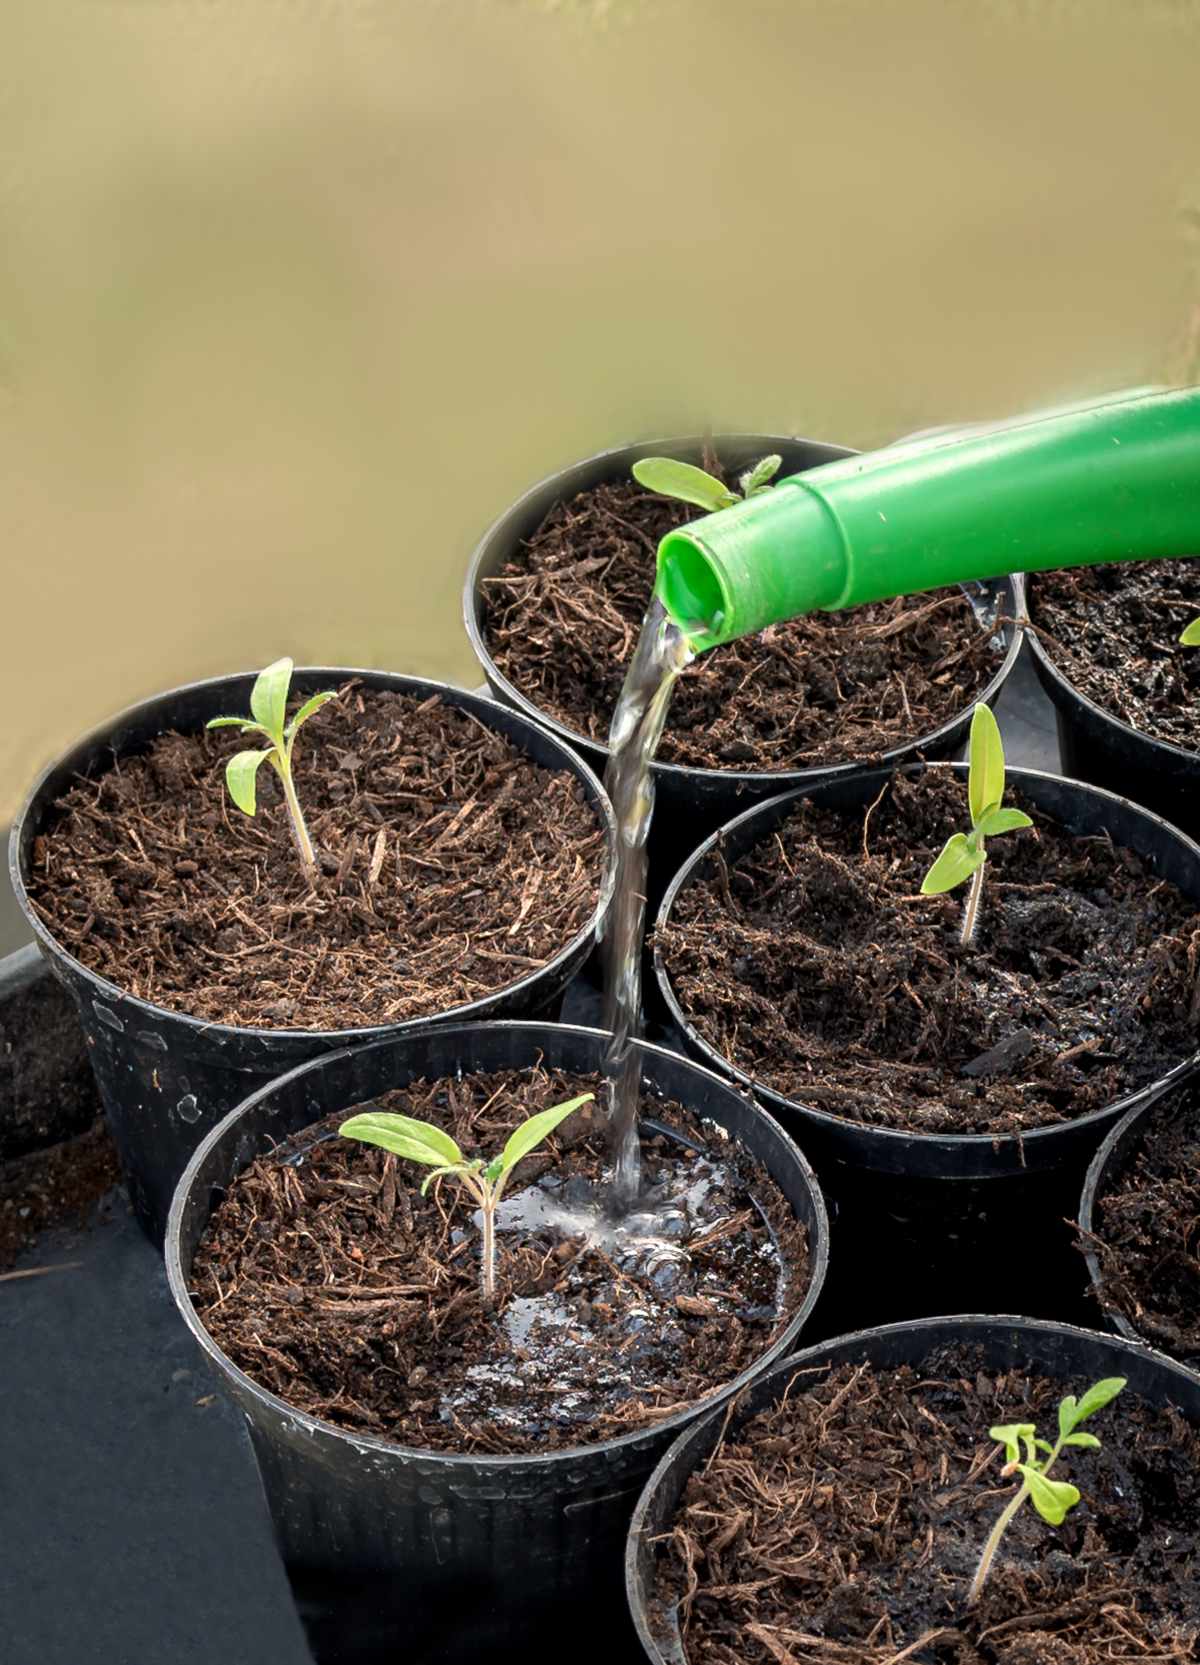
Water regularly.
Seeds need a temperature higher than 70°F (20°C) for about a week to germinate.
At this point the seedling most needs light.
If sown in a tray, transplant the seedlings to a nursery pot as soon as the first leaves start budding.
Keep watering regularly and eventually provide a little bit of organic fertilizer.
Late spring, if it won’t freeze anymore, transplant your seedlings to their growing bed or in the vegetable patch.
Adding sowing mix to the bed limits transplant shock
Make sure you amend the soil with a little soil mix, the same you used for sowing. This helps reduce transplant shock.
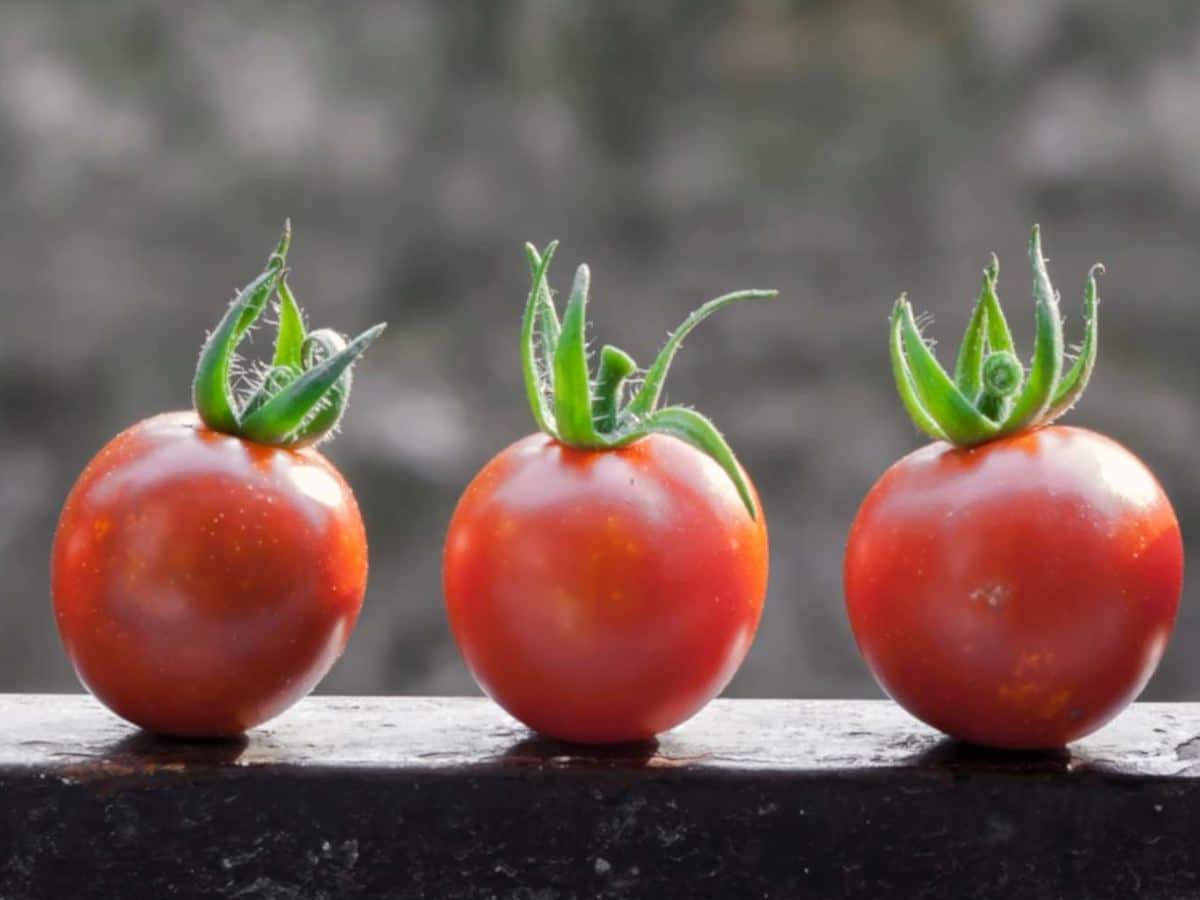
Harvest around 4 to 6 months after sowing depending on the growing conditions.
From seed to harvest: the tomato timeline at a glance
Tomatoes need about four months from sowing to picking, so each stage has its own window and its own requirement. Use the table to check where your seedlings should be and what they need next.
From seed to harvest: the tomato timeline at a glance
Stage
When
What it needs
Sowing indoors
Late winter or early spring
A greenhouse or windowsill, out of direct sun
Germination
About a week
Above 70°F (20°C), then as much light as possible
Pricking out
As the first leaves bud
A move from the tray into a nursery pot
Growing on
Between potting up and planting out
Regular watering and a little organic fertiliser
Planting out
Late spring
No more frost, and a bed amended with soil mix
Harvest
4 to 6 months after sowing
Depends on the growing conditions
Count back four months from the harvest you want and you will land on the right sowing date.
Harden the seedlings off before they go out, standing them outdoors for a few hours a day and lengthening the spell over a week or two.
Tomatoes form adventitious roots along a buried stem, so pinch off the lowest pair of leaves and set each seedling deep enough that the bare stem below them is covered.
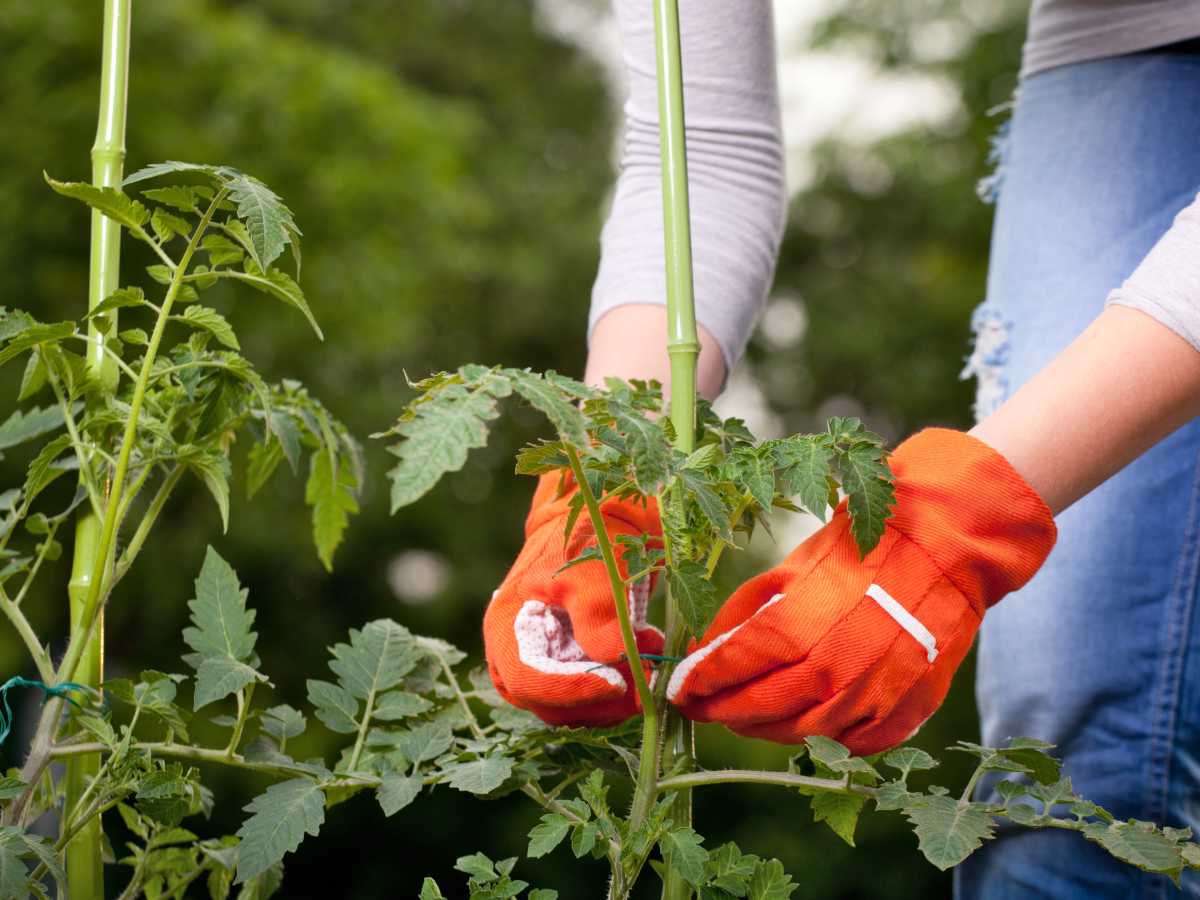
When staking a young tree or a tall vegetable such as a tomato, drive the stake into the planting hole before backfilling, since inserting it later risks severing roots that have spread.
Water the soil at the base and keep the leaves dry, since damp foliage is how downy mildew gains a foothold.
Images: adobestock: Stock Rocket, CC BY-SA 2.0: grabadonut, Pixabay: Andreas Göllner, Andrew, Unsplash: Slejven Djurakovic, Sushobhan Badhai
Written by Gaspard Lorthiois | Loves helping out, especially when it comes to growing things. Worked in herbal medicine, runs a farm, and dabbles in tech. Master's degree and engineer.