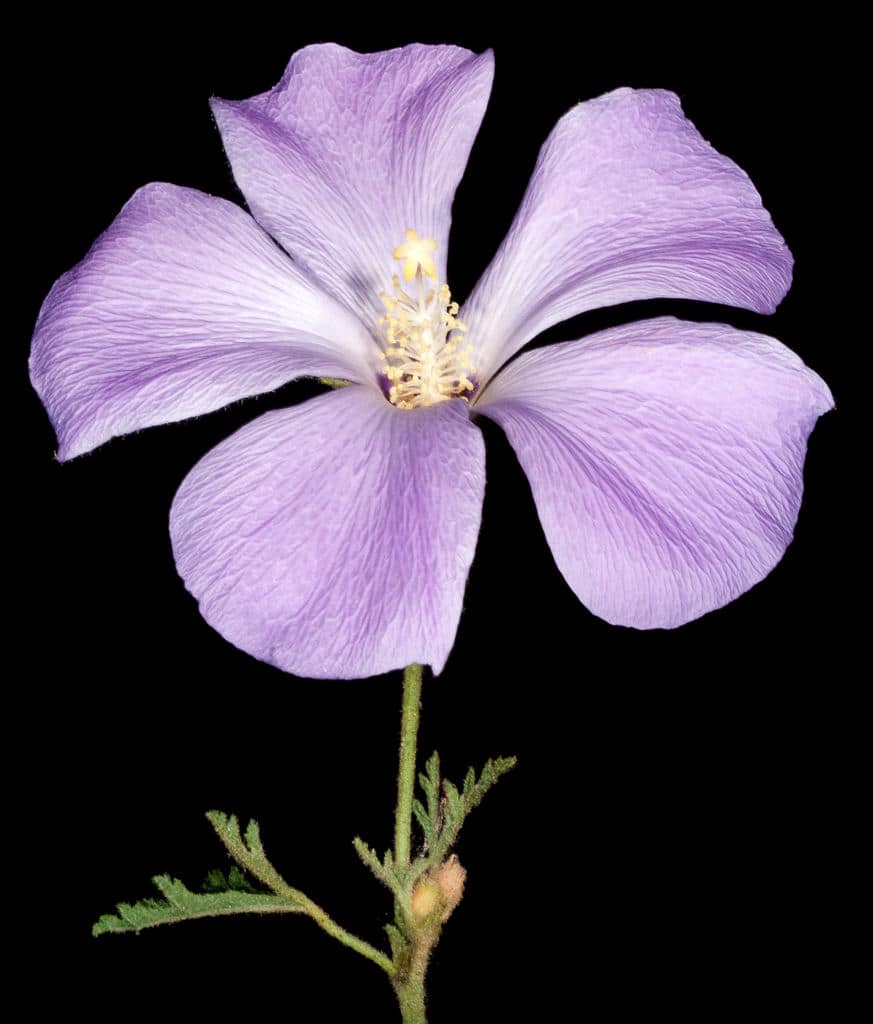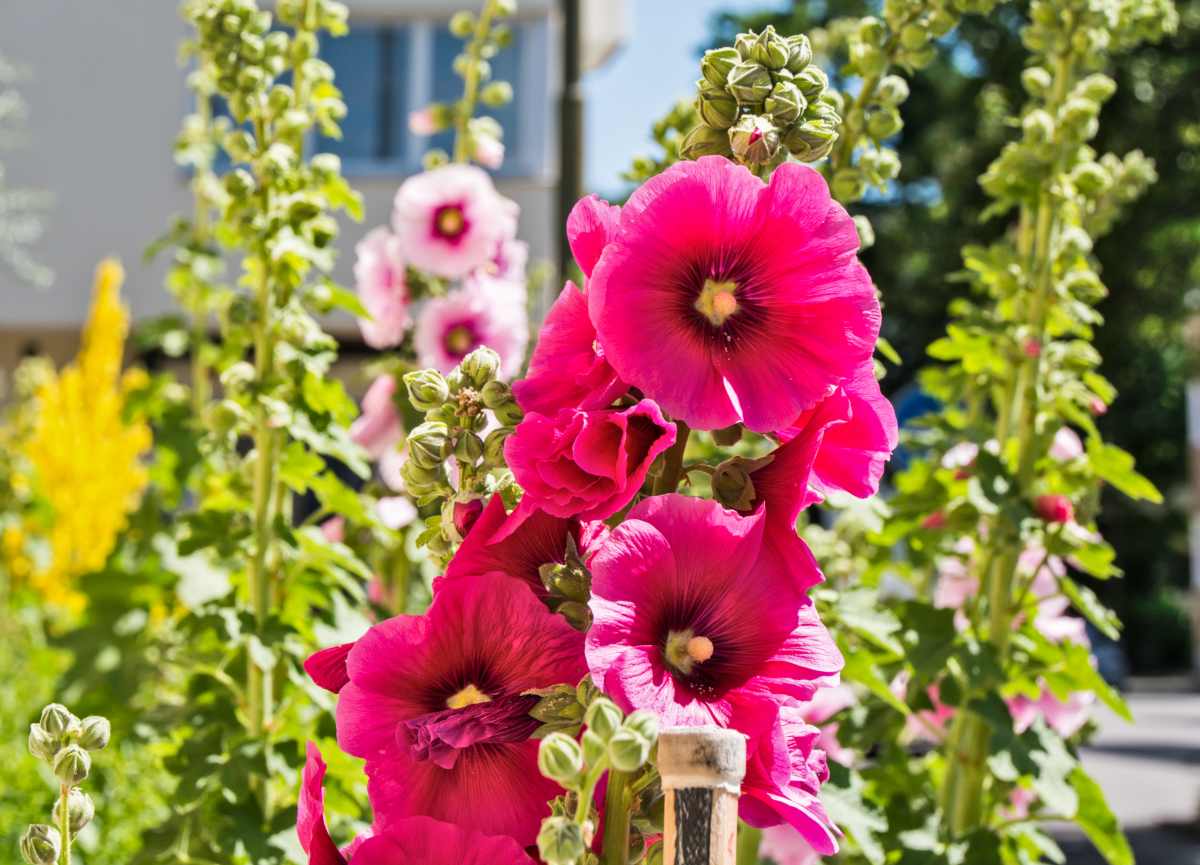
Flowers in white, pink or a purple so dark it looks almost black climb the top of long stems with sparse foliage, up to 8 feet tall. Hollyhock (Alcea rosea) belongs in flower beds and along garden walls, and given full sun it reseeds itself every year without any help.
| Name | Alcea rosea |
|---|---|
| Family | Malvaceae |
| Type | perennial |
| Height | 4 to 8 feet (120 to 250 cm) |
| Exposure | full sun |
| Soil | ordinary |
| Flowering | midsummer to early autumn |
Sowing and caring for hollyhocks is easy, and they have the great advantage of reseeding themselves every year without needing help!
It is recommended to sow hollyhocks in spring and summer in a mix of garden soil and soil mix.
You can multiply your hollyhocks by direct sowing.
To propagate your hollyhocks, harvest the seeds that are found in the capsules formed after blooming, store them in the dark over winter, and plant them in the ground in early spring or mid-spring depending on the climate zone.
If you have purchased your hollyhocks in nursery pots, it is possible to plant them in the ground directly.

Hollyhocks, once settled in, require almost no care at all. They draw the water they need from the ground, and can cope with very harsh conditions.
Note that for windy areas, it is a good idea to stake your hollyhocks to keep them from bending over.
Year after year, you’ll notice more new hollyhock sprouts: seeds germinate very easily on their own in spring.
Hollyhocks ask for very little, but the few jobs they do need fall at set moments of the year. Here is each task, its timing and what it involves.
| Task | When | What to do |
|---|---|---|
| Sowing | Spring and summer | Two to three seeds per hole, holes at least 12 inches (30 cm) apart |
| Collecting seed | After blooming | Harvest the seed capsules formed once the flowers are over |
| Sowing saved seed | early spring or mid-spring, depending on climate zone | Keep the seed in the dark over winter, then sow straight into the ground |
| Planting nursery pots | Spring | Space plants 12 inches (30 cm) apart and water regularly the first year |
| Deadheading | Through flowering, midsummer to early autumn | Remove wilted flowers regularly to boost flower-bearing |
| Cutting back | End of the season | Cut the dried stems; growth returns by itself the following year |
| Winter protection | In colder regions | Cover the base of the plant with mulch |
Beyond these few dates, established hollyhocks look after themselves and reseed without help.
Hollyhocks range from towering singles for the back of a border to knee-high doubles happy in a large pot. The table below compares the varieties most often found on seed racks and in garden centres.
| Variety | Flower colour | Flower form | Best use |
|---|---|---|---|
| ‘Queeny Purple’ | Rich purple | Semi-double | Large pots, small gardens |
| Chater’s Double Mixed | Mixed pink, red, white, yellow | Fully double, peony-like | Cottage borders, cutting |
| ‘Summer Carnival’ | Yellow, pink, red, white | Double | Quick colour from early sowing |
| ‘Nigra’ | Deep maroon, near black | Single | Against pale walls, back of border |
| ‘Peaches ‘n’ Dreams’ | Soft peach to apricot | Double, ruffled | Pastel colour schemes |
| ‘Creme de Cassis’ | Cream washed blackcurrant | Single to semi-double | Mixed borders, cutting |
This plant is vulnerable to rust, a fungus that covers the leaves with rust-orange colored blotches.
In the insect parasite category, hollyhocks are vulnerable to aphid attacks.
Very beautiful perennials with abundant flowering all summer long, hollyhocks are a great addition to flower beds and along garden walls.

This plant has cute flowers that can be white, pink or even a purple so dark it’s almost black, aligned at the end of long stems with sparse foliage.
They are often seen along roads and sidewalks and they often re-seed themselves naturally almost everywhere. The strength of their roots lets them squeeze in virtually anywhere, and even lifts up the pavement off the street.
They are perfect flowers for prairie gardens, and are a good match to plants like althea or tree mallows which are both cousins of the hollyhock plant.
Hollyhocks have always been acknowledged to have soothing health benefits. Hollyhock flowers are perfectly edible and are often eaten raw, in salads, or steeped in hot water to make infusions.
It is recommended to stake them to keep them from bending over.
Along a wall, it is enough to attach them with a wire or string stretched from one end of the wall to the other.