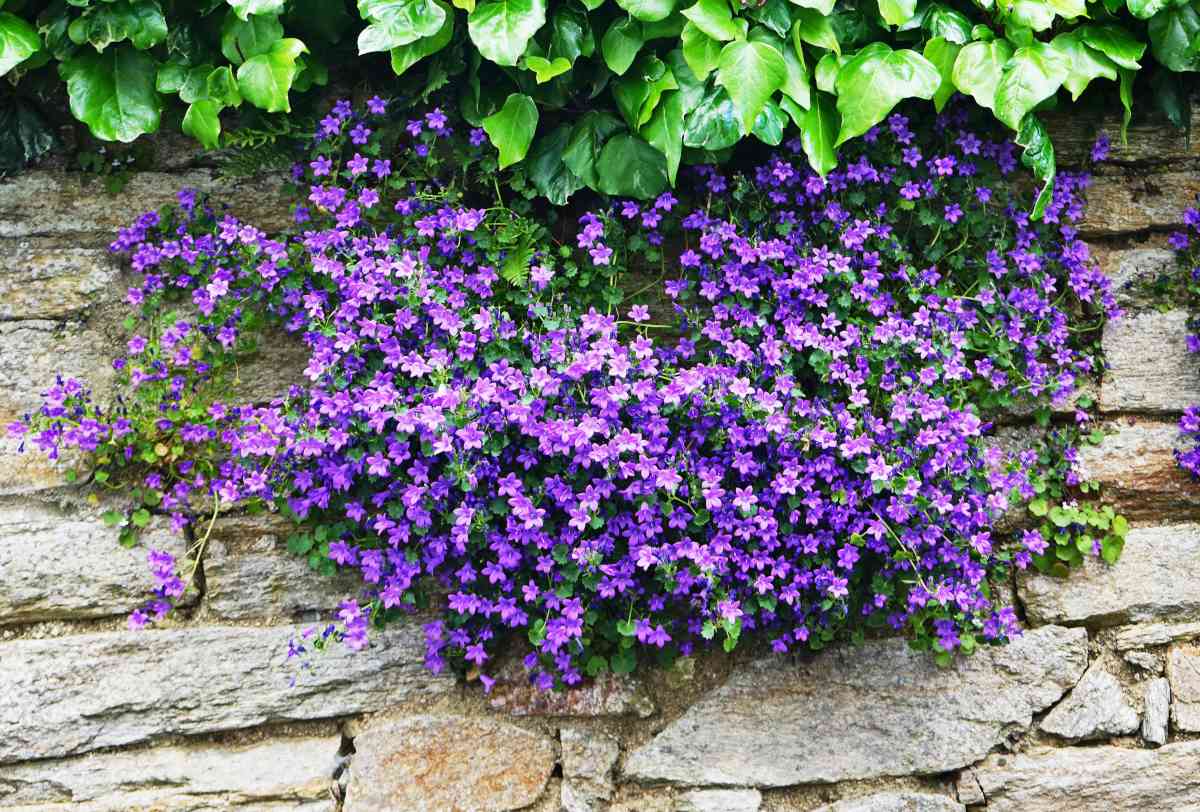
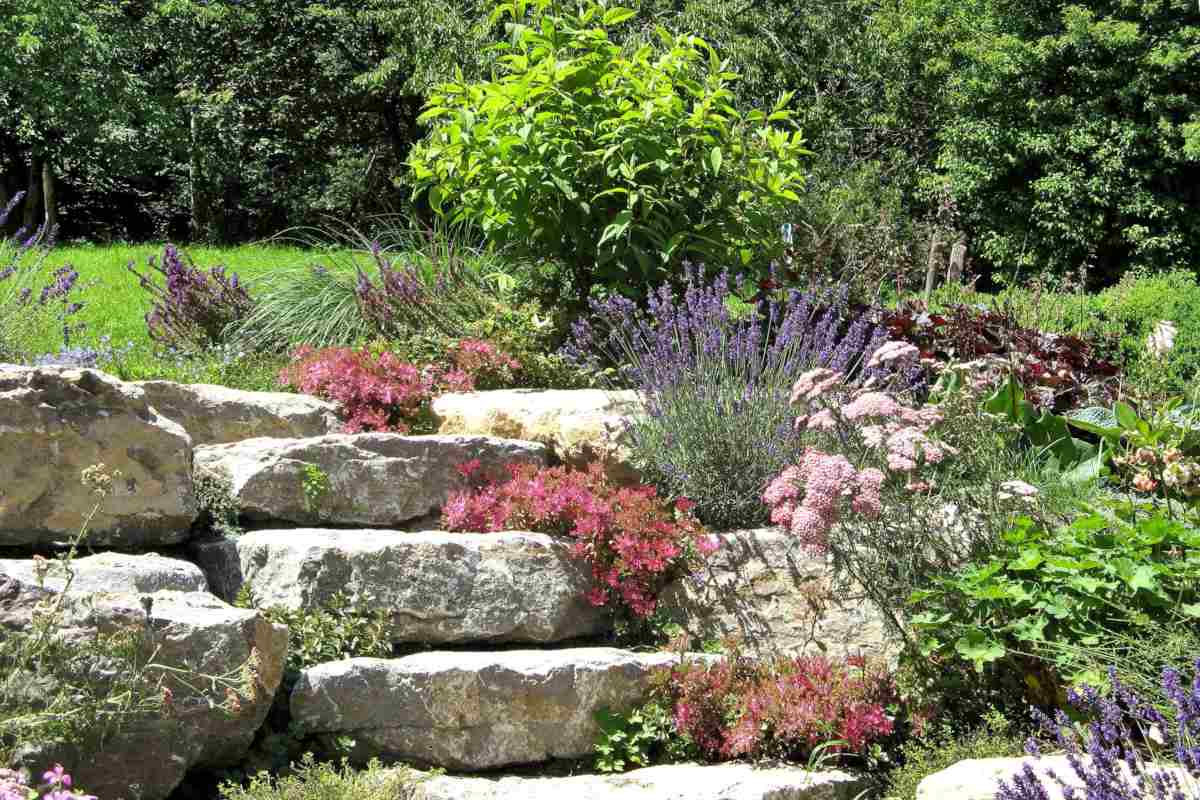
Houseleeks colonising every stone, ferns unfurling from shaded crevices, aubrieta spilling over a warm coping: a dry stone wall is a garden in its own right, and it wastes no space at all. Success hangs on soil pockets deep enough for roots to reach the mound behind — so sow and plant as you build.
→ Read also:
• Landscaping a slope: great ideas
• Rock garden set-ups
It’s better to think it through before even building the wall, so that adding plants later on is safe and easy. On dry stone walls (stones without any mortar), plants often colonize spaces on their own. When cement is used to fasten the stones, you need to provide pockets of soil for planting later on. If you don’t, instead of a plant-covered wall, your only option will be to plant along the base of the wall.
Admittedly, this is a big step 😋. But we’ll guide you through it in detail!
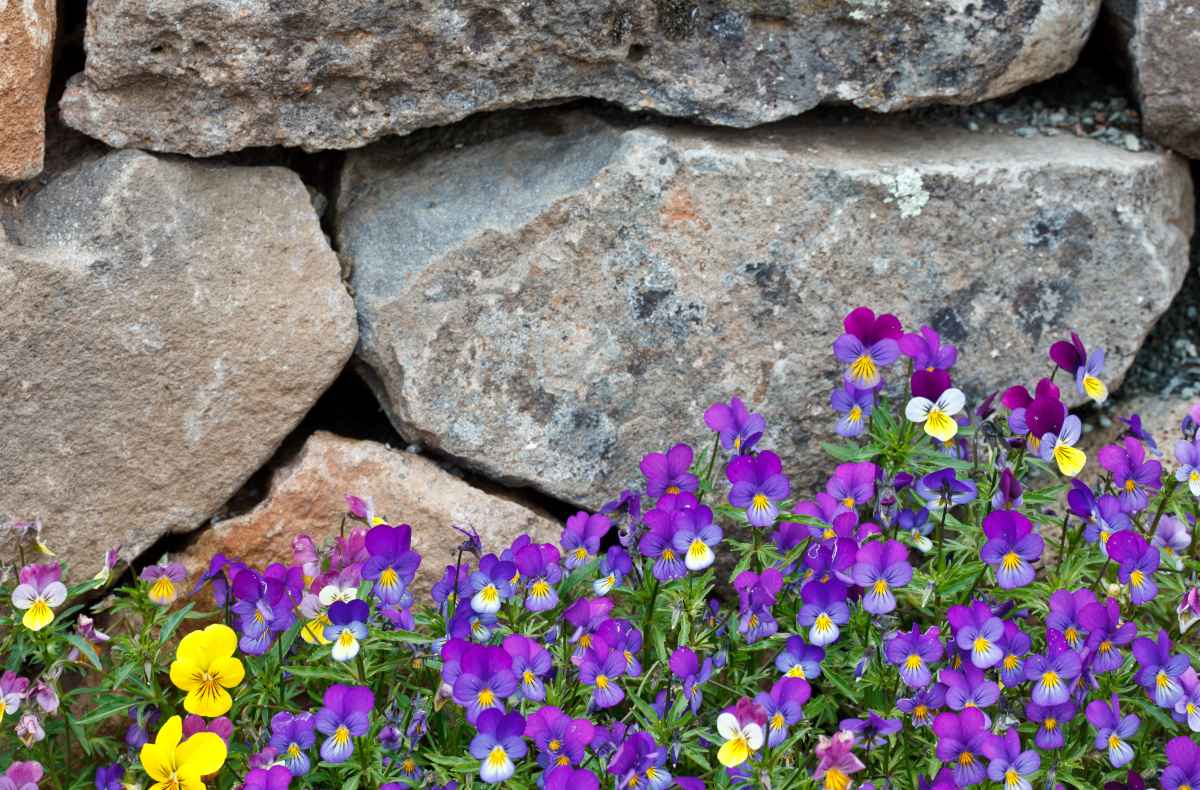
Stones with no mortar were traditionally erected by farmers who removed stones from the fields they were cultivating. These are always very short, 3 feet or 1 meter at most, because they lack proper foundations.
A trapezoid shape makes them more stable, but it also means the wall tapers and gets thinner near the top of the structure. This angle is called the batter. It must range from 3 to 10%, which is about a hand’s width at the palm at most, for every 3 feet (1 meter).
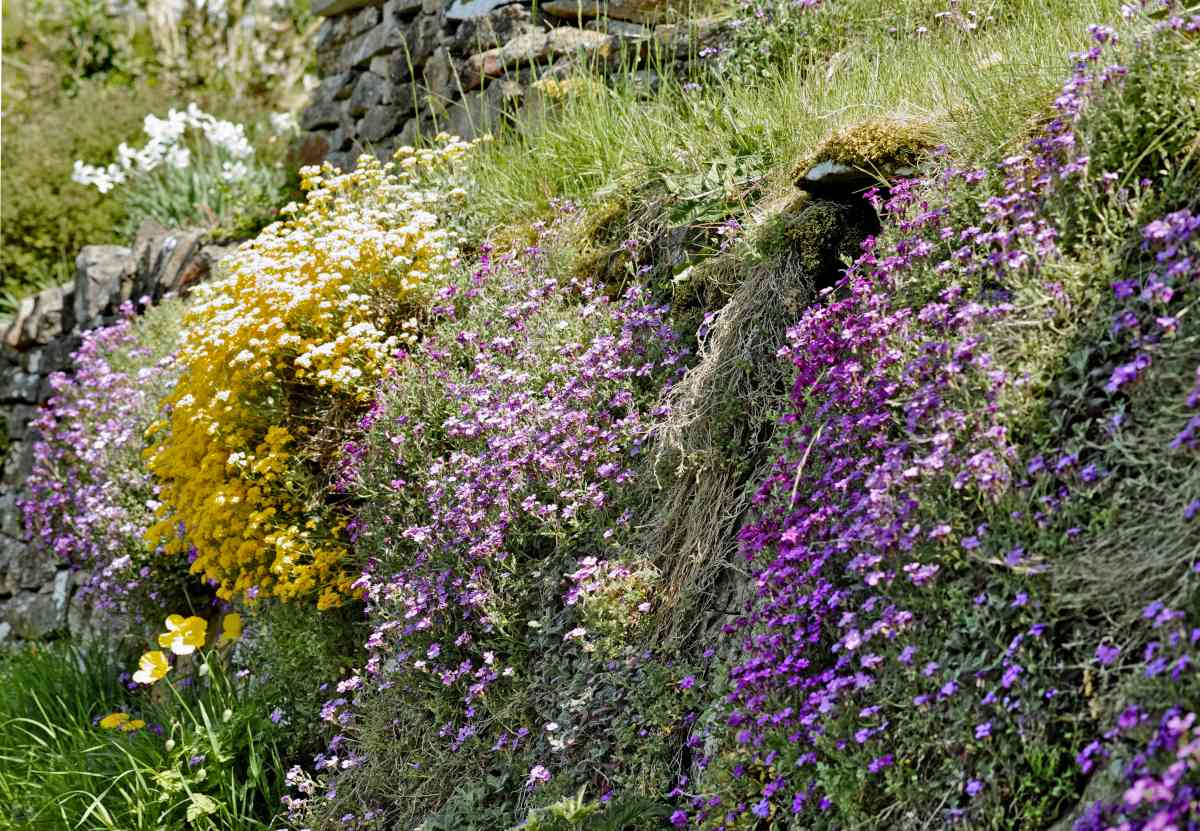
It ensure the wall remains upright, and at the same time gives plants some slope for them to collect rainwater.
Stones can be set in horizontal layers, like a staircase, or slanted for a smoother appearance.
You can shape or trim the stones (“ashlar”) or use them as is.
If the wall is holding back soil, compute its width from the height of the soil behind it: the thickness of the wall at its base should be at least equal to one-third that height. For example, 1 foot wide if there’s 3 feet of soil on the backside (35 cm thick for 1 meter of soil held back).
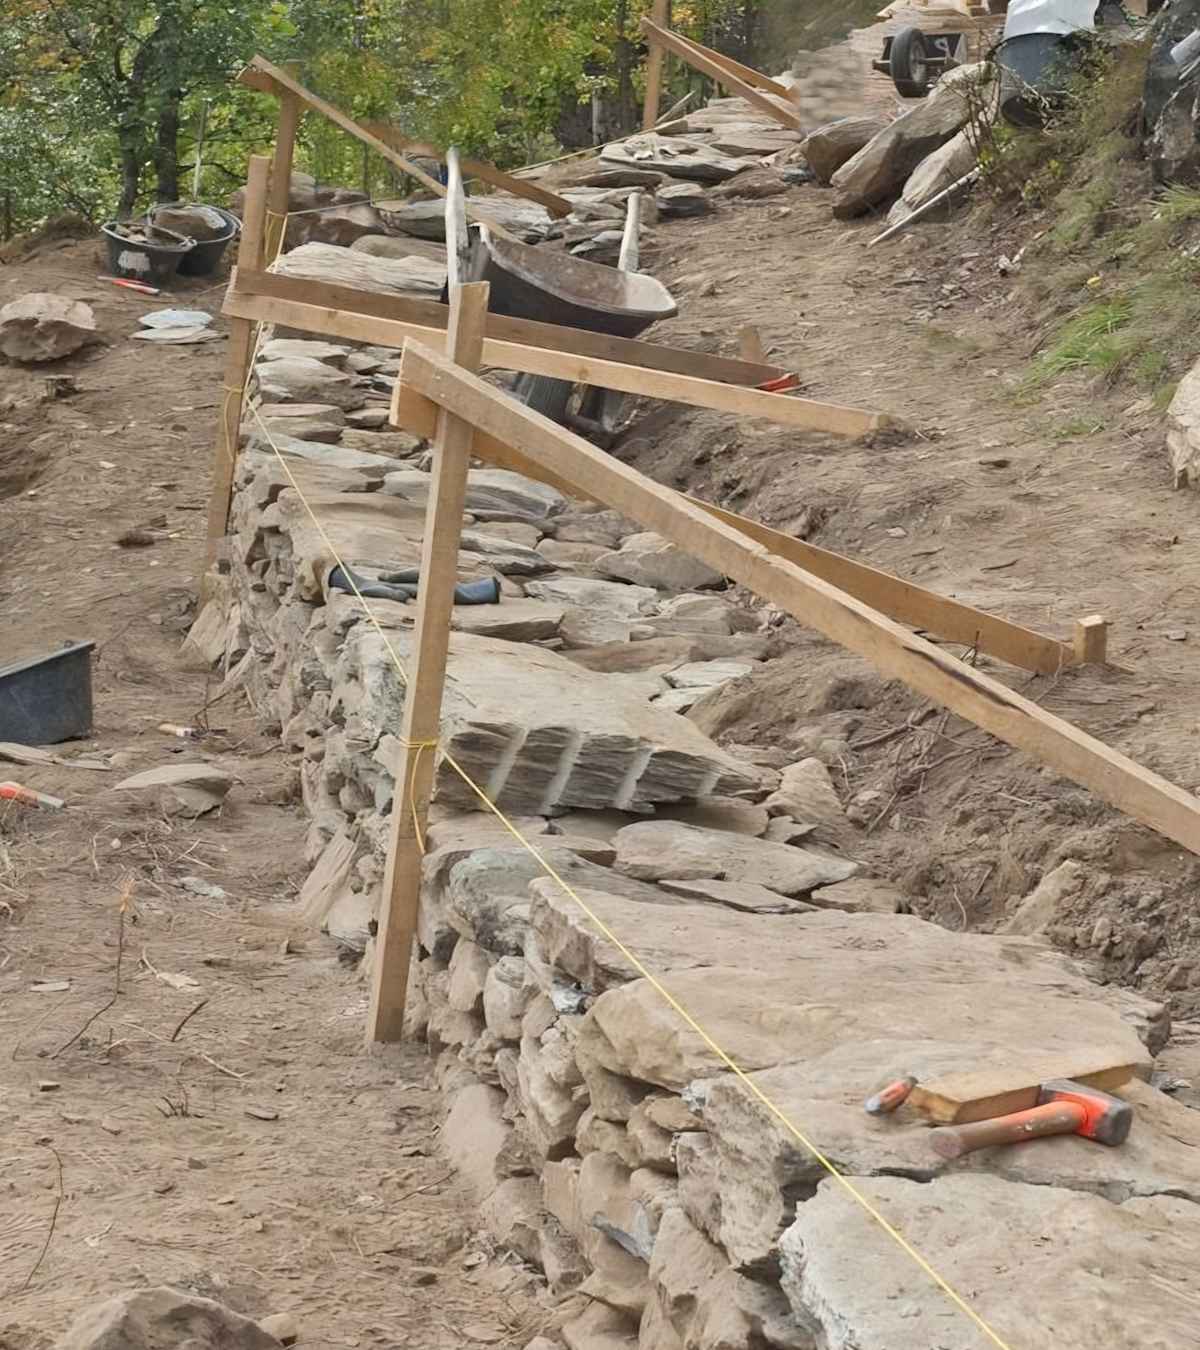
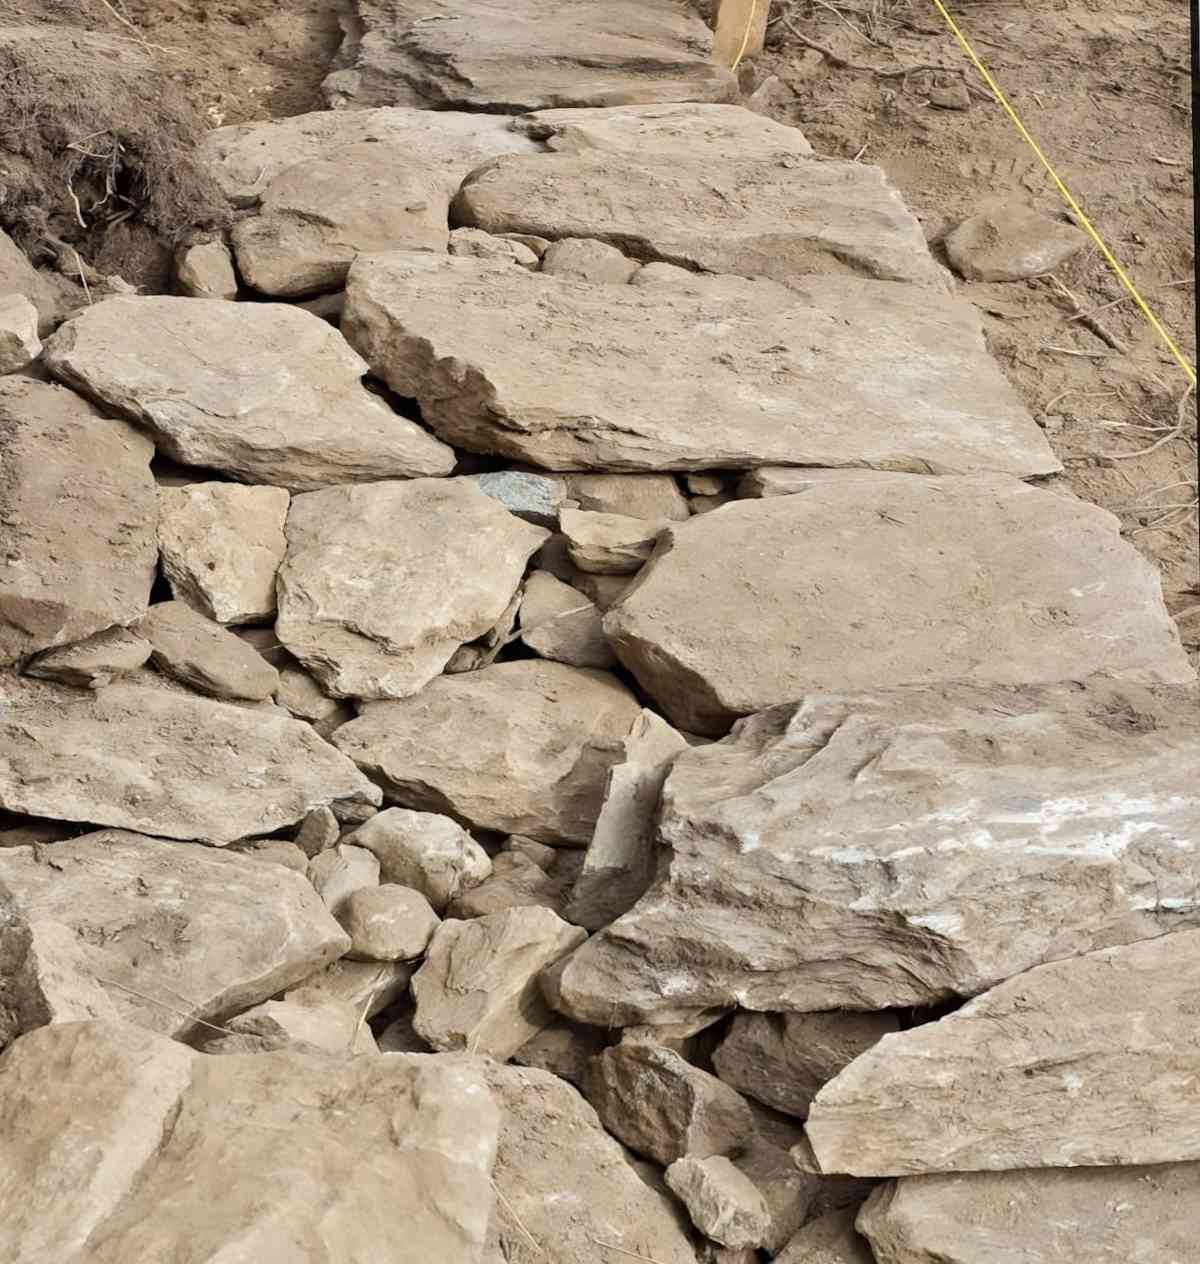
Give the stones a very light slope to the inside of the wall, going down towards the side that retains soil. Use pebbles to prop them up. Add dirt between stones whenever the distance between them reaches half an inch (1 to 2 cm). Behind the front-facing stones, at various intervals, prepare hollow spaces which you only fill up with dirt and soil, not stones.
Smart tip:
It’s best to sow and plant your flowers at the same time you’re building your wall. Remember to space plants by 2 to 3 feet (60-80 cm) so that the stones themselves are still visible after the clumps have grown. If any closer, you’ll have a wall that’s completely covered in vegetation.
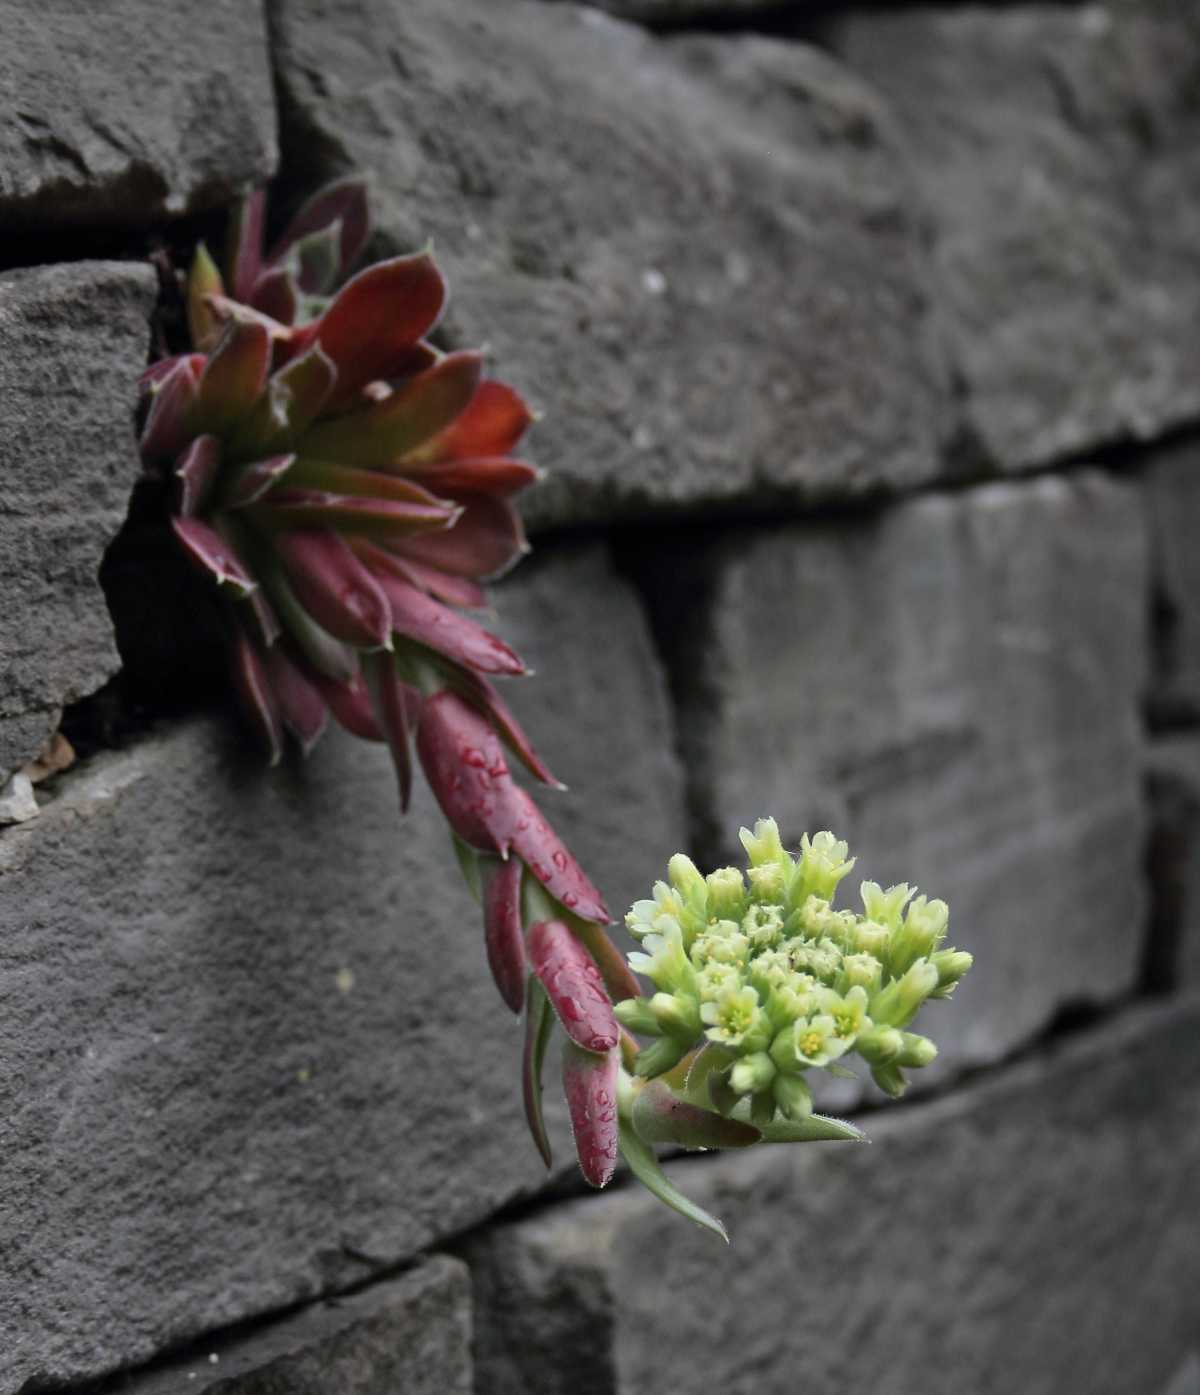
These stones at the top are called “capstones” because they’re at the top of the wall. Ideally, they’re wider than the wall itself, so that they can really extend onto the soil-filled side of the retaining wall.
The side your wall faces decides far more than the stones you used. Use it to draw up your planting list before the first course goes down.
| Exposure | What the wall offers | Plants to choose |
|---|---|---|
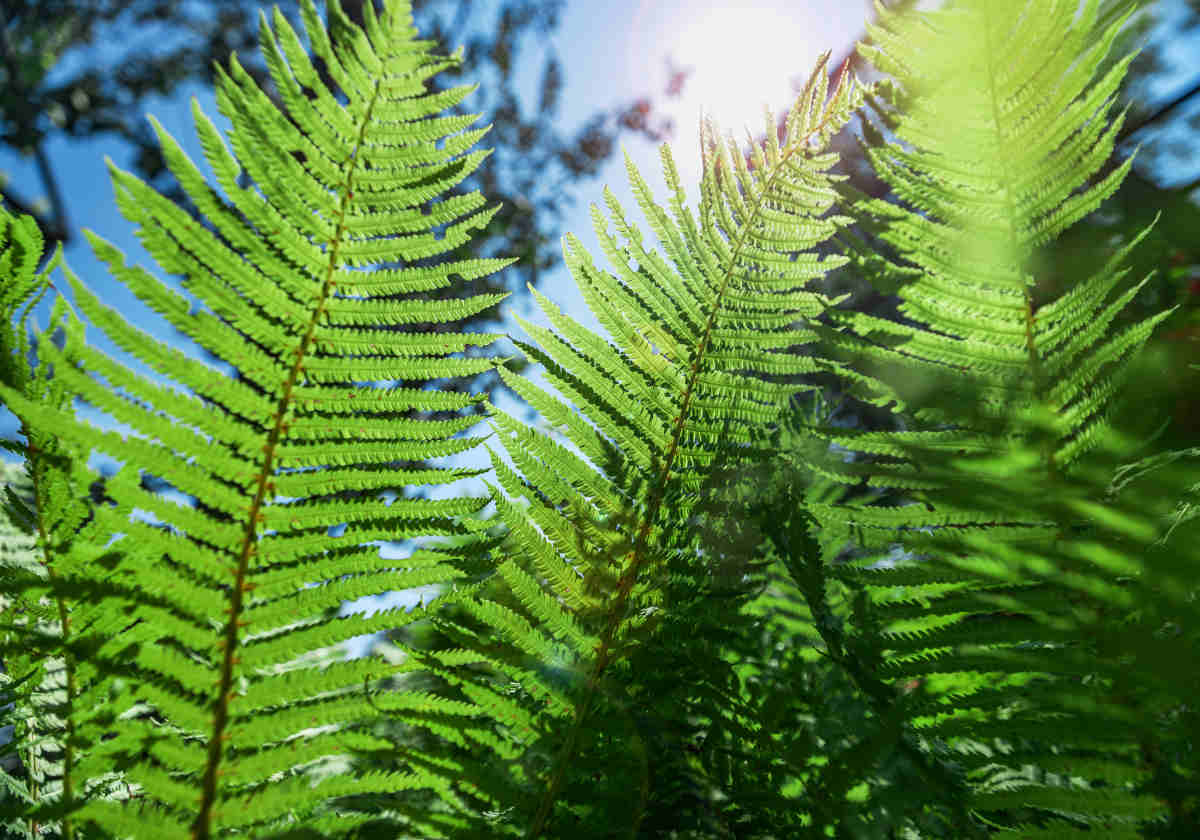
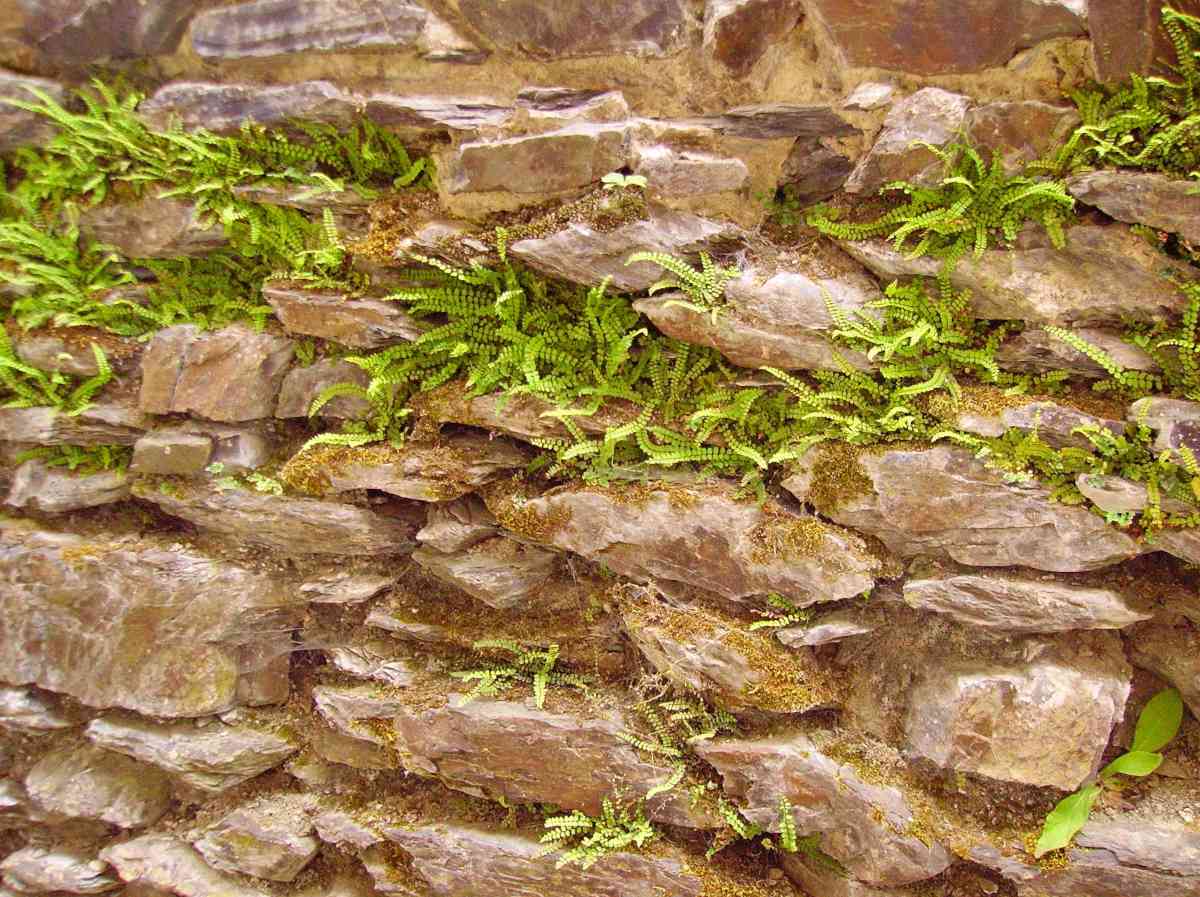
| North-facing | Cool, shaded crevices that stay damp | Ferns (Polypodium vulgare, Phyllitis scolopendrium, Asplenium trichomanes), ivy, periwinkle |
| South-facing | Hot stones, sun all day, crevices drying fast | Aubrieta, basket of gold, wallflower, red valerian, Erigeron karvinskianus |
| East or west-facing | Sun for half the day only, part shade | Sun-lovers cope well, plus Campanula portenschlagiana, sandwort, Erinus alpinus, saxifrage |
Whatever the face, the plants must be ones used to surviving in very little soil.
You have to focus on plants that are used to surviving in very little soil.
Alpine plants and “rock plants” are surely those that are best suited to growing in such an environment. Roots must weave their way between rocks.
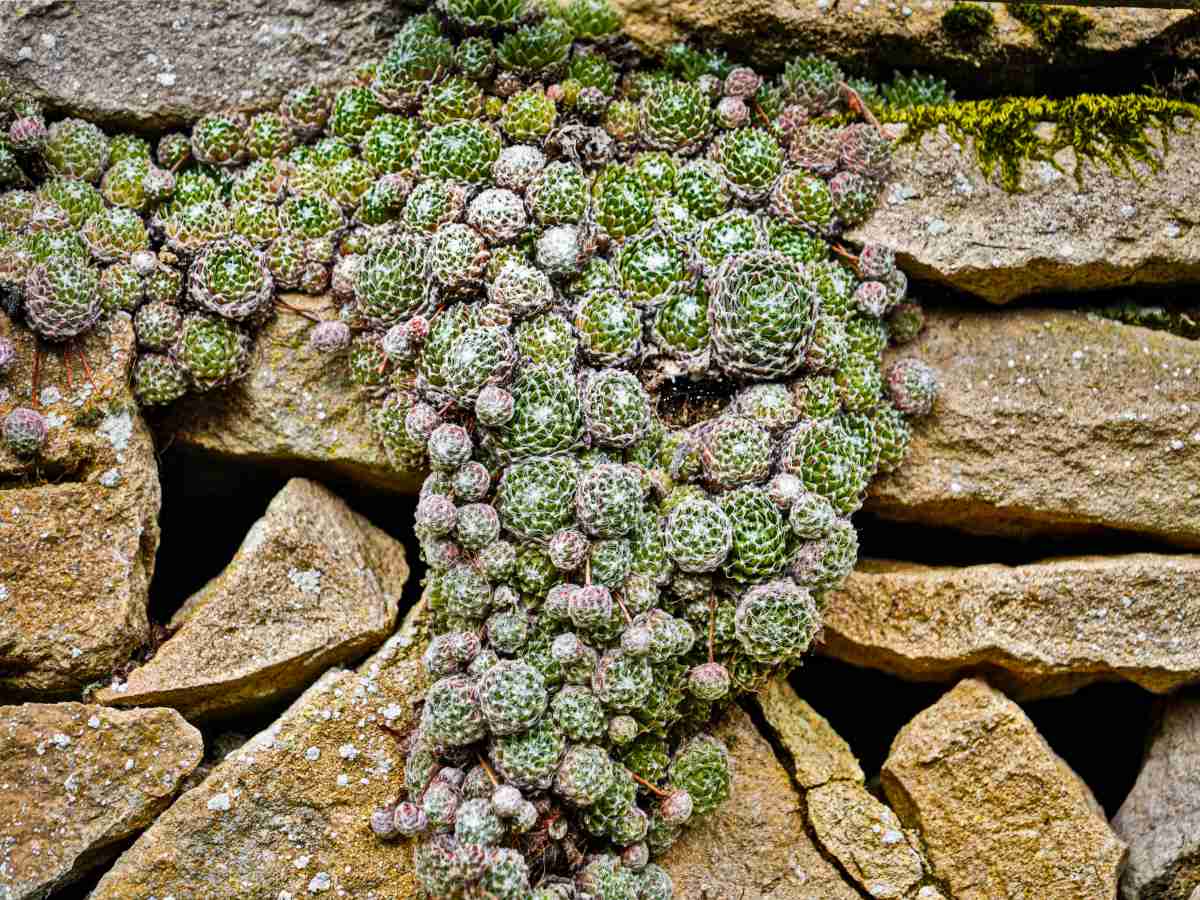
Stones get hot when exposed to sun and the space between them dries up faster. Ground cover plants that form small pillows or round bushy clumps are great. The larger, more expansive ones are to be planted on top of the wall.
You can also add succulents like common houseleek (Sempervivum tectorum) which will have fun colonizing every rock (shown in the picture above/right), as will the well-named wallflowers.
Factor exposure in when establishing the list of plants for your dry wall.
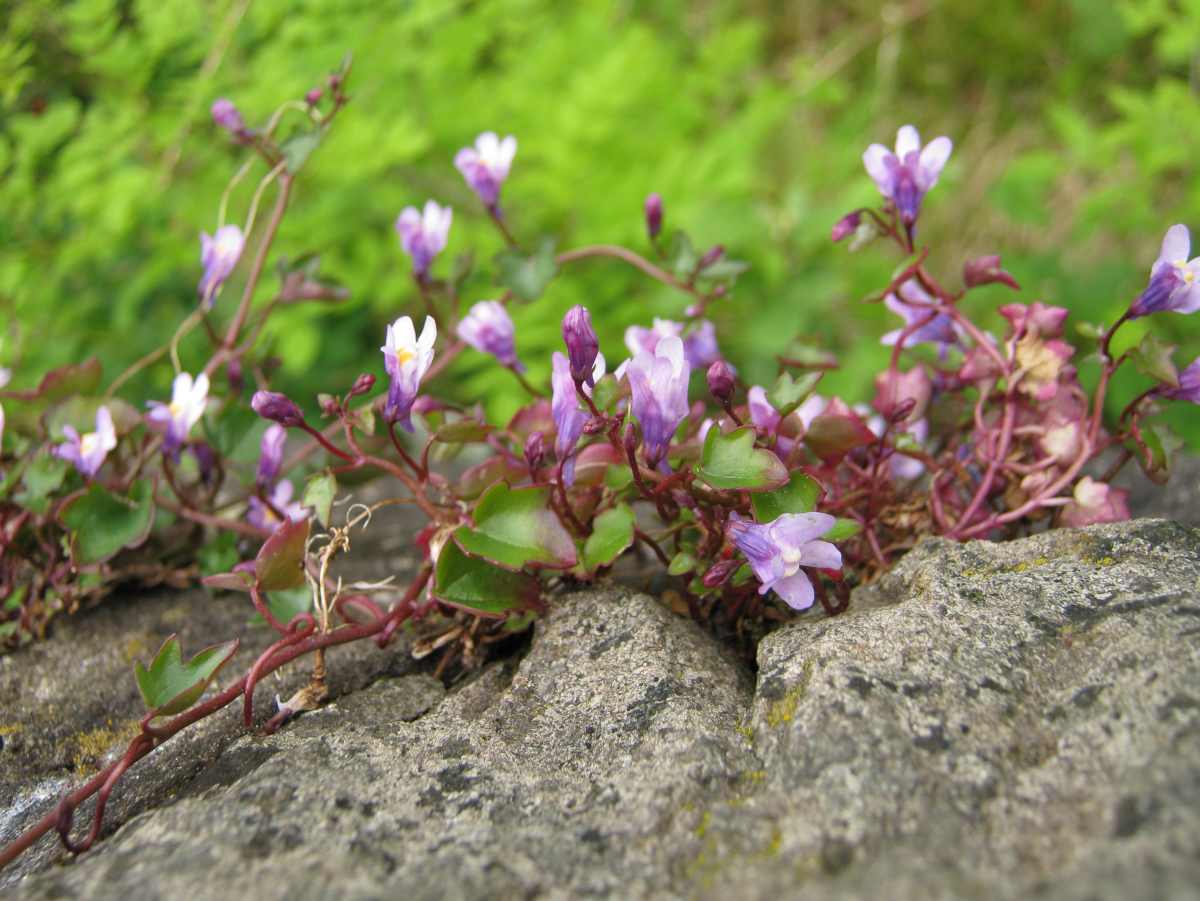
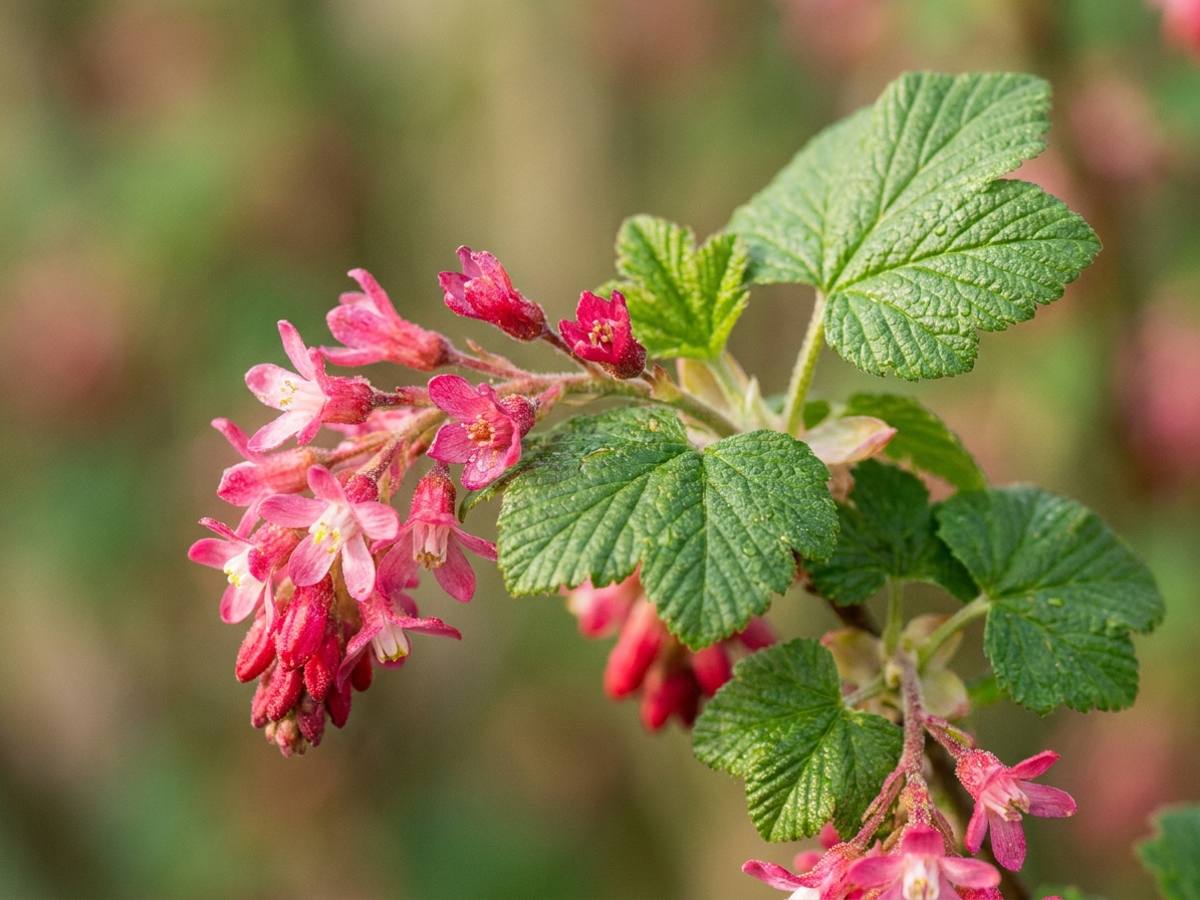
You might want to look at less well-known species, such as Acaena microphylla ‘Kupferteppich’, Antennaria dioïca, Anthemis cupaniana, Armeria juniperifolia, Cymbalaria muralis (coliseum ivy), Dianthus deltoides (dwarf carnation), Globularia cordifolia, Helianthemum (rock-rose), Phlox subulata, Sedum, Sempervivum, Tanacetum (tansy), Saponaria ocymoides (soap-bush), Ruta graveolens ‘Jackman’s Blue’ (rue)…
Smart tip:
Try to make the network of soil pockets deep and voluminous, and, if possible, let them open into the side of the wall holding the dirt back. Roots can thus dig deep into the mound for water.