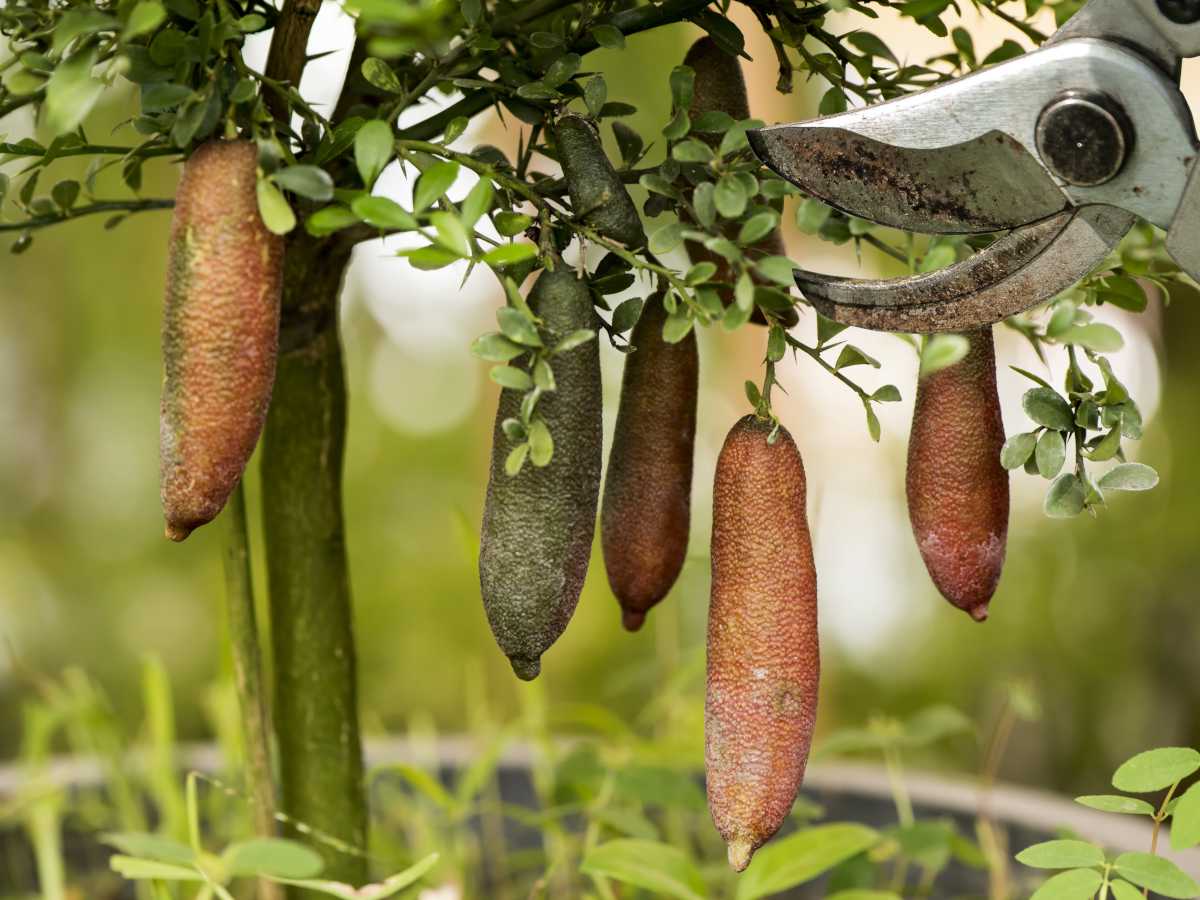
Pruning a finger lime tree helps get healthy, tasty fruits year after year.
It also protects this delicious but vulnerable citrus from diseases and pests. Here is how to prune your Australian finger lime.
| Season | After harvest, in autumn |
|---|---|
| How often | One shaping prune a year, plus a walk round with secateurs each month |
| Main concern | Suckers, and how low the lowest branches hang |
| Watch for | Swellings along a branch, which mean gall wasp |
| Never remove | More than a third of the tree in one go |
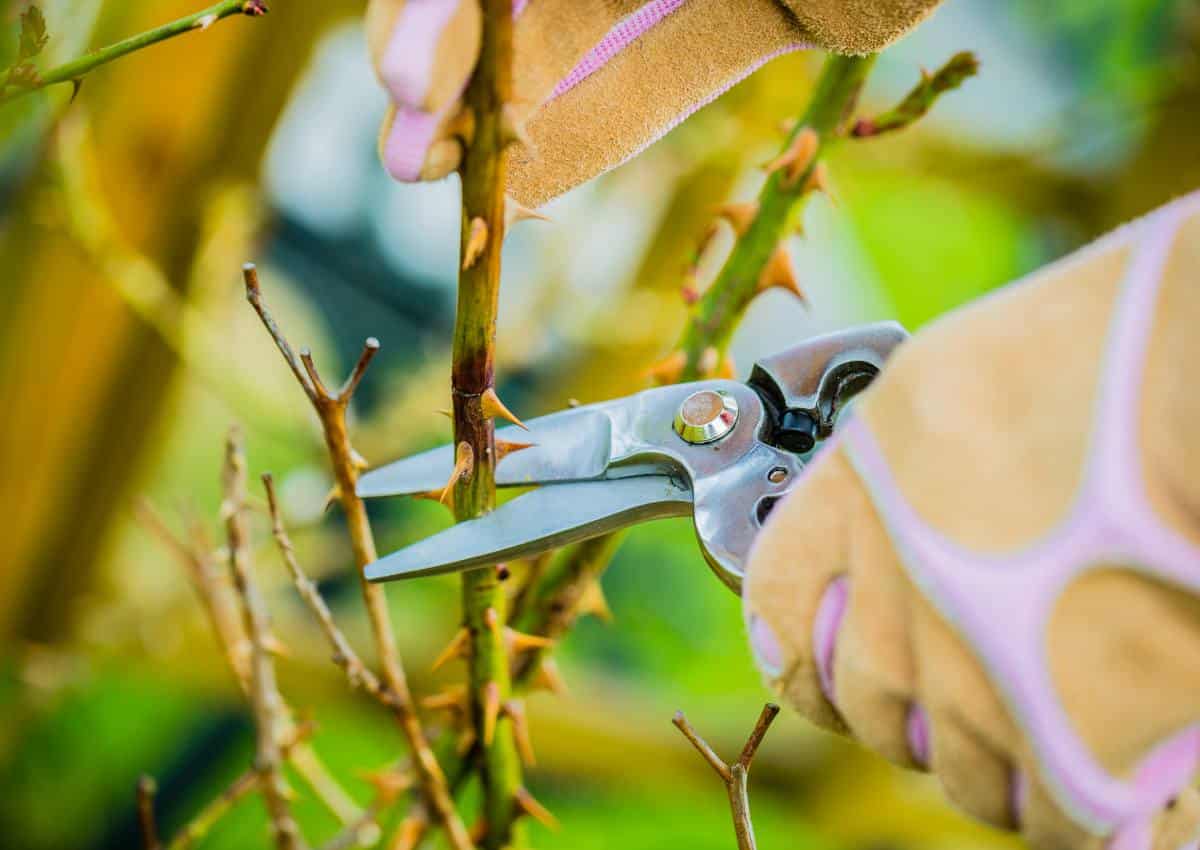
| Tools | Clean secateurs and thick gloves: the thorns are long and sharp |
Make it a regular task visit your finger lime with secateurs, ideally monthly. Pruning a little at a time is easier on the tree than a single heavy pruning every year.
Three important facts guide the pruning shape your Australian finger lime should have:
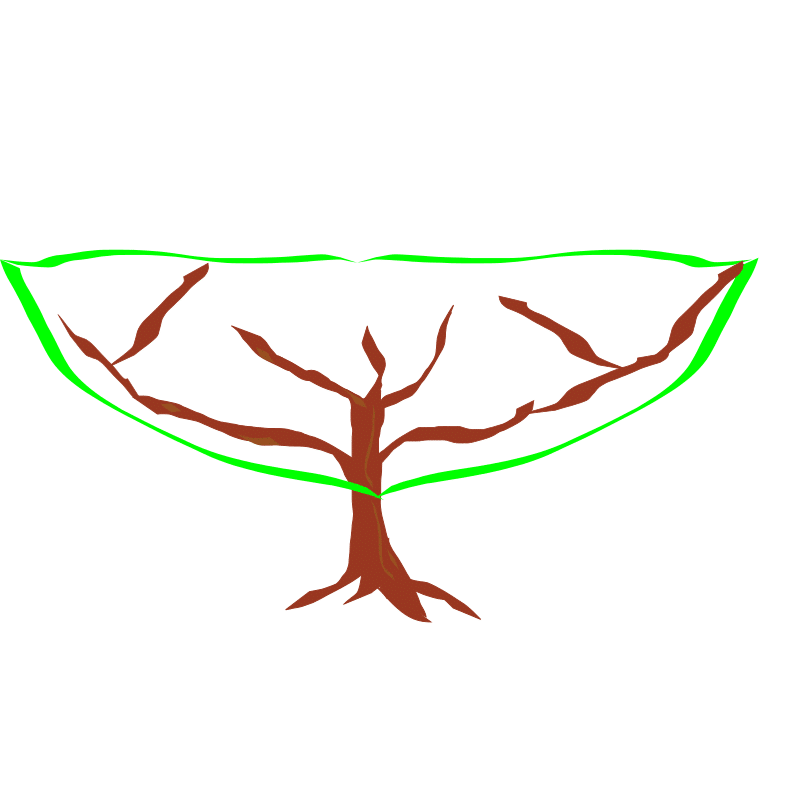
Although finger lime is less vigorous than most other citrus varieties, it still does need regular pruning. The ideal shape you should try to aim for has the following characteristics:
Best is to circle around the tree every month to trim any shoots or branches that don’t fit into this shape. Bring thick gloves with you as the thorns are sharp.
Start pruning your finger lime early on.
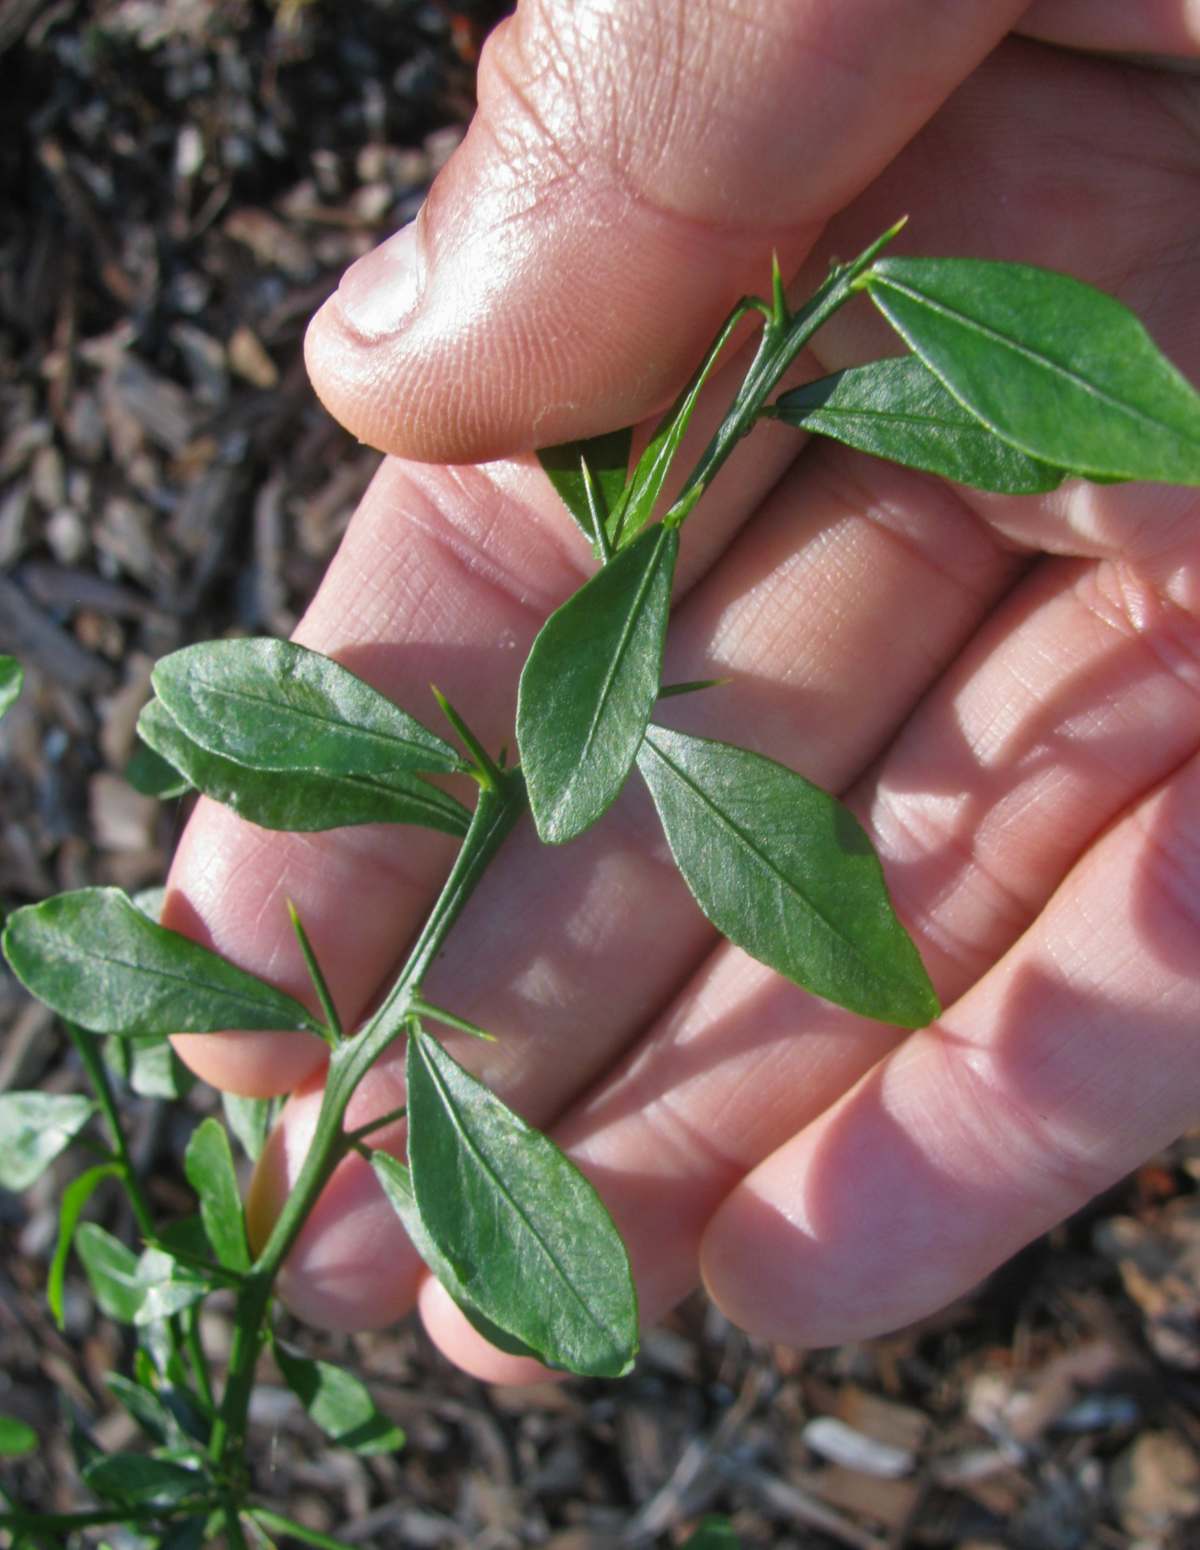
Pruning as early as year 2 or 3
will form the tree without much effort. Citrus wood is hard, so pruning while small is easier.In later years, for maintenance pruning, wait until after the harvest to perform most of the pruning, especially if you’re “catching up”.
During the rest of the year, you can perform follow-up pruning as often as you wish. Check and adjust the shape every month to avoid heavy pruning.
| Period | What to do | Why then |
|---|---|---|
| After harvest, autumn | The shaping prune: structural branches, thinning, skirting | Next season’s flower buds have not formed yet, so nothing is sacrificed |
| Winter | Dead wood only, and only in a mild spell | A fresh cut in cold, wet weather is an open door to disease |
| Early spring | Rub off suckers with a thumb while they are still soft | A sucker removed at two centimetres never needs a cut at all |
| Summer | Snip thorns near swelling fruit, remove crossing shoots | The fruit is fragile, and a thorn will pierce it on a windy day |
| Any month | Cut out swollen branches and destroy them | Gall wasp larvae spend the winter inside the swelling |
Pruning isn’t simply about giving the tree the ideal shape. It also helps control pests, fruit quantity and quality, and diseases. Go through these steps to check what should be removed.
Australian finger lime doesn’t like extreme pruning. Never remove more than a third of the tree in one go. Always keep some live branches at the tip of structural branches to make sure sap circulates.
There are 3 types of branches on your finger lime tree:
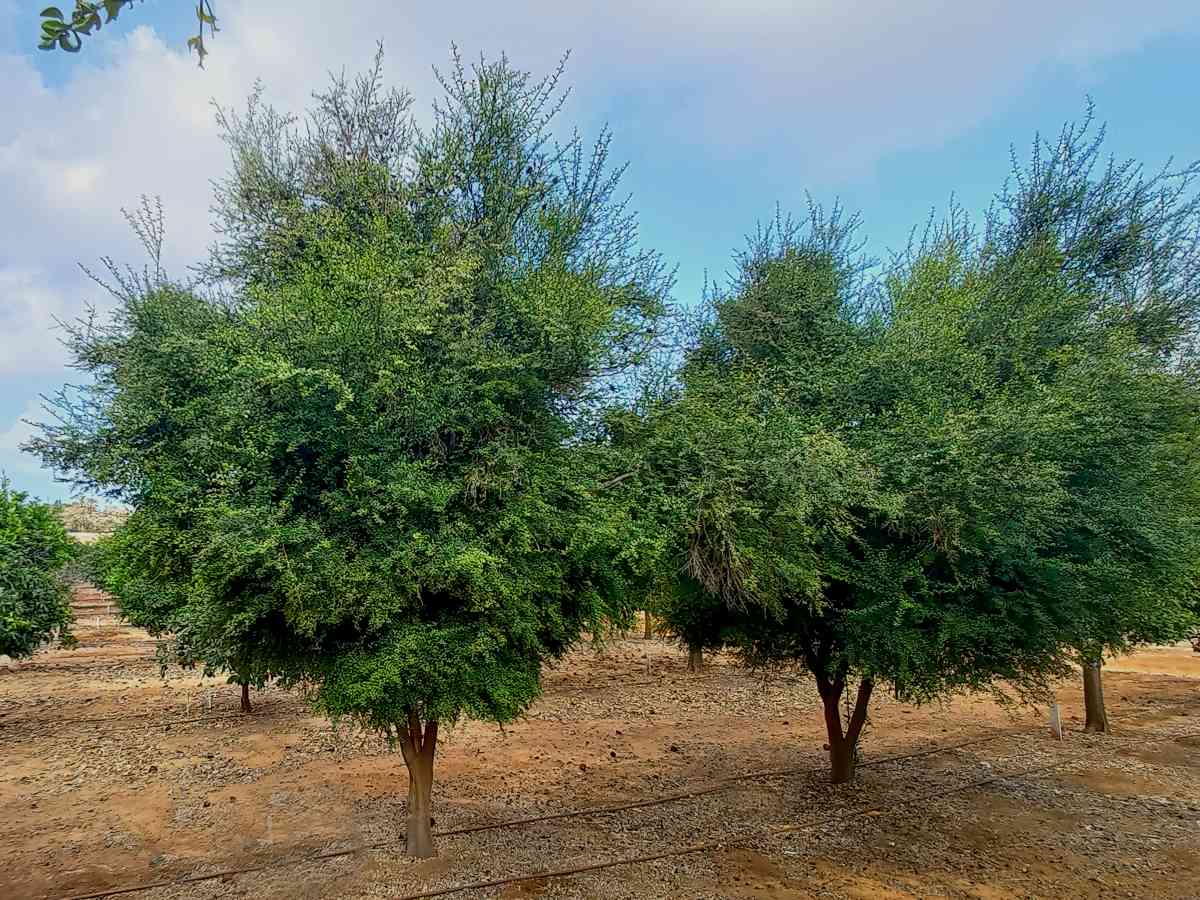
large, permanent scaffold branches
1. Structural branches – as horizontal as possible, evenly fanning out from the trunk in all directions. Mark them with a yarn or loose tag for the first few years.
2. Secondary branches – keep one or two that are the most horizontal at the tip of each structural branch.
Remove these: Inwards – Crossing – Upwards. As in, “I see you, ICU!”
3. Suckers – Remove all shoots that appear straight from the trunk. You can keep one if you need to create a new structural branch, but make sure it sprouted above the graft joint.
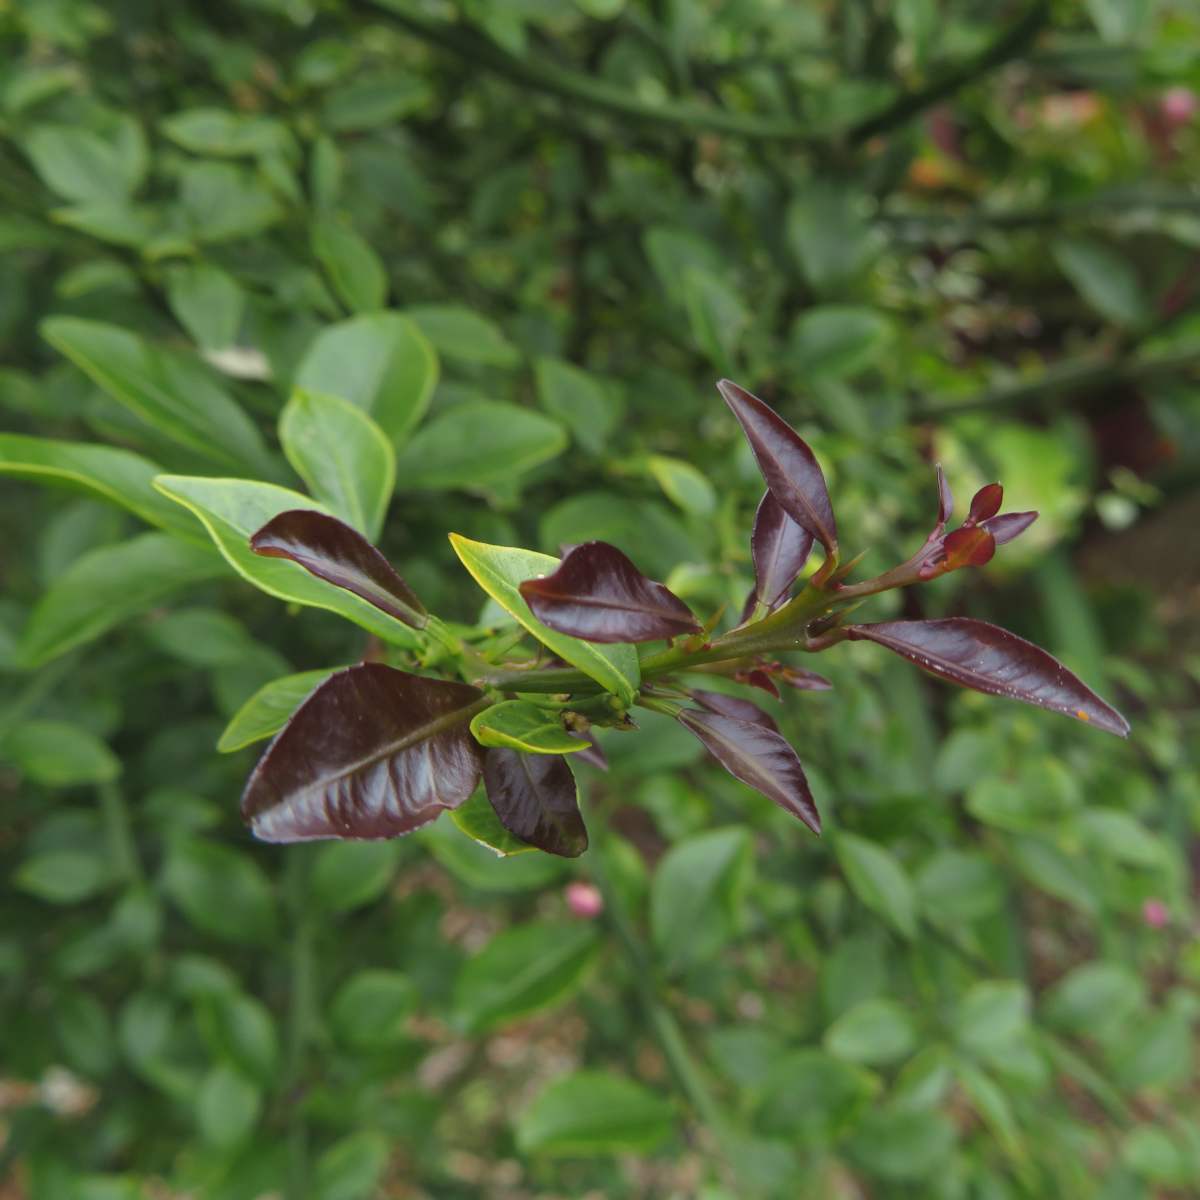
If lots of branches start growing in random directions, mostly from lower trunk, it is the result of insufficient availability of boron trace elements.
Indeed, most citrus are vulnerable to loss of apical dominance. Boron deficiencies increase this problem. New shoots come from the lower trunk upon pruning, instead of branching out from the tip of the tree. This results in a hard-to-train tree that is more vulnerable to disease.
You’ll run across these ideas as time passes, it’s a good idea to practice them early on:
Skirting – The “skirt” of the tree is how low the branches reach. Cut any branch that hovers lower than knee-height (2 feet or 60cm). Skirting reduces insects and fungal diseases.
Thinning aims to reduce the density of the tree canopy. In particularly dense spots that block out light and air, remove one in four or one in three secondary branches. A breeze should filter through the tree and not run around it. Sunlight should land on branches in the middle of the tree. Thinning spreads out pest insects and makes predator insects more effective (especially against thrips, for instance).
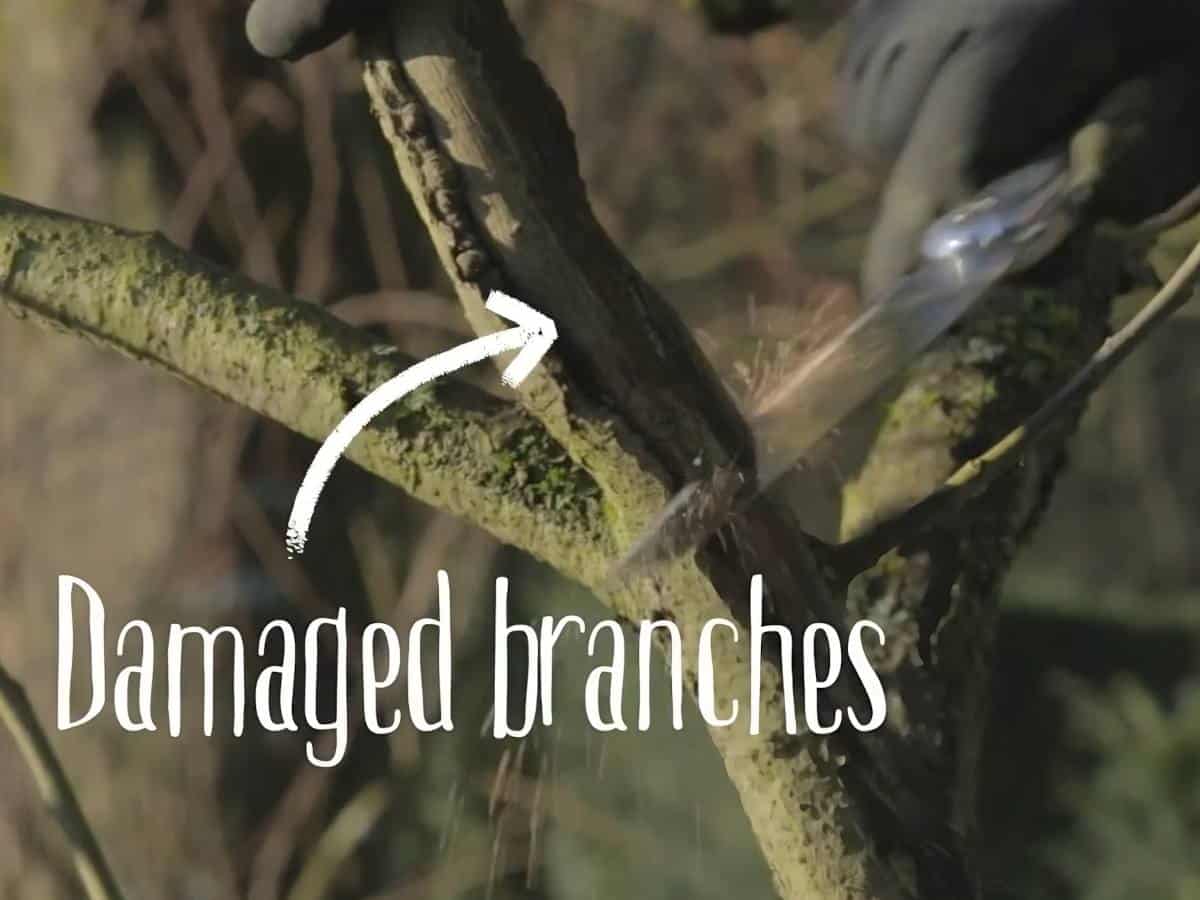
Dead wood – cut dead wood back to the nearest joint. Cut small twigs and scraggly growth off from main branches, too.
Pests – If ever you notice swelling along a branch, check for gall wasps. Cut out and burn or suffocate contaminated branches in a black sack set for days in hot sun.