Spring flowering is over, the petals long gone — and most gardeners forget about their bulbs until autumn. That gap, those quiet summer weeks when the foliage yellows and the bed looks untidy, is actually the most non-negotiable window in a bulb’s entire year. This period dictates the fate of your blooms.
What happens to those bulbs between June and September shapes everything. You will see how well they flower, and whether your collection quietly doubles or slowly disappears. So, pay close attention.
Not every spring bulb needs to come out of the ground. Leaving certain varieties untouched saves you valuable time, while correctly identifying those that require attention will ensure their longevity.
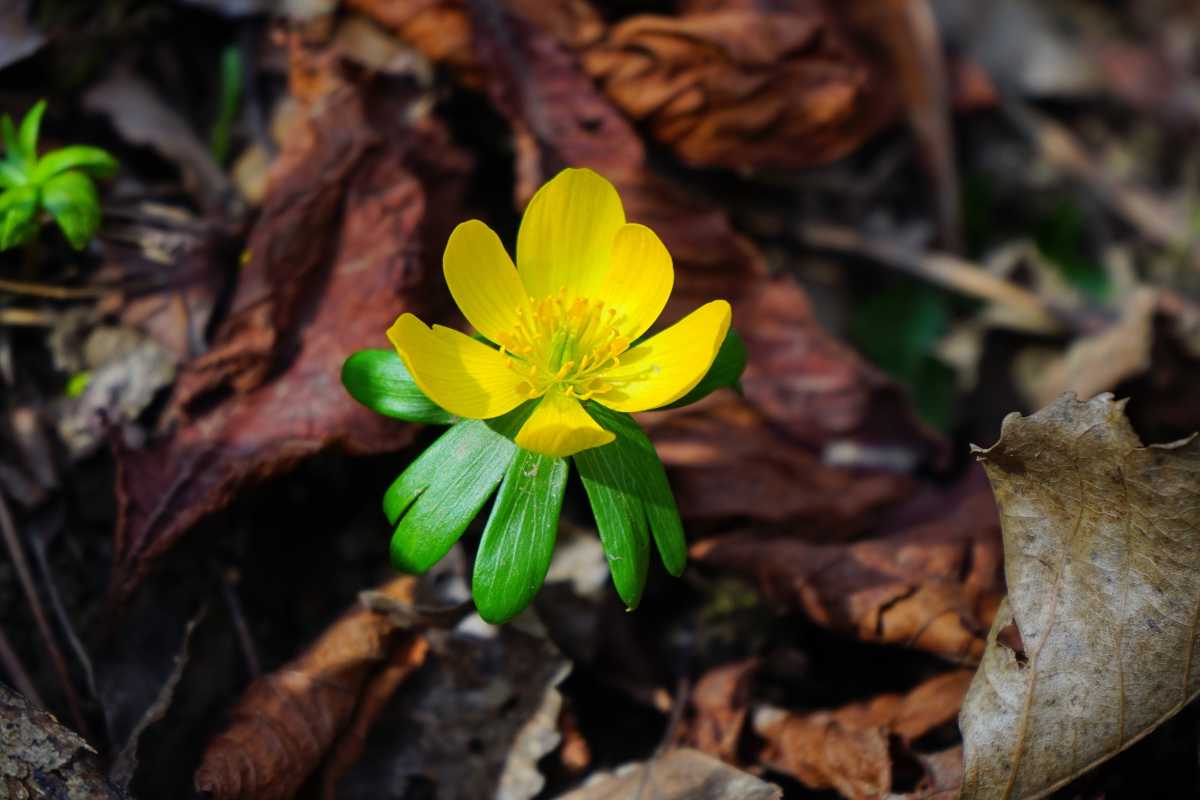
Bulbs that benefit strongly from annual lifting include tulips (especially large-flowered hybrids), hyacinths, and fritillaries. These varieties come from climates with hot, dry summers — the Turkish and Central Asian steppes for tulips, the Mediterranean for hyacinths — and the cool, damp soil of a UK or Pacific Northwest summer is actively hostile to them during dormancy. Left in clay or poorly drained soil, they rot or diminish year on year. This method does not work for these. Skip it.
Bulbs that can usually stay put:
If you tulip bulbs shoot up in heavy or wet soil, lift them every single year. If your soil is free-drraining and sandy, you can trial leaving some in — but expect a gradual decline in flower size after year two or three. That is just how it is. It is not quite right to leave them, in fact.
The foliage is your timer. Lifting too early is the most common error. The leaves are still photosynthesising and feeding the bulb below, building the energy reserves that fuel next year’s flower. This matters hugely.
Cut that process short and you get a smaller, weaker bulb. A less vibrant bloom.
Wait until at least six weeks after flowering, or until the foliage has turned completely yellow and begun to collapse on its own. For tulips that bloomed in April, this typically means lifting from mid-to-late June. For later-flowering varieties, early July is more realistic. And timing here is everything for future displays.
The leaves will smell faintly vegetal and papery when they are truly done — almost like dried onion skin. That smell is your green light.
Tying the foliage in knots or braiding it is often recommended to tidy the border. Avoid it. This method does not work. Skip it.
Folded leaves photosynthesize less efficiently. And the knots can trap moisture, increasing the risk of basal rot right where you least want it. It can lead to dodgy outcomes.
Use a flat-tined garden fork, not a spade. Push it in at least 15cm away from where you think the bulb is. Tulip bulbs sit 15–20cm down and often migrate sideways over the years. This requires patience.
Coming in too close splits the bulbs cleanly in half. And a split bulb will not flower. Full stop.
Ease the fork under and lever the soil upward gently. Do not yank. Ever.
Let the soil break apart rather than pulling the stems, which can tear the bulb from its basal plate — the flat base from which all roots shoot up. A damaged basal plate means a dead bulb. Nothing to be done.
Once lifted:
Yes, checking every bulb individually is fiddly. Worth it. One rotting bulb stored with healthy ones can destroy an entire collection within three weeks. It is worth taking the time, get it sorted.
Freshly lifted bulbs carry moisture and soil bacteria. Store them immediately and you will open your storage bag in autumn to find grey mush. It is simply awful.
Drying is non-negotiable. This is your foundation for success.
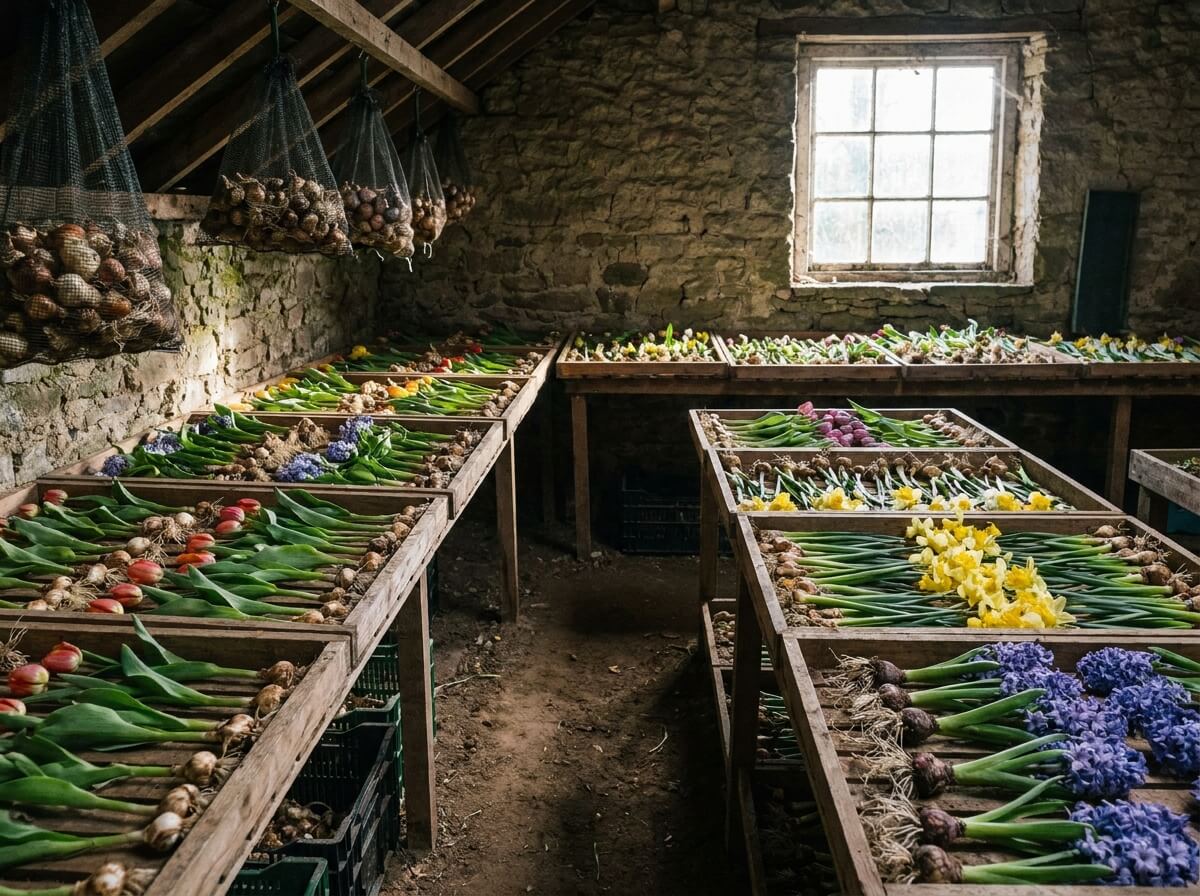
Spread the bulbs in a single layer on a wooden tray, an old window screen, or a mesh rack — anything that allows air circulation underneath as well as above. Put them somewhere warm, dry, and well-ventilated: a greenhouse bench, a garden shed with the windows open, or an unheated spare room. Not the kitchen. And certainly not a sealed shed with poor air flow.
Leave them for a minimum of two weeks, preferably three. At the end of this period, the outer skin should feel papery and completely dry, and the bulb should feel firm and solid when gently squeezed. This means you have got it bang on.
Any that have softened during drying should be discarded without hesitation. They are past it.
The Royal Horticultural Society recommends dusting the dried bulbs lightly with a sulphur-based powder (widely available as ‘flowers of sulphur’ or a proprietary bulb dust) before storage. This does wonders for reducing fungal infection during the months ahead. It makes a proper difference.
The ideal storage environment is cool (10–15°C), dark, and dry with good air circulation. A garage or unheated shed usually performs splendidly in temperate climates.
Do not store bulbs in a fridge unless you have conducted proper preparation — the moisture inside a domestic fridge is too high unless the bulbs are perfectly dry first. And that means *perfectly* dry.
Never use sealed plastic bags or airtight containers. So, the single best storage options are:
Label everything at the time of lifting, not later. Unlabelled bulbs look identical by October, and even experienced gardeners cannot reliably identify a tulip cultivar from a dormant bulb. The thing is, guesswork always leads to disappointment.
Use a permanent marker directly on the bag or tie a label around a small cluster. This is crucial.
Check the bulbs once during storage — around August — and pull off anything that has softened or shows mould. One bad bulb spreads infection fast. Very fast.
Expanding your collection for free becomes an effortless task during lifting season. Tulips and daffodils in particular produce offset bulbs — small clones attached to the parent’s basal plate — and these can be shot up into flowering-size bulbs given sufficient time and care.
Tulip offsets reach flowering size in two to three years if shot up in good conditions. Shoot them up in a dedicated nursery row, planted about 8cm deep and 5cm apart, somewhere they will not be disturbed. Feed them with a high-potash liquid feed (a diluted tomato fertiliser works perfectly — use it at the manufacturer’s recommended rate) in spring as the foliage emerges, and lift them each summer the same way as the parent bulbs.
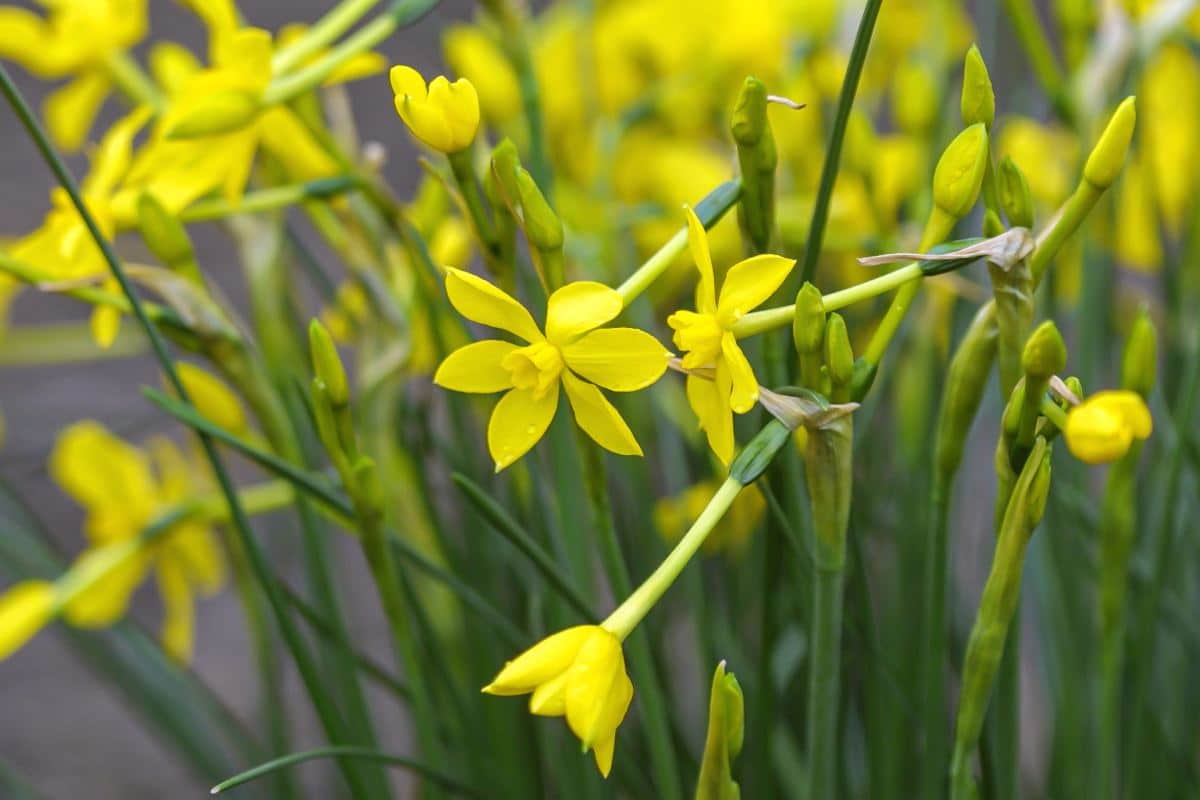
Narcissus offsets are faster and more reliable — most reach flowering size within one to two seasons. See the full narcissus planting and care guide for variety-specific timing. But remember the fundamentals apply to all of them.
Dahlia tubers follow similar logic — if you are already lifting bulbs, consider lifting and dividing tubers at the same time. The guide to dahlia division and cuttings covers the technique in detail.
University of Maryland Extension reports that properly stored bulbs replanted in autumn perform just as well as commercially purchased bulbs — and in many cases better. Home-stored bulbs have already adapted to your specific soil and microclimate, which is an enormous advantage.
Tulips go back in the ground from mid-October to mid-November in the Northern Hemisphere — soil temperature should be below 10°C at 10cm depth before planting. Too warm and the bulbs push up shoots before winter; too cold and root development is stunted before the ground freezes. It is a precise window. A fortnight either way makes all the difference.
Plant at two and a half times the bulb’s height in depth. For a standard tulip bulb about 4cm across, that means a 10cm planting depth properly observed.
Deeper is better in light soils — up to 20cm — as it keeps bulbs cooler in summer and reduces the need to lift them annually. A deeper plant is often a happier plant.
Southern Hemisphere gardeners: your bulb lifting season falls in December and January, after your spring (September–November) flowering period. The same foliage rules and storage principles apply — your storage window runs through the Southern Hemisphere autumn and winter months.
Smart tip: Always label bulbs at the moment of lifting — dormant bulbs are impossible to identify reliably by October. It really is impossible.
No. Sealed plastic traps moisture and causes fungal rot within days. This is a common and destructive issue. So, just do not do it.
Use paper bags, mesh nets, or open wooden trays with good airflow.
Squeeze it gently — a healthy bulb is firm throughout. Any softness, foul smell, or visible grey or white mould means the bulb is already lost and must be discarded immediately. A dodgy bulb means an instant cull.
No. Narcissus (daffodils) are hardy and reliable left in the ground for three to five years. They are quite content.
Lift and divide only when clumps become congested and flowering quality drops, signalling an issue with overcrowding.
Store them separately, clearly labelled, and replant them in a nursery row in autumn at 8cm depth. Most tulip offsets reach flowering size within two to three shooting up seasons.
Mid-October to mid-November in the Northern Hemisphere, when soil temperature drops below 10°C at 10cm depth — too early and they sprout prematurely, too late and root development suffers before the ground freezes. This window is critical. You must get it right.