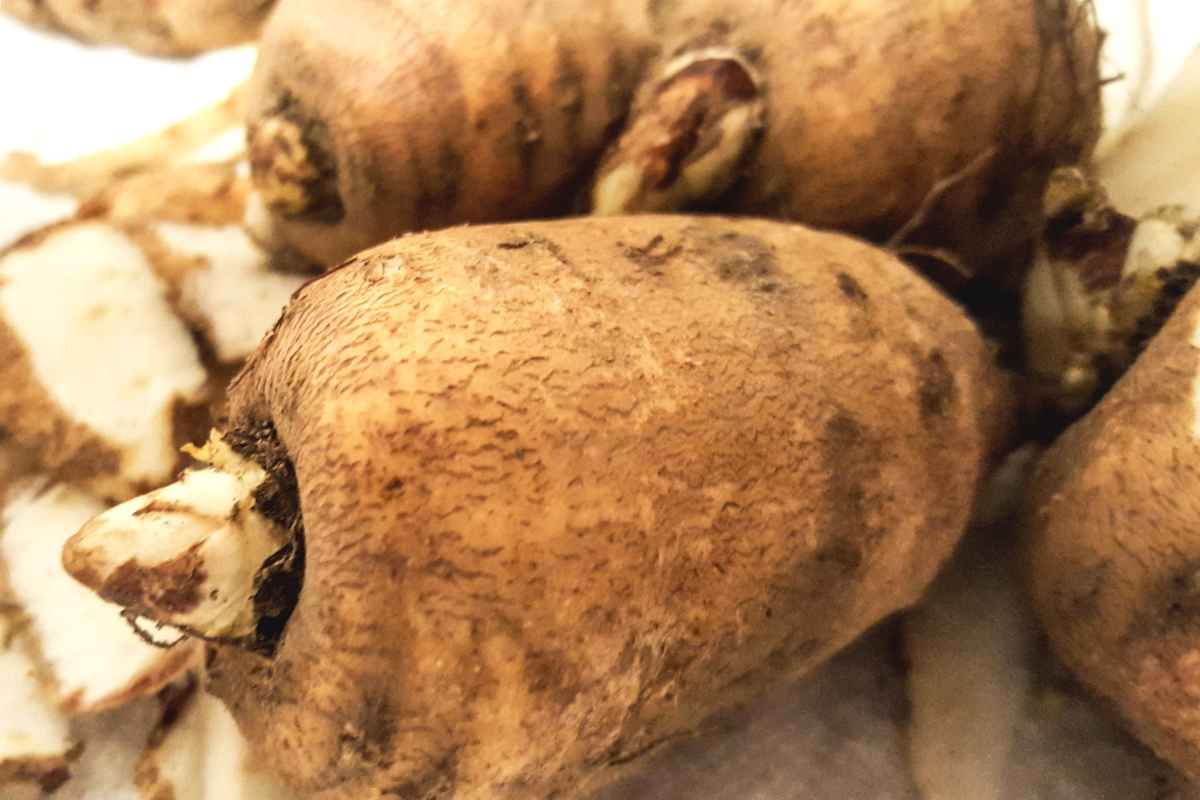
Turnip-rooted chervil (Chaerophyllum bulbosum) is grown for its root alone, since the leaves are poisonous: the pale flesh is sweet and subtle, tasting of chestnut and hazelnut, and is cooked like a potato beside meat or fish, or mashed for puree and soup. Everything depends on very fresh seed, for stale seed never sprouts.
| Name | Chaerophyllum bulbosum |
|---|---|
| Family | Apiaceae (parsley family) |
| Type | root vegetable, biennial |
| Height | 12 to 16 inches (30 to 40 cm) |
| Exposure | full sun |
| Soil | rich and cool, well drained |
| Sowing | Late autumn |
| Harvest | summer |
Apart from its flesh used in cooking, it’s also interesting because root chervil is quite easy to care for and grow.
Before delving into the sowing of your turnip-rooted chervil, check that your seeds are recent. You must absolutely be certain of having seeds that are very fresh, or they will never sprout.
Season for sowing turnip-rooted chervil
Sowing turnip-rooted chervil is best in fall, no earlier than late autumn and you can even extend it up to the month of early winter.
When sowing in spring, spread the seeds in a pot in a blend of soil mix and sand, and store it in the refrigerator for about a fortnight.
This cool period will help trigger seed germination. Sow.
Sprouting of turnip-rooted chervil
Turnip-rooted chervil requires a long dormant period during the cool winter before starting to sprout.
Sprouting thus happens in the following spring.
From seed to storage crate, turnip-rooted chervil follows a slow calendar governed by cold. Use the table below to see what happens when, and what each stage asks of you.
| Stage | Timing | What to do |
|---|---|---|
| Autumn sowing | Late autumn, extended to early winter | Dig over 8 in (20 cm), add manure or compost, sow 1 in (2–3 cm) apart in rows 12 in (30 cm) apart |
| Spring sowing | About a fortnight of chilling beforehand | Sow in a pot of soil mix and sand and keep it in the fridge to trigger germination |
| Sprouting | The following spring | Water whenever the ground is dry and thin to 4 in (10 cm), keeping the strongest seedlings |
| Harvest | Early summer to late summer | Wait for the foliage to yellow and die down, then pull the roots and dry them on the ground |
| Storing | 1 to 2 months after harvest | Brush off the dirt, box the roots in a little sand and let them mature before eating |
Miss the late autumn window and the spring route still works, but the harvest shifts to fall.
Turnip-rooted chervil requires little care. The only relevant care is the same as for all other plants, like regular weeding.
As for watering, it helps to water even in spring and later whenever rainfall is insufficient.
Turnip-rooted chervil harvest is in summer, most often starting in early summer and until late summer.
If you’ve decided to sow in spring, harvest will be in fall.
Best time to collect your turnip-rooted chervil
Slide a fork under the row and lever the soil upwards before pulling, since loosening firm ground first reduces the chance of brittle roots snapping off and being left behind.
Once properly dried, you can remove the leaves that grow from the turnip-rooted chervil crown.
When purchased from the greengrocer’s or in a supermarket, turnip-rooted chervil will keep in the vegetable compartment of the refrigerator for a few days.
Turnip-rooted chervil is quite resistant, but it sometimes falls victim to red spider mites and aphids.
Turnip-rooted chervil is occasionally hit by the carrot fly, but it doesn’t do much damage. The best way to avoid it is to pair the plant with repellent companion plants.
Keep turnip-rooted chervil off any bed that has just grown carrot, parsnip or parsley.
Turnip-rooted chervil particularly LOVES garlic, chives, onion, parsley, leek.
Avoid sowing low-growing root crops such as carrots or beetroot in the shade cast by climbing beans or sweetcorn, because reduced light slows their growth and the roots swell more slowly.
Watch out, turnip-rooted chervil leaves aren’t edible, and they’re even poisonous.
Turnip-rooted chervil has no connection at all to the common herb that shares its name, chervil.
Turnip-rooted chervil is appreciated for its flesh that tastes a bit like hazelnuts with a sweet touch.
This root crop can be cooked in various manners, a bit like potatoes. It must be cooked, either as a side to meat or fish, or mashed for puree and soup.
In warmer climates, feel free to mulch the soil in spring to retain soil moisture and coolness in the ground.