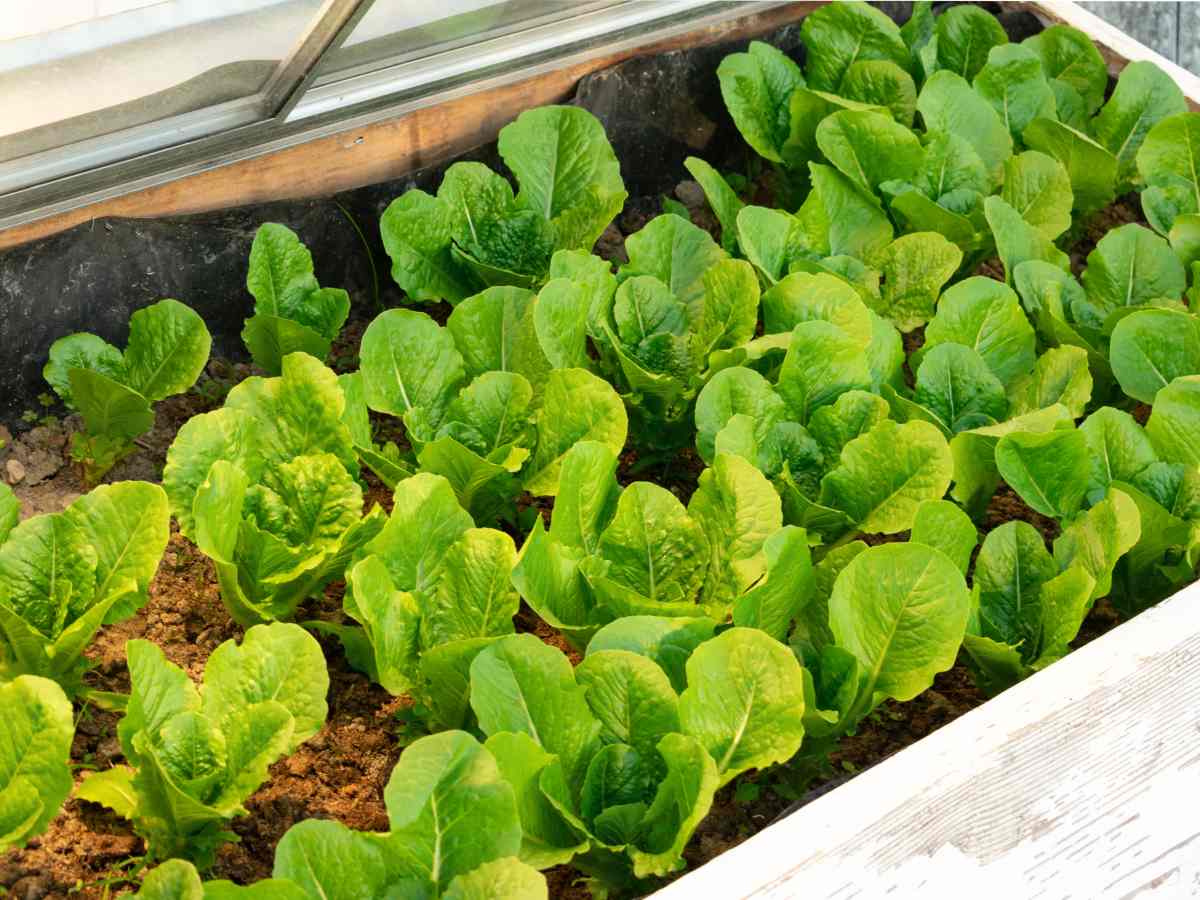
A pane of glass, an old window in its frame or a clear plastic box set over a bed of seedling mix: that is all covered sowing amounts to, and it uses the greenhouse effect to lock in the sun’s heat. Plants start about a month ahead of the open ground, provided you give them plenty of light and open up before they roast.
so sowing under cover is the key!
Types of cover include greenhouses, sheets of plastic, panes of glass, cold frames, garden cloches…
A simple thermometer in the shaded corner will tell you if you need to insulate more at night or open and ventilate on hot days.
The goal is to keep temperatures warm inside the covered area, while letting as much light in as can be.
These use the greenhouse effect to lock heat in from the sun’s rays.

Clear or translucent plastic boxes are also excellent. Their lid is already the perfect size and they’re lightweight and easy to move around.
Try to slant the top of the greenhouse so that the surface faces towards the midday sun. This maximizes light intake.
Along the sides, insulation really helps keep heat in.
Even though it’s a hassle, on cold nights, keep a slab of insulation to cover the mini-greenhouse over. Pull it off in the morning. A tarpaulin, for instance, can do the trick, especially if it’s lined with bubble wrap.
The shelter should be easy to open and close. Indeed, on very warm days, temperatures might rise too much. Seedlings might get roasted! In that case, simply opening the shelter a crack can let excess heat float away.
The article describes several ways of covering a spring sowing, from a frame built in place to a simple plastic box. Here they are side by side, with what each one is good at.
| Cover | Made of | Why choose it | Point to watch |
|---|---|---|---|
| Greenhouse-type shelter built in place | Glass, plastic or wood sides, even hollow blocks or bricks | Locks heat in from the sun’s rays | Ankle or knee-height is enough; the top must be see-through |
| Old window in its frame | Glass held in its original frame | Safe to assemble and attach to the sides | Slant it so the surface faces the midday sun |
| Clear or translucent plastic box | Plastic, lid included | Lightweight, easy to move, and the lid is already the right size | Small volume, so it heats up fast |
| Translucent roofing composite as a top | Composite panels of the kind used for lean-ins or winter gardens | Lets light through while roofing the bed | Only the translucent types will do |
| Full-size greenhouse | Permanent structure | Serves the same purpose as a covered sowing bed | Still needs ventilating on hot days |
| Night insulation laid over the top | A slab of insulation, or a tarpaulin lined with bubble wrap | Keeps heat in through cold nights | Must be pulled off again in the morning |
Whatever the cover, the same two rules apply: as much light in as possible, and easy opening when the sun gets strong.

Sowing under cover lets plants start about a month before they would naturally if sown outdoors in the plot.
By the time non-covered seeds sprout naturally, it’s ok to open the cover all the time and start moving your seedlings out. At this time, here are a few notes on how to transplant them.
Rather than whipping the cover off in one go, widen the opening a little more each day for about a week so the seedlings toughen up gradually.
Keep the cover within reach until the last frosts have passed.
Once the cover stays open, the mix dries out far faster, so check moisture daily and water before the surface crusts over.
Covered seedlings, to grow perfectly healthy, need lots of light! If you can add supplemental lighting, give them 12 hours a day.