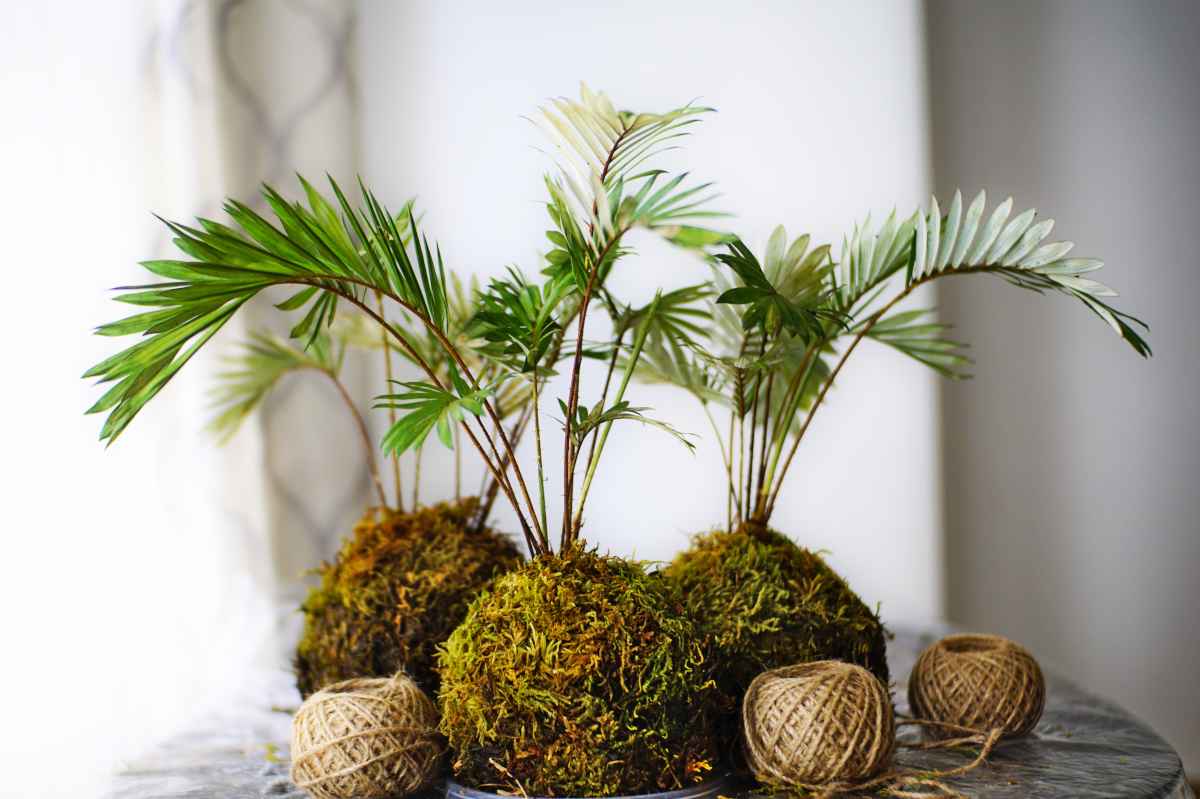
Making a kokedama might seem difficult and technical at first. However, even though you do need a little patience and agile fingers, it certainly isn’t impossible.
Follow our three steps to make a kokedama, and you’ll quickly become a master in the trade!
Making that ball of soil that will carry your plant is the most delicate step. It’s the key to making sure your project works – and whether it’ll look nice or not! For best results, you’ve got to:
 Mix together Akadama soil (80%) and perlite (20%) to ensure drainage.
 Now that the soil ball is ready, time to plant. Take your plant and remove the pot it was in.
After that, slowly remove the soil mix from the root ball with a twig or a chopstick. When the roots are nearly entirely bare, scoop your soil ball up with both hands and split it into two even halves.
Spread the roots across one of the halves and then close the ball again with the other half. Add more soil around the ball if necessary. After that, press the ball tighter so that the soil covers all the roots and to press out excess water.
If your plant is too large for the soil ball you prepared, divide the plant clump to reduce its size.
 Your kokedama is almost ready. You’ve only got one thing left to do, and that’s what makes this project so unique: pack moss all around and somehow make sure it sticks. Before placing your moss, make sure it’s “clean”, meaning without any weeds nor bugs.
Once you’ve finished checking it, press your slab of moss on the soil ball. To help you out, use seamstress pins to attach the moss temporarily. Now for the netting that holds everything in place. You can choose your favorite from several options: thick, transparent nylon line for invisibility; waxed string for a more visible appearance. Here is where you choose what you want your kokedama to look like.
 To keep the moss in place, prepare a long length of that string and wrap it around the ball.
For your kokedama to look nice as time passes, it’s important to choose the right type of moss. For our dry indoor homes, the best variety is Ctenidium sp. It’s a species that resists drought very well. It can cope well with sunny to partly sunny spots.
 Once your work of art is ready, you’ve got multiple options to present your kokedama.
→ Next up: Maintenance for your kokedama