How to make a herbarium – child-friendly garden fun!
·
0
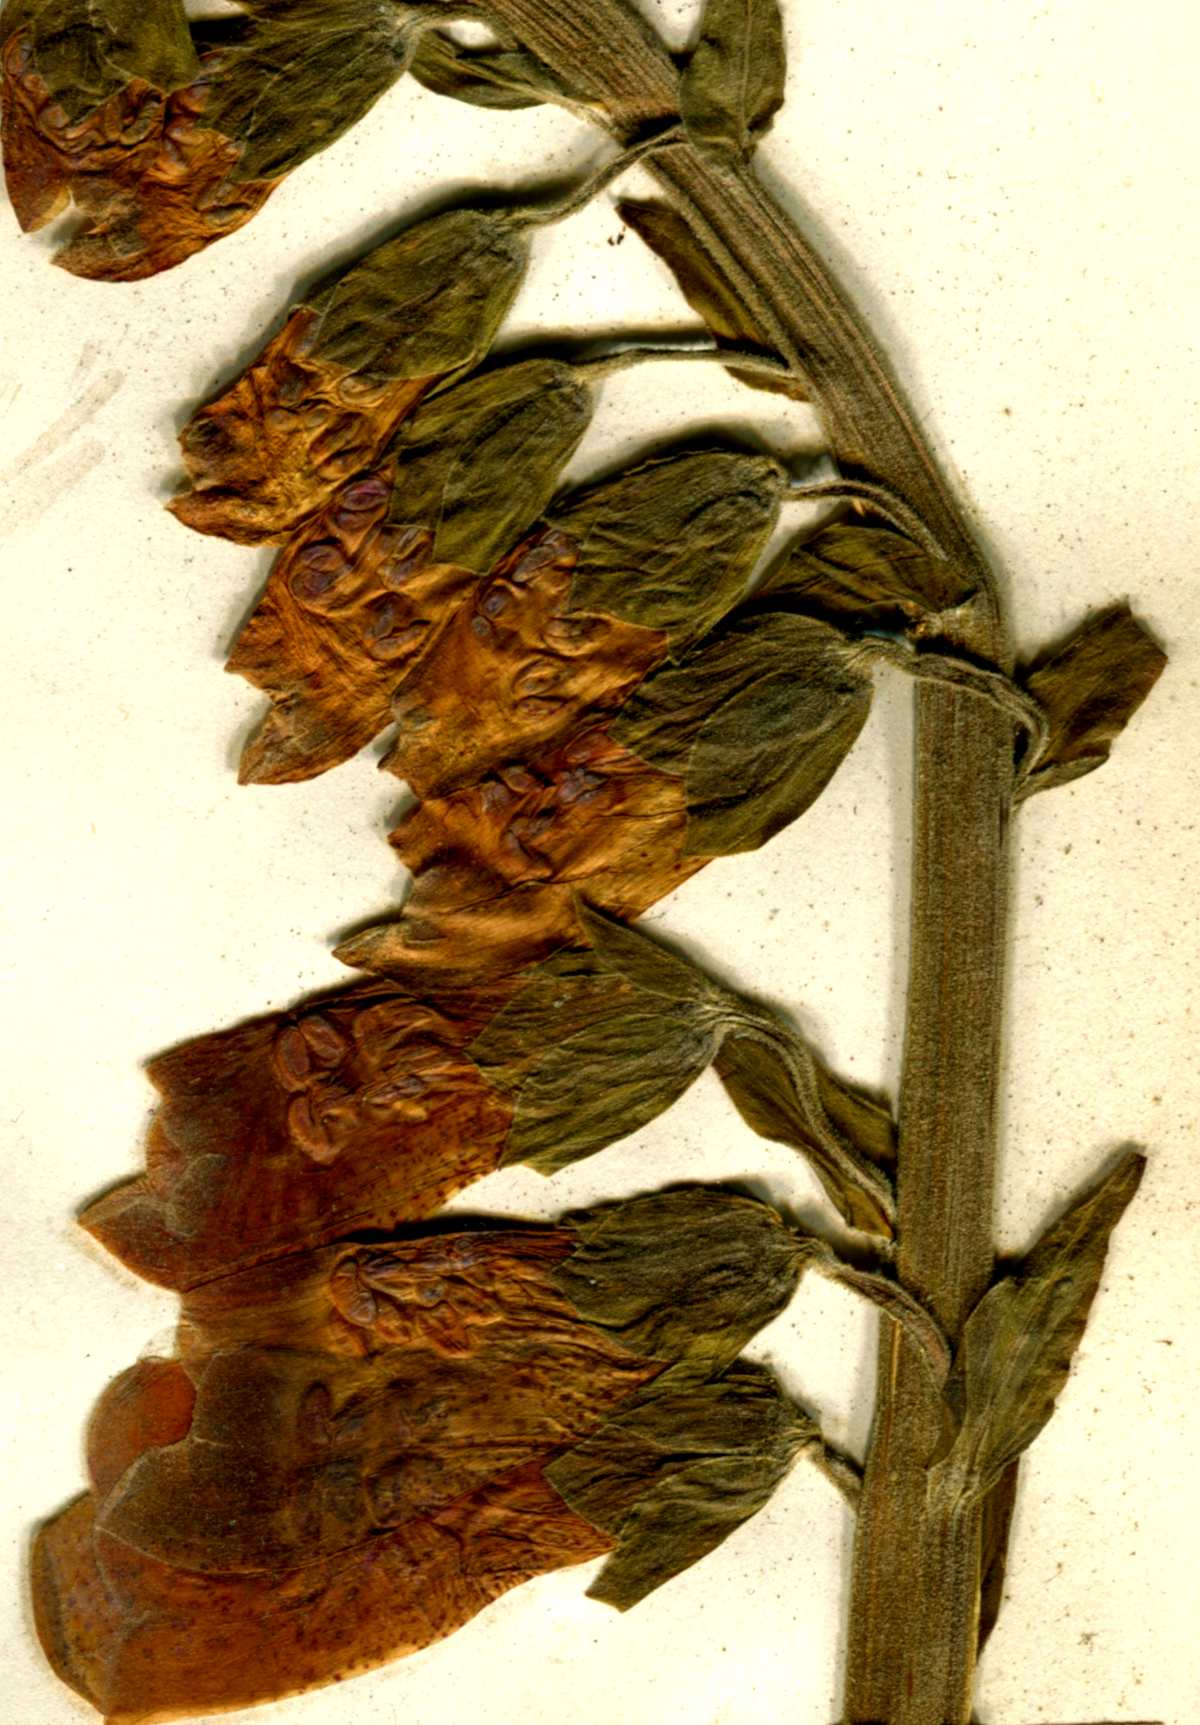
A pressed foxglove flower, a tree leaf, a root, each one flattened, dried and taped to its own page beside the date and place it was picked: that is a herbarium. It needs almost no equipment, sharpens observation, patience and vocabulary, and asks only that you gather in dry weather.
Spring is already there, and the weather is good. Why not keep children busy in the garden with a project they’ve probably never done yet: a herbarium!
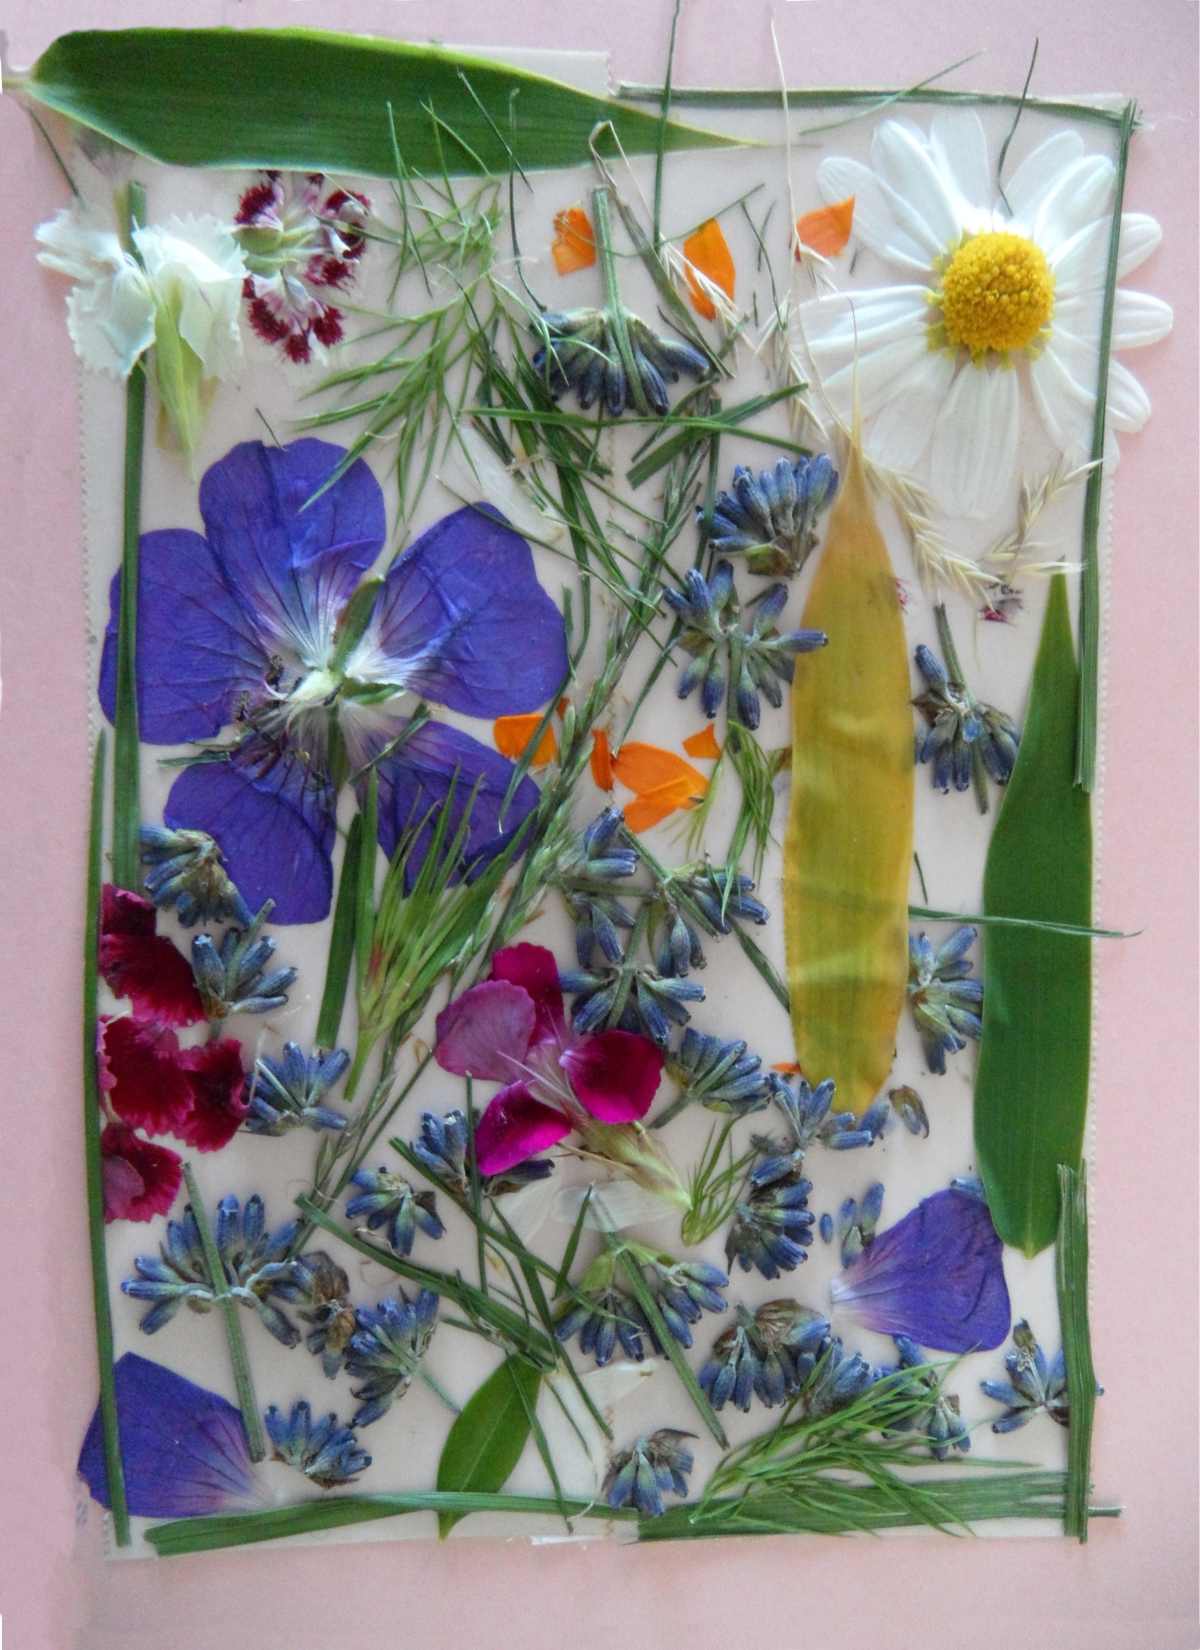
It’s a book (or a binder). On each page, the author describes a plant: a tree leaf, garden flower, root… Plant parts are flattened, dried, and pasted to the page.
A single plant species is described per page. Next to the plant itself, the collector writes the date and the place of harvest. After that, the common name and scientific name of the plant is marked. Additional notes include uses of the plant, what makes it stand out, how it smells, and other personal observations.
Did you know? Each plant part folded into the book is called a “specimen“.
A great activity to do with kids during a lockdown
Specimens are flattened, dried, then pasted onto the page
Now that parents must become teachers, creating a herbarium helps in several respects. It offers children an opportunity to discover and understand the plant world, all the while having lots of fun!
This activity is suited to children of all ages. It doesn’t require much equipment. You’ll enhance many of your child’s abilities: observation, creativity, concentration, patience, and even vocabulary.
A herbarium is never truly finished. This activity can last for the entire quarantine, right when nature is most buzzing with life.
Colors, plants and fragrances burst forth and change as spring turns into summer.
Did you know? Some schools may provide extra credits for children who have worked on preparing a herbarium!
The four stages of a herbarium, at a glance
Making a herbarium breaks down into four short stages, each with its own kit and its own thing to watch. Read across the table before you send anyone out with the secateurs.
The four stages of a herbarium, at a glance
Stage
What you do
Equipment
Point to watch
Collecting
Cut stems cleanly and keep each specimen apart
Secateurs, sturdy scissors, pouches or containers, labels
Collect in dry weather and label with the common name, and the botanical name if you can
Drying
Press each plant flat under weight
Newspapers or magazines, plywood or a pile of heavy books
It takes a few days; swap the damp sheets for dry newspaper partway through
Mounting
Lay the dried plant out and tape it down
Thick paper pages, scotch tape, colour pencils
One type of plant per page, with space left for the notes
Archiving
Sleeve each finished page and file it
Plastic pouches and a binder, or a simple notebook
Place plants of the same family next to each other
A herbarium is never truly finished, so the same four stages simply come round again with each new specimen.
Create a herbarium with your children
Equipment needed for the herbarium
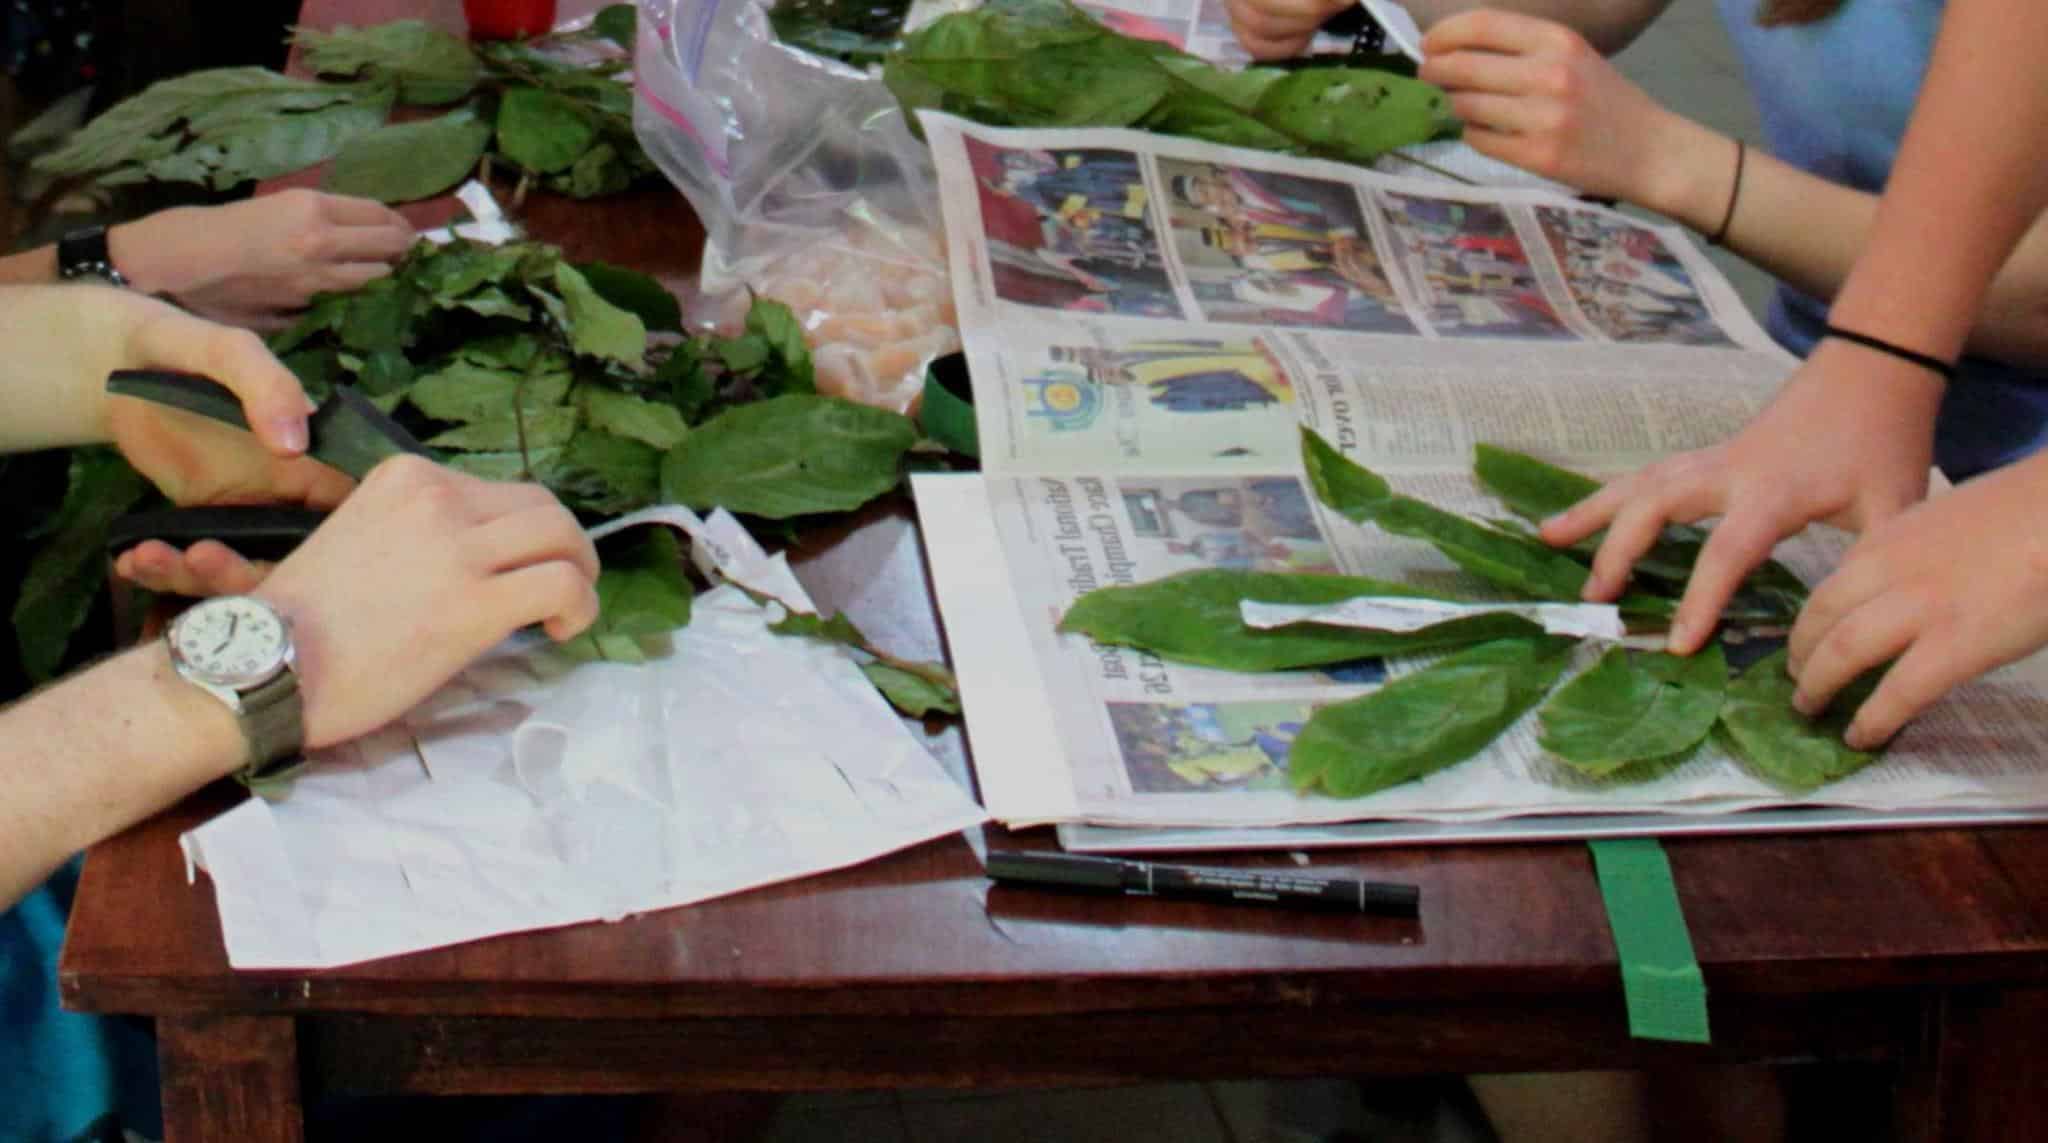
Each plant presses flat between two newspaper pages
Secateurs for plants, and a pair of scissors
Pouches or containers for the harvest
Labels to mark the plant specimens
Thick paper pages and a binder. A simple notebook will also do fine.
Newspapers or magazines
Plywood or a pile of heavy books
Plastic pouches (those used to slide documents in for protection)
Color pencils
Scotch tape
Write labels in pencil, or with a waterproof archival pen, since many ordinary felt-tip and ballpoint inks can run or fade when they contact a damp specimen.
A magnifying glass reveals leaf hairs and the fine network of tiny veins that are hard to see with the unaided eye, showing structures most people walk past without noticing.
Set aside a spare pile of newspaper, as the sheets soak up water and need swapping for dry ones partway through pressing.
Collecting plants in the garden
Collect plants in dry weather. Make sure to use secateurs or sturdy scissors to cut the stems, for a clean cut.
Place each specimen in a different pouch or container (flowers, leaves, fruits, roots, etc). Try to identify the plant and write the name on a label. Common name, and, if possible, botanical name, too.
Tip on how to identify plants
Other options are to look plants up in encyclopedias, on the Internet, or to show the plants to grandparents on video call!
Lastly, excellent initiatives such as Plantnet and iNaturalist will help identify more difficult specimens.
Drying plants
Place each plant between two newspaper or magazine pages.
Weigh it down to flatten it with the plywood or the heavy books.
Check on the drying process from time to time (it takes a few days).
Placing the plants on the page
Carefully lift the dried plants and place them on the sheets of thick paper. Try to make it look nice. Place only one type of plant per page. Keep some space for the notes you’ll be writing.
Fasten the plant parts to the page with scotch tape.
Archiving each page
Slide the pages with plants on them in the clear plastic pouches, and store it in the binder.
Place plants of the same family next to each other.
A chance to keep in touch
To make sure friendship and family bonds develop, have the children share about their herbarium through the internet. They can show their work to friends and family with webcams and social media. That way they can swap ideas and compare their findings during the entire summer and spring.
Give all children weekly challenges:
Notes give the date and place of harvest
Find and collect the most colorful plants in the garden, or the most surprising, or the ones with the roundest leaves…
Meeting up through these “webconferences” with friends on a regular schedule will structure their day.
It’s a great way to learn about how unique the vegetation in your area is!
Written by Gaspard Lorthiois | Loves helping out, especially when it comes to growing things. Worked in herbal medicine, runs a farm, and dabbles in tech. Master's degree and engineer.