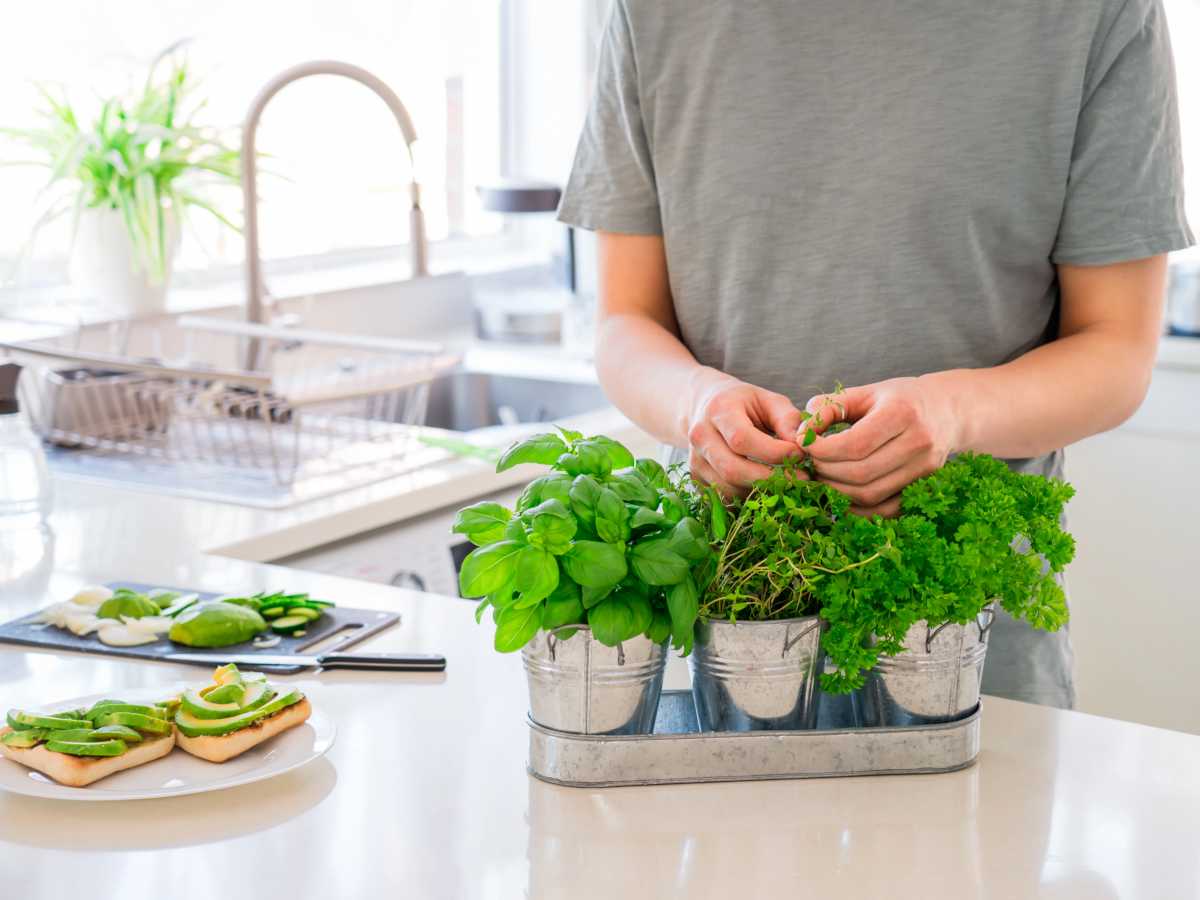
Even if you don’t have a large garden in your house or can’t spare a portion of the garden for a vegetable plot, you still have options to grow a few special bell pepper varieties in pots on a balcony, deck or terrace.
Bell pepper is one of the species that is well suited to container growing. What matters is that the size of the pot be sufficient, the substrate rich, and that the plant gets full sun and warmth. Here are all the tips to succeed in growing bell pepper in pots.
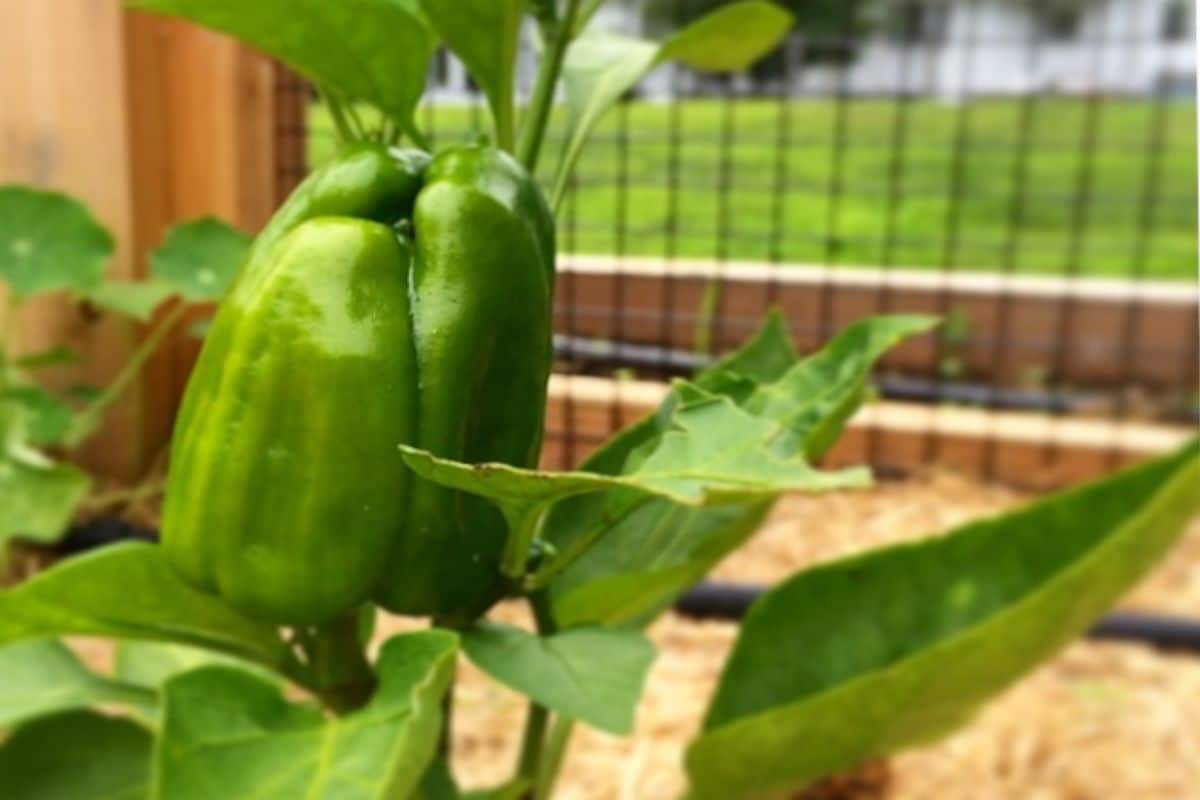
 Since they peak at about 3 feet tall, almost all bell pepper varieties are perfect for growing in containers, planters or in garden boxes. It’s preferable, though, to choose compact varieties that don’t grow as tall, for instance:
When you plan to grow it in a pot, you start your bell pepper seeds off in smaller nursery pots towards the end of February. Temperatures must hover between 65 and 75°F (20 to 25°C). Transfer young seedlings to their final container about 60 to 90 days after sowing. At this stage, seedlings are about 6 inches tall (15 cm) tall, and each one has 4 or 5 true leaves. Set the plants up in large containers which are about 2 feet deep (60 cm). 2 feet is ideal; shallower is possible, but you need to make sure you have at least 1 whole foot of soil (30 cm minimum).
Bell pepper loves cool soil, but it hates having soggy soil. Along the bottom of the pot, you need to pour in a layer of clay pebbles, at least a few inches (5 cm). Only then can you fill the pot with proper vegetable plant soil mix.
Bell pepper is a nutrient-hungry vegetable. Early on in the season, give it manure or high-potassium and high-phosphorus fertilizer. During the phase where the bell pepper is in its vegetative phase, producing lots of new growth, remember to supplement its substrate with fertilizer every two weeks.
 Bell pepper plants, when grown in pots, cannot go without regular watering, especially when the weather is hot. You’ll probably have to give them water on a daily schedule. Be careful however, to avoid excess moisture. This is because the two most dangerous opponents of bell pepper are powdery mildew and downy mildew.
Good to know : aphids can easily attack bell pepper when grown in pots. To get rid of them, hose the plant down and flush them out.
 Bell pepper plants can be transferred outdoors from the month of May onwards. It’s recommended to go about this in stages, to protect the plant from thermal shock which would dry the plants out and slow their growth. The way forward is to bring your potted bell pepper outdoors for a few hours every day, bringing them back inside. Once you’ve done this for a few days, say a week, you can settle them outside on your deck, balcony or terrace permanently.
Choose a spot for them that gets lots of sun and heat. Shelter the area from cold winds and strong crosswinds.